July 22,2013
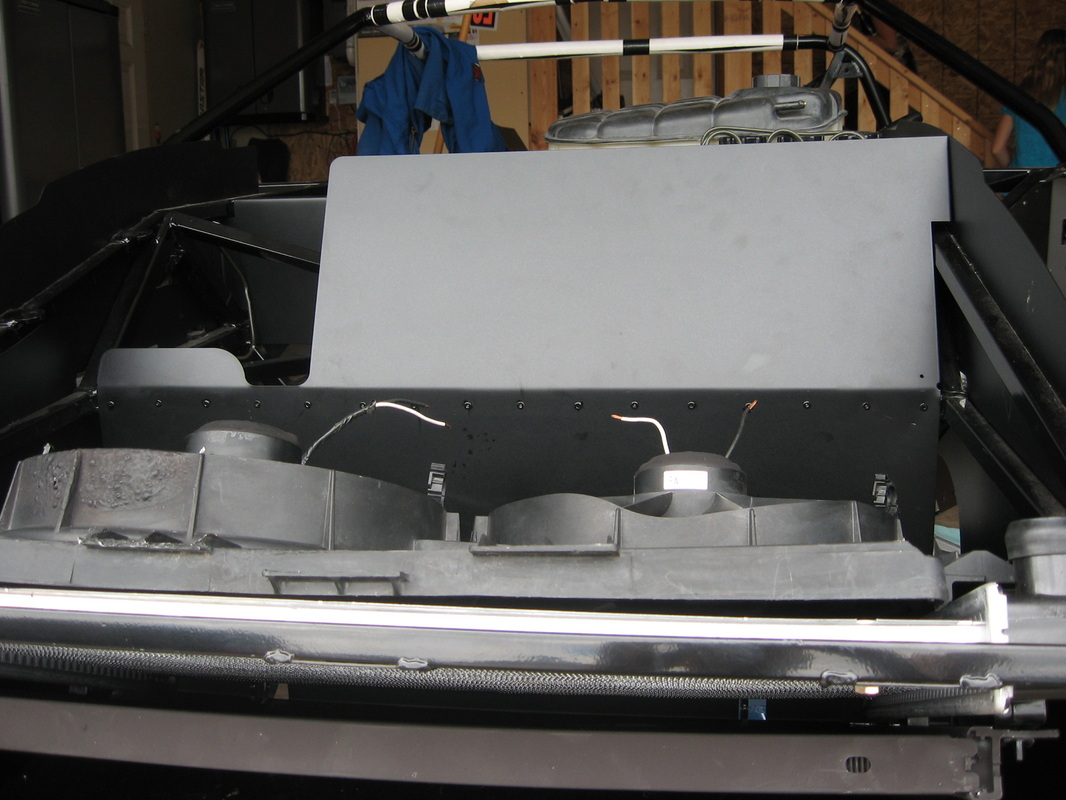
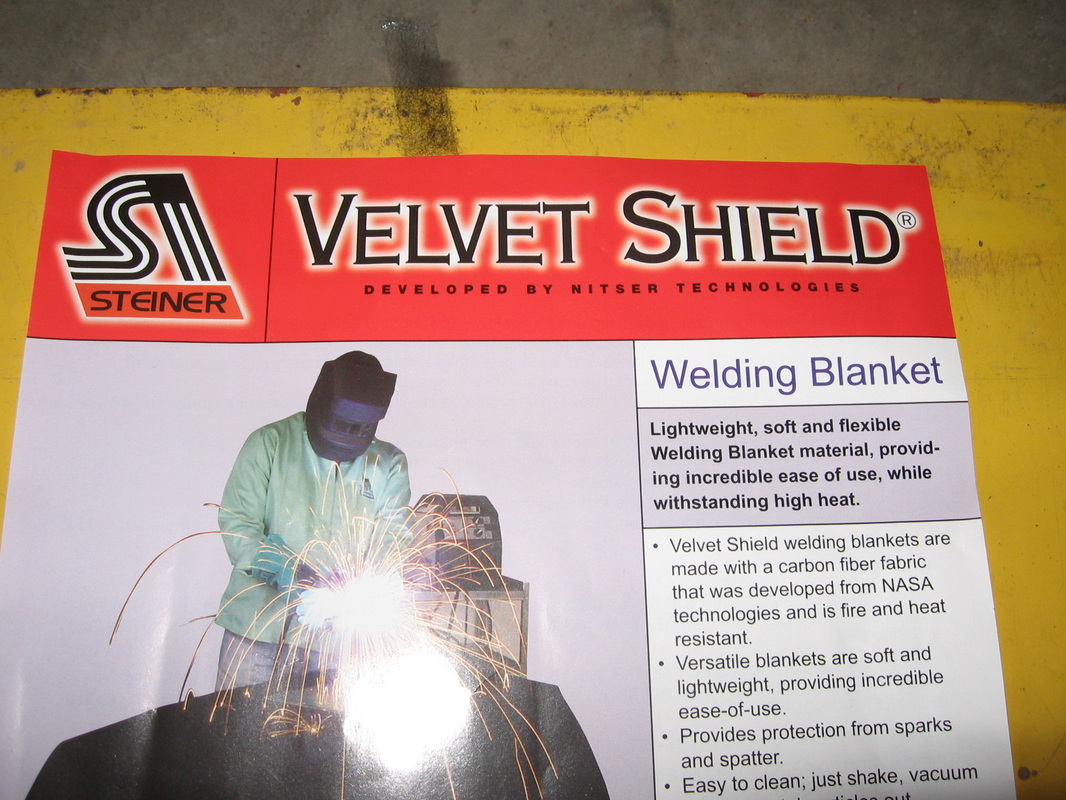
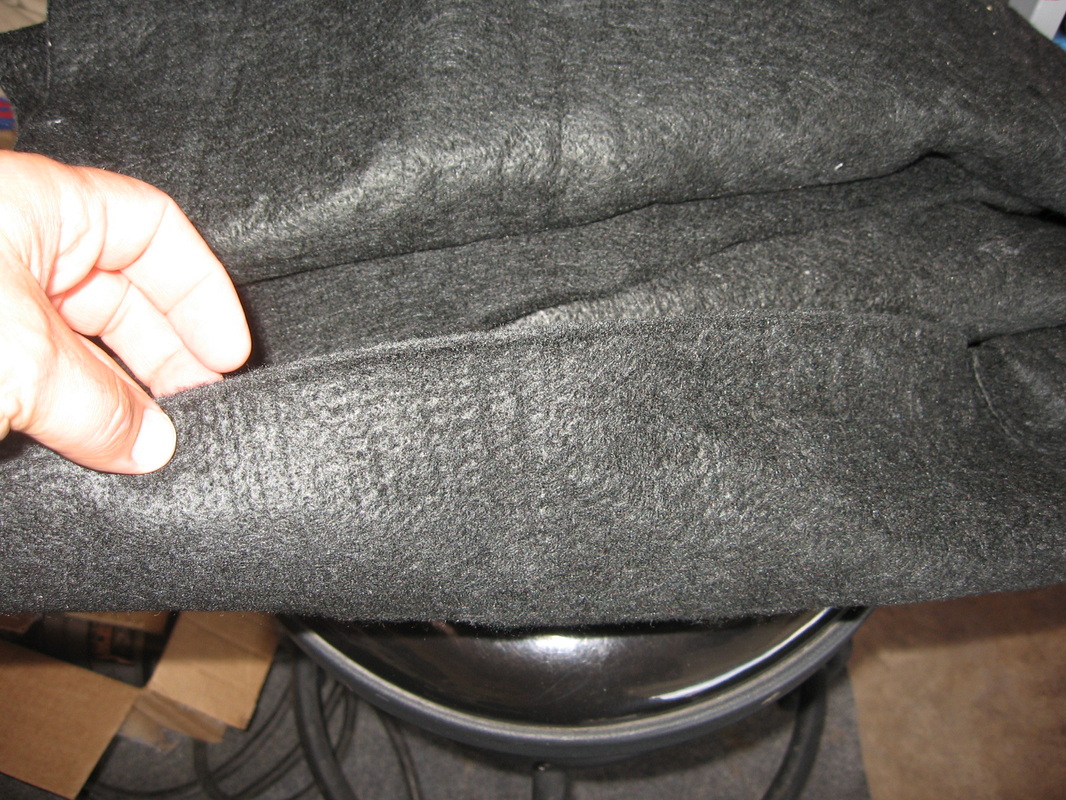
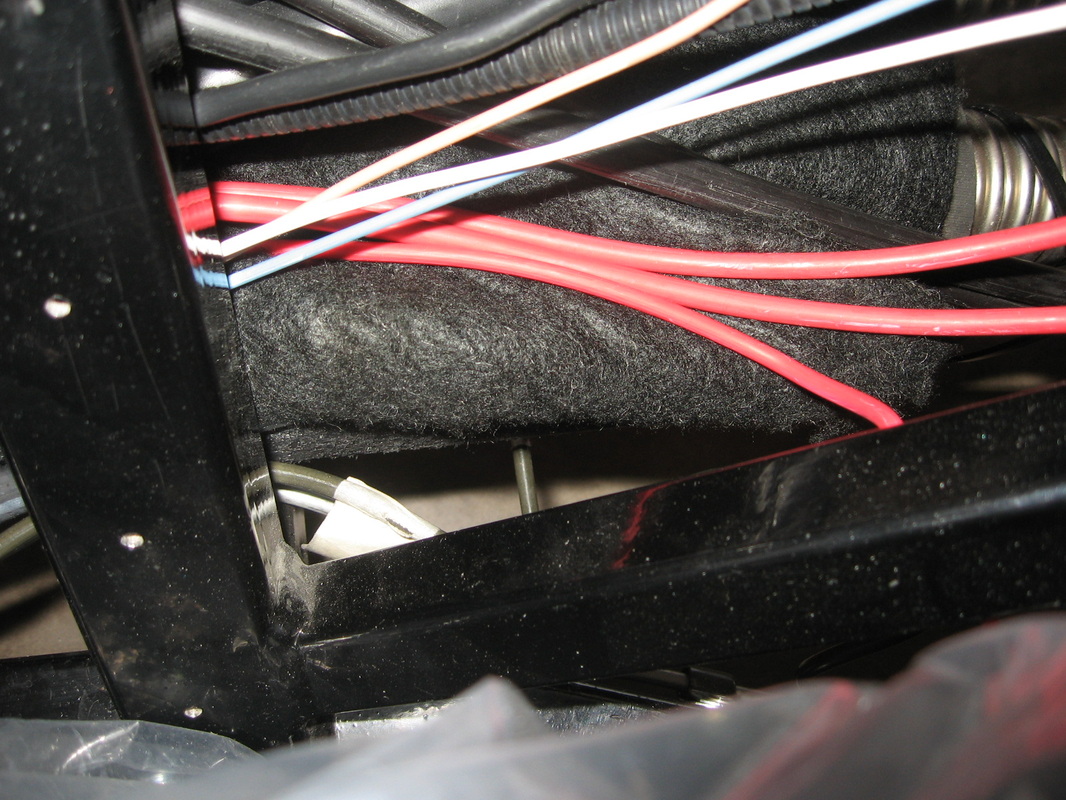
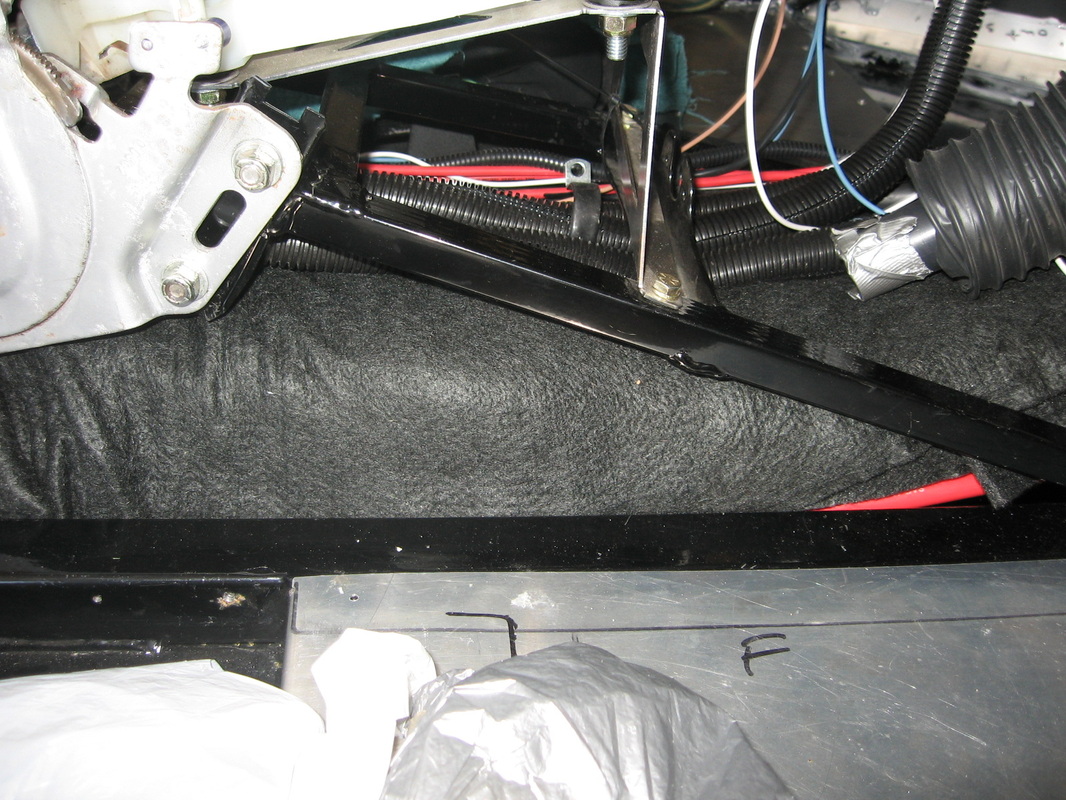
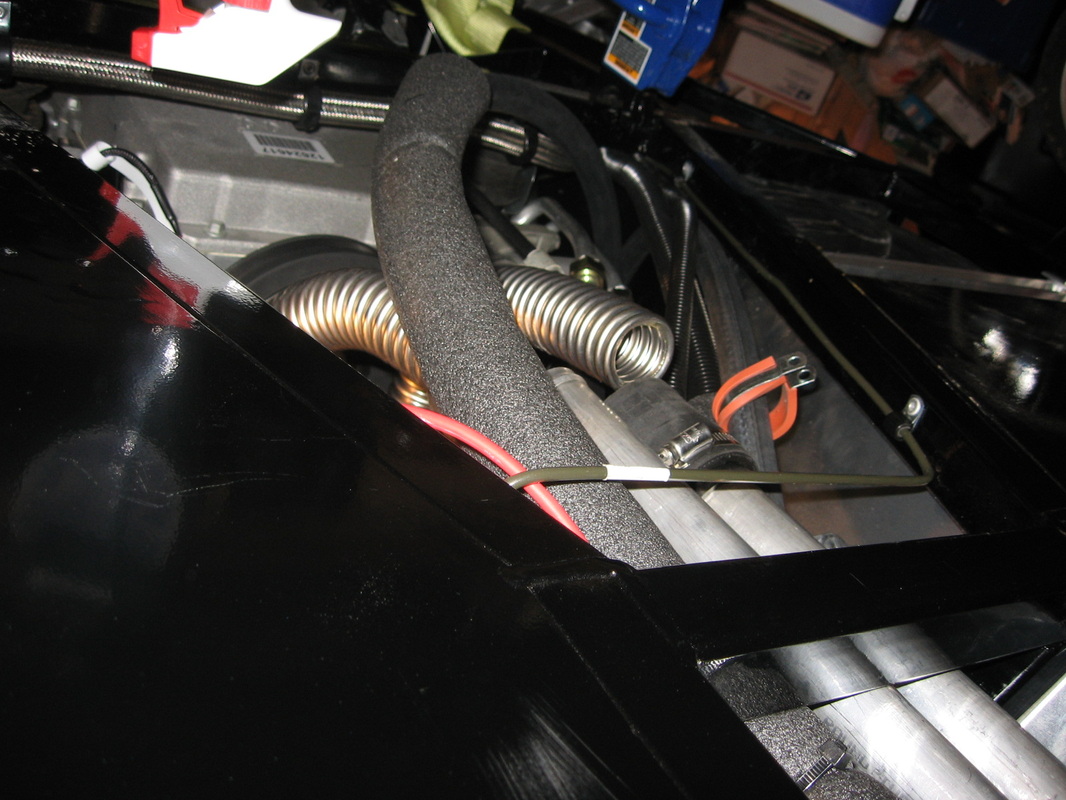
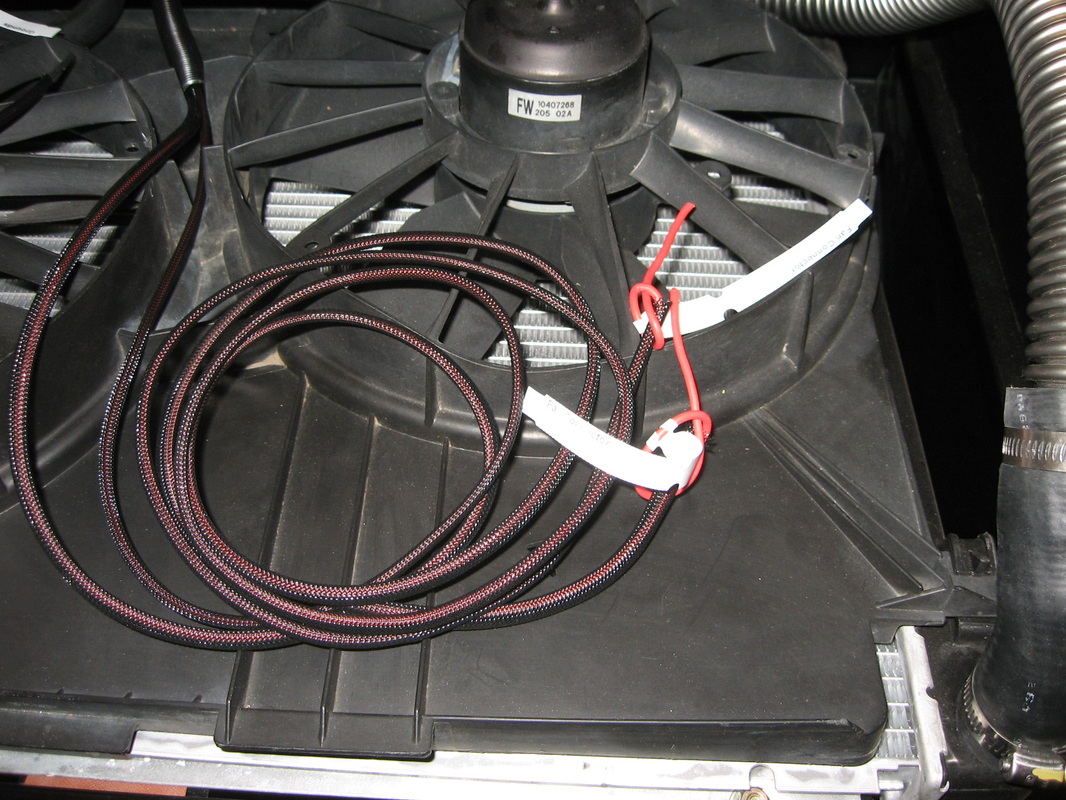
The control some of the heat in the tunnel I purchased this Welding Blanket its good to 1800*F its 4' X 6' I cut it to fit between the cooling pipes. By putting this in between the pipes it cut the temps in the tunnel by 18*C. When the bottom cover goes on it will be vented (Shane's pieces) to get rid of the heat out the bottom.

April 2012
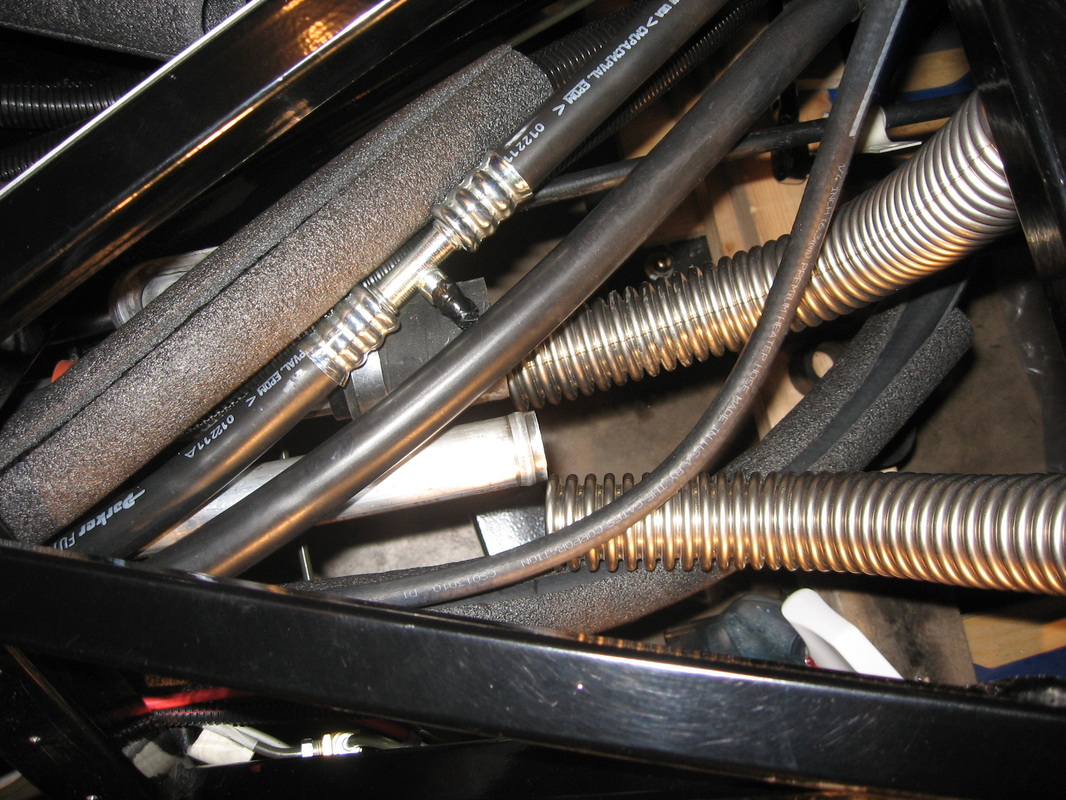
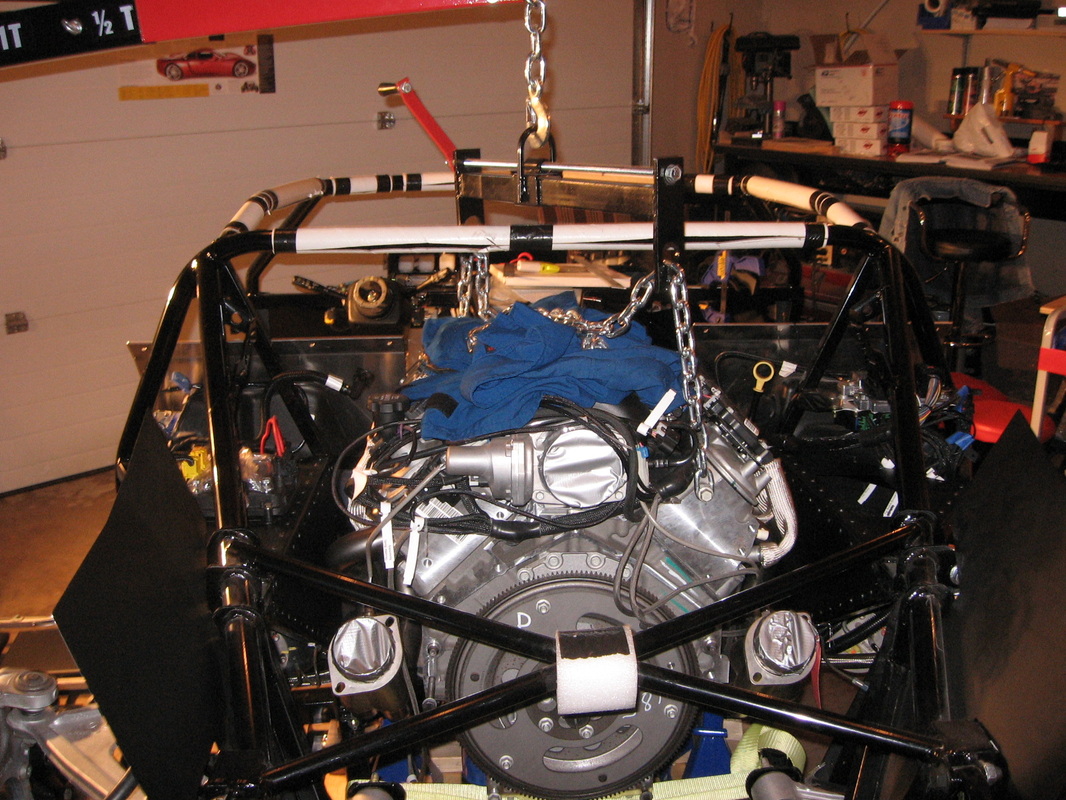
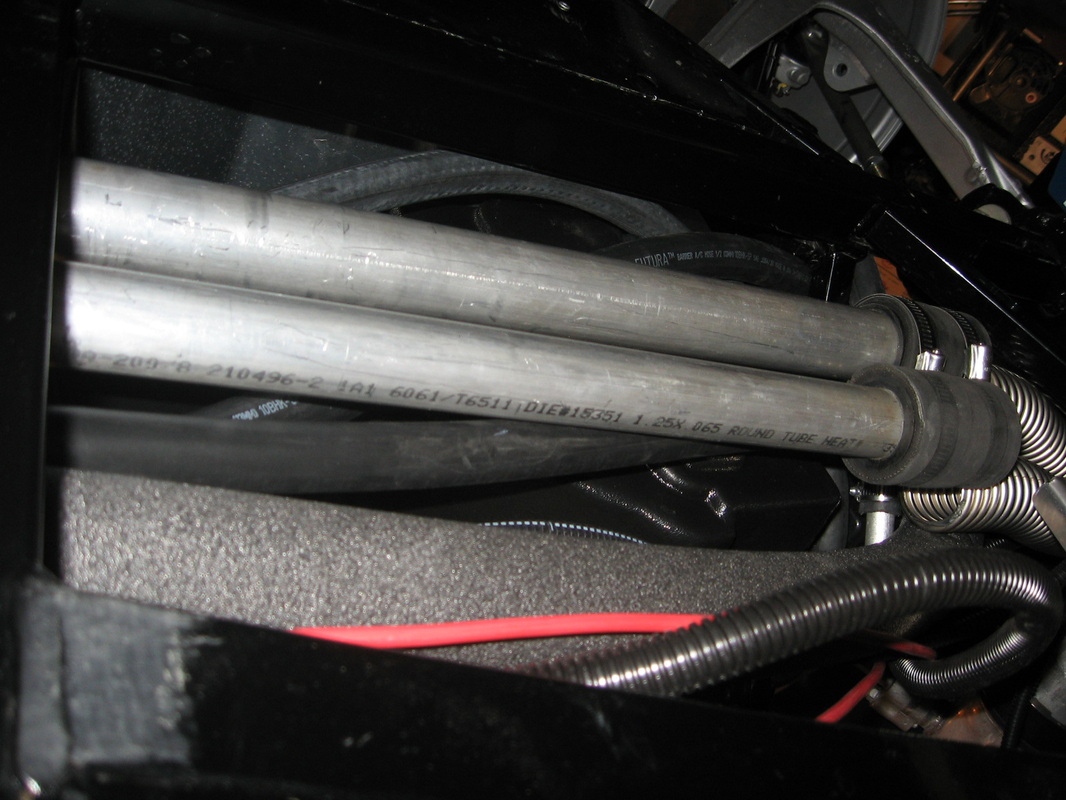
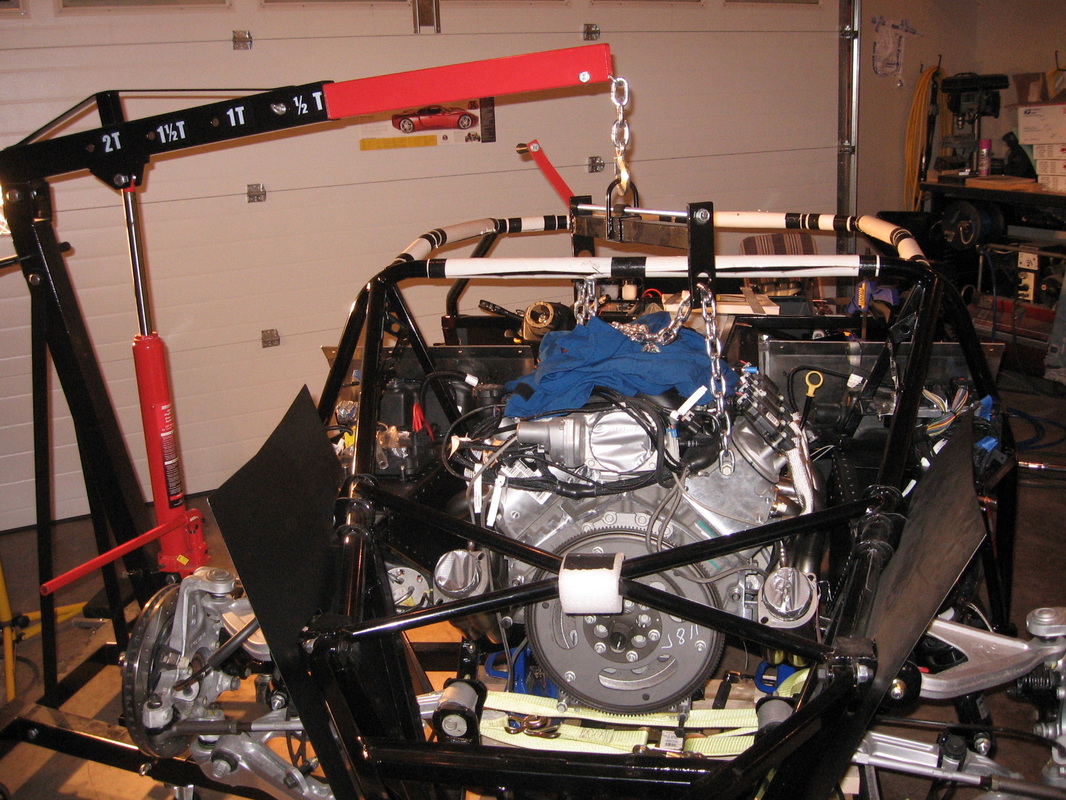
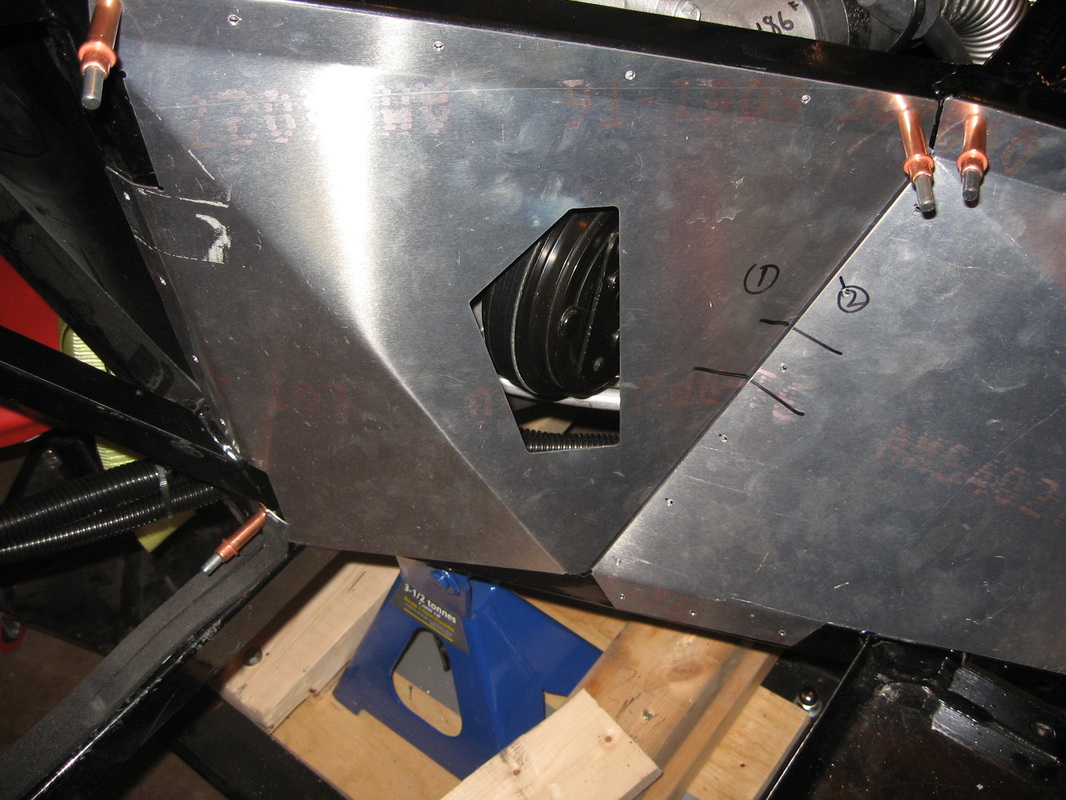
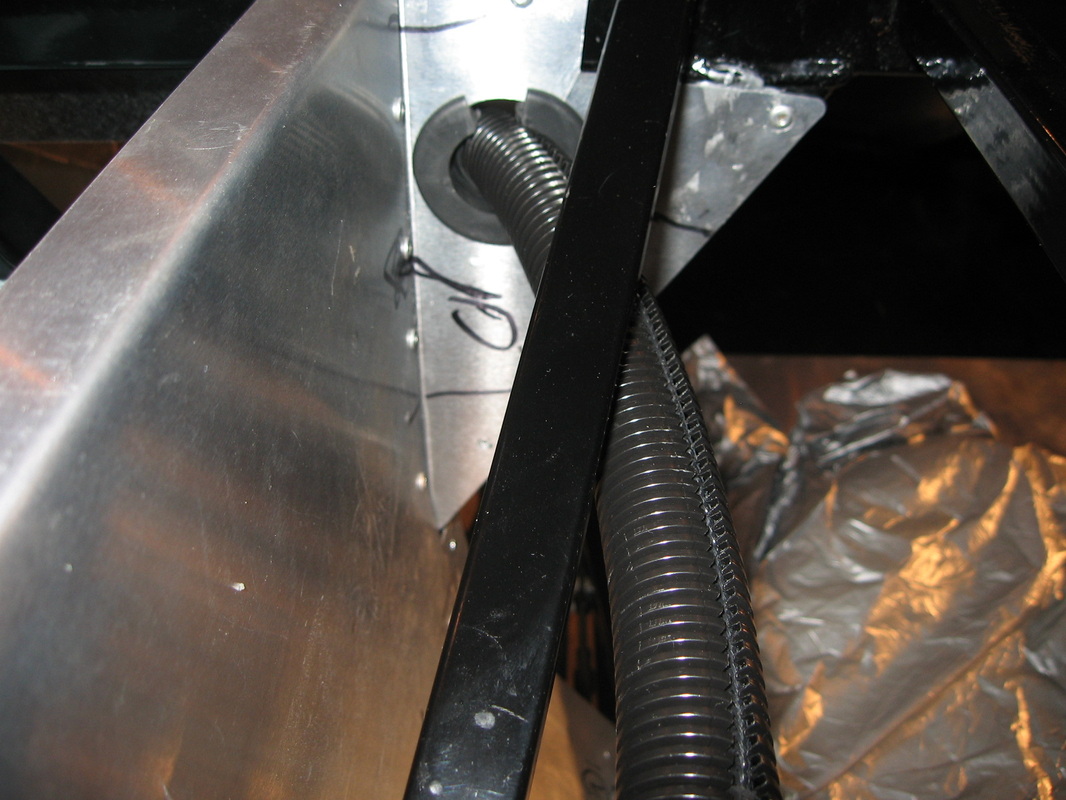
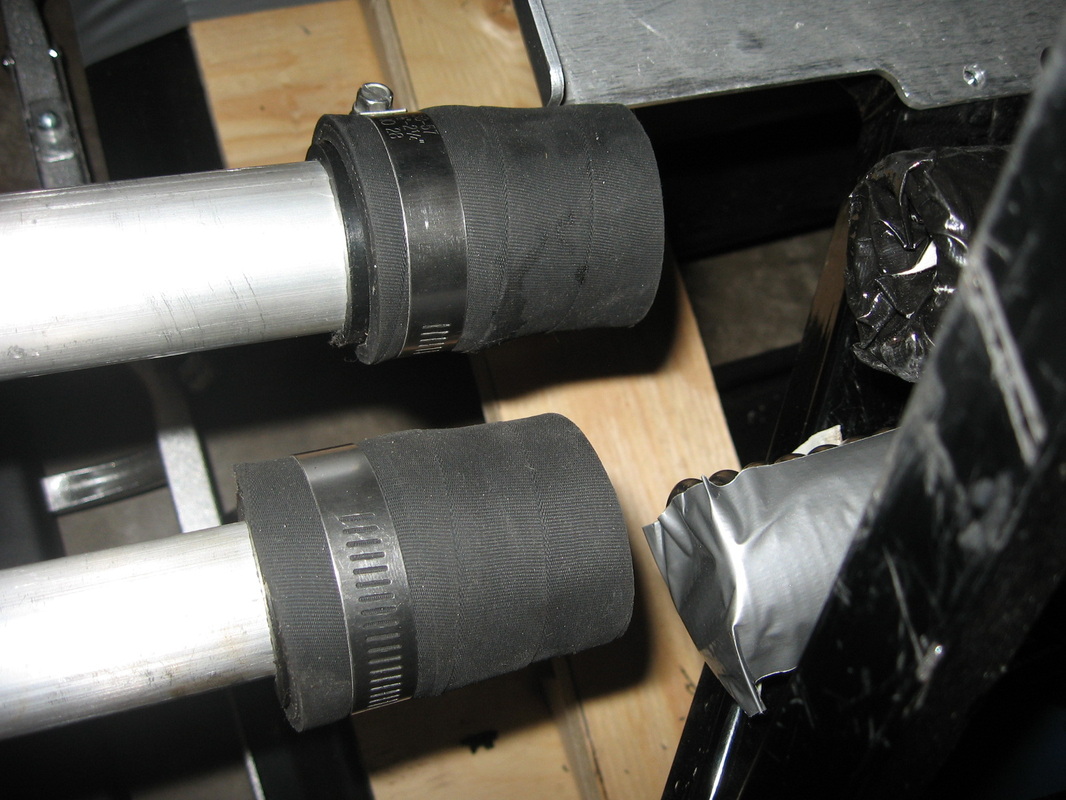
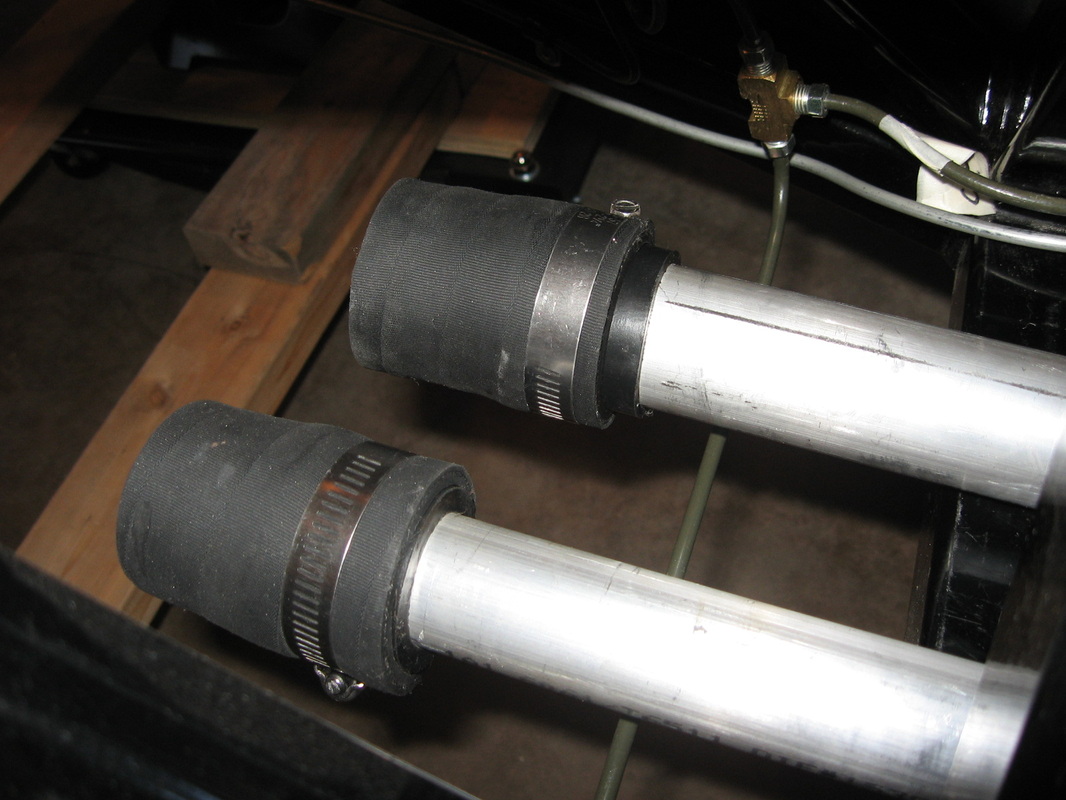
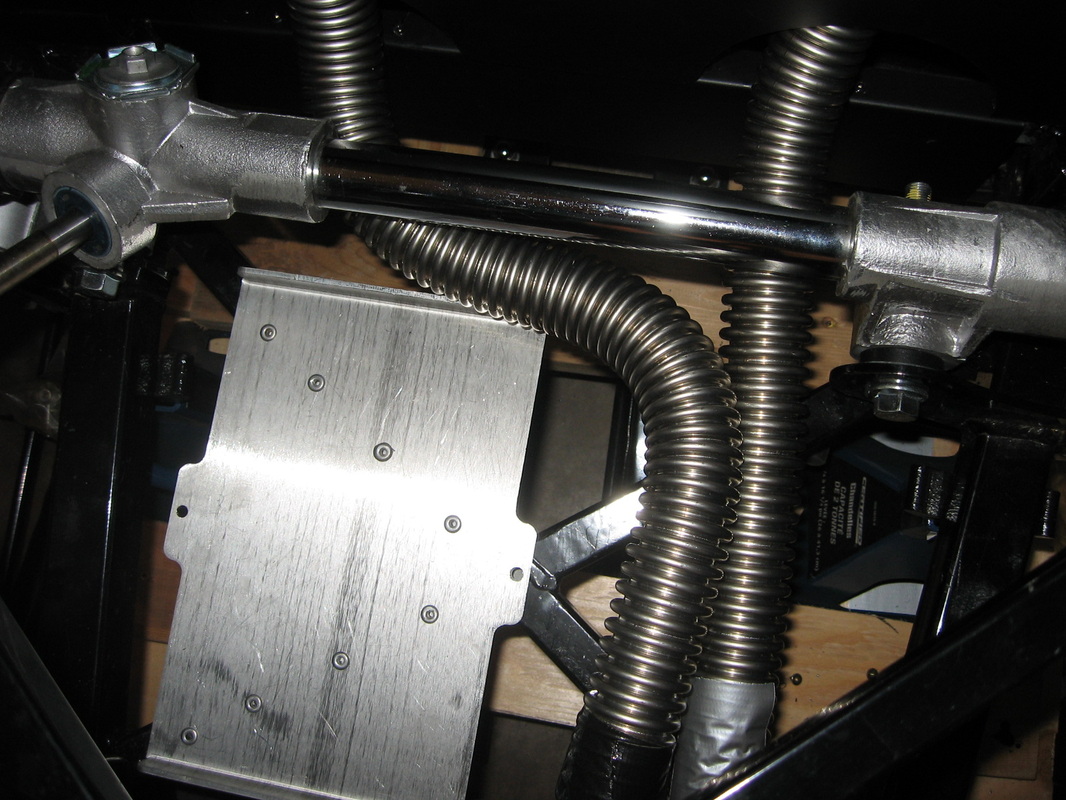
The manual had the two hard lines installed on the wrong side. The larger line should have been installed on the passanger side. This is the suction to the water pump and you want this line being the biggest. The ruturn line should be the smaller of the two. So It took about 2 hours to change out. First had to lift the motor up. Idid not remove the nuts because then I would have lost the position of the washer. I installed the .75" angle on the front intake so at high speeds it does not collaps

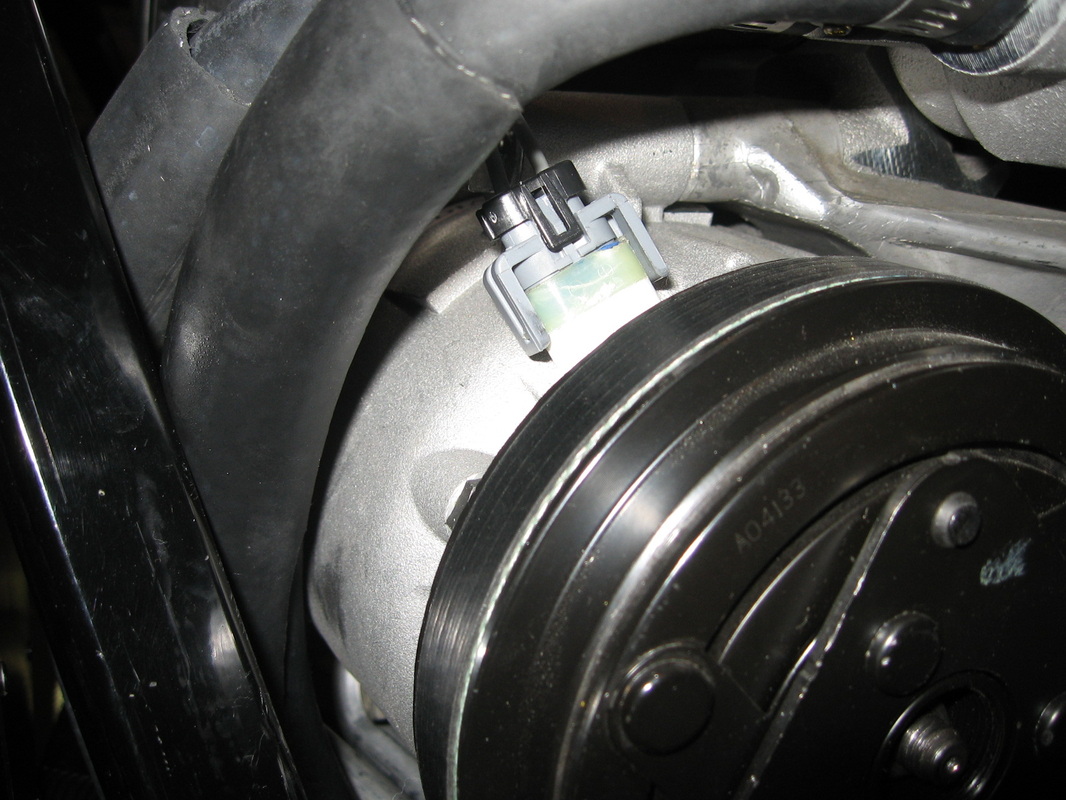
Feb 2012
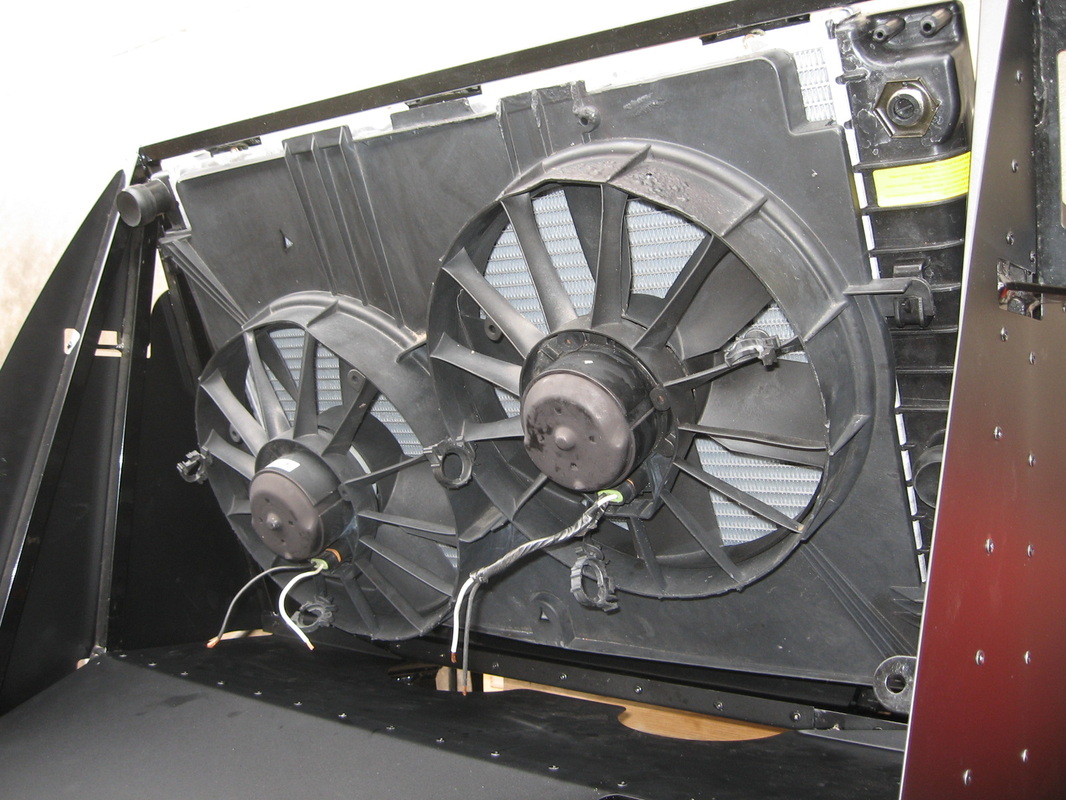
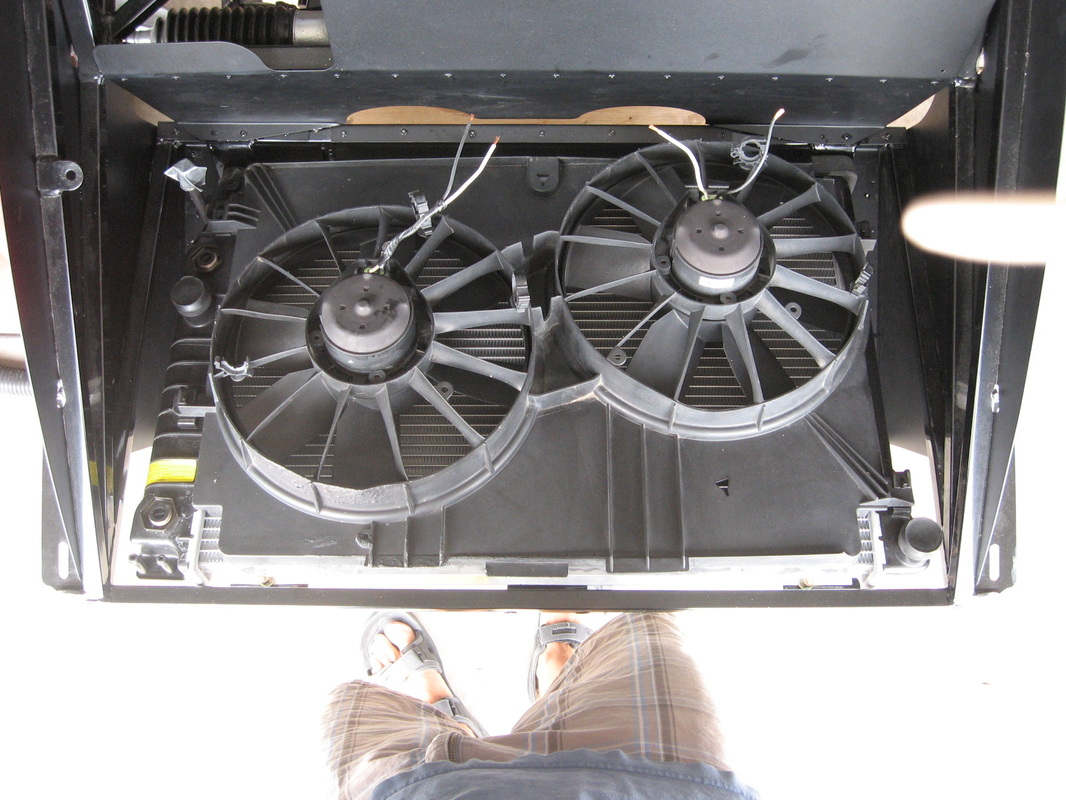
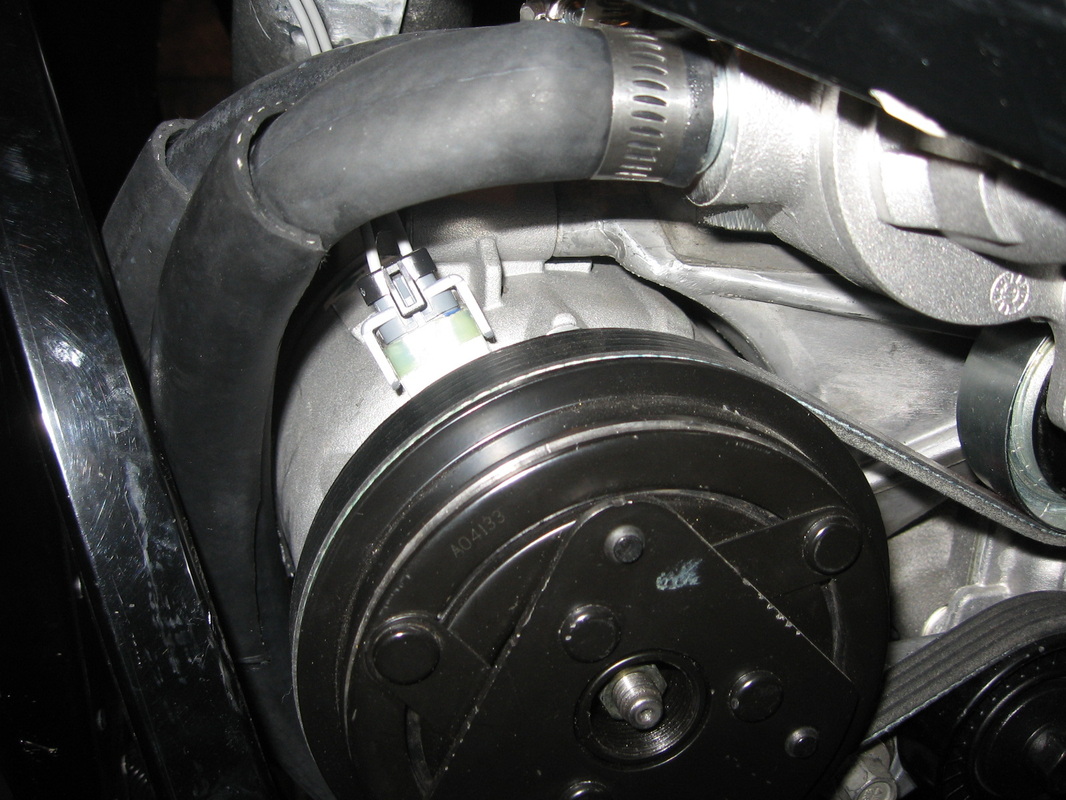
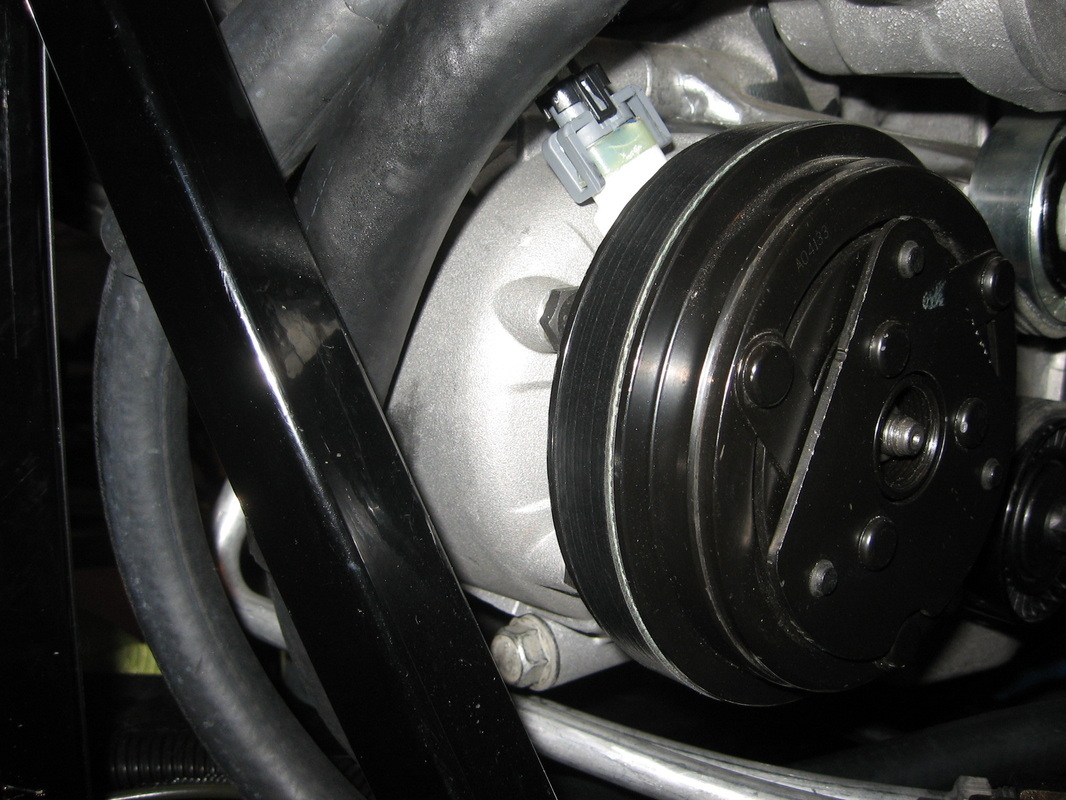
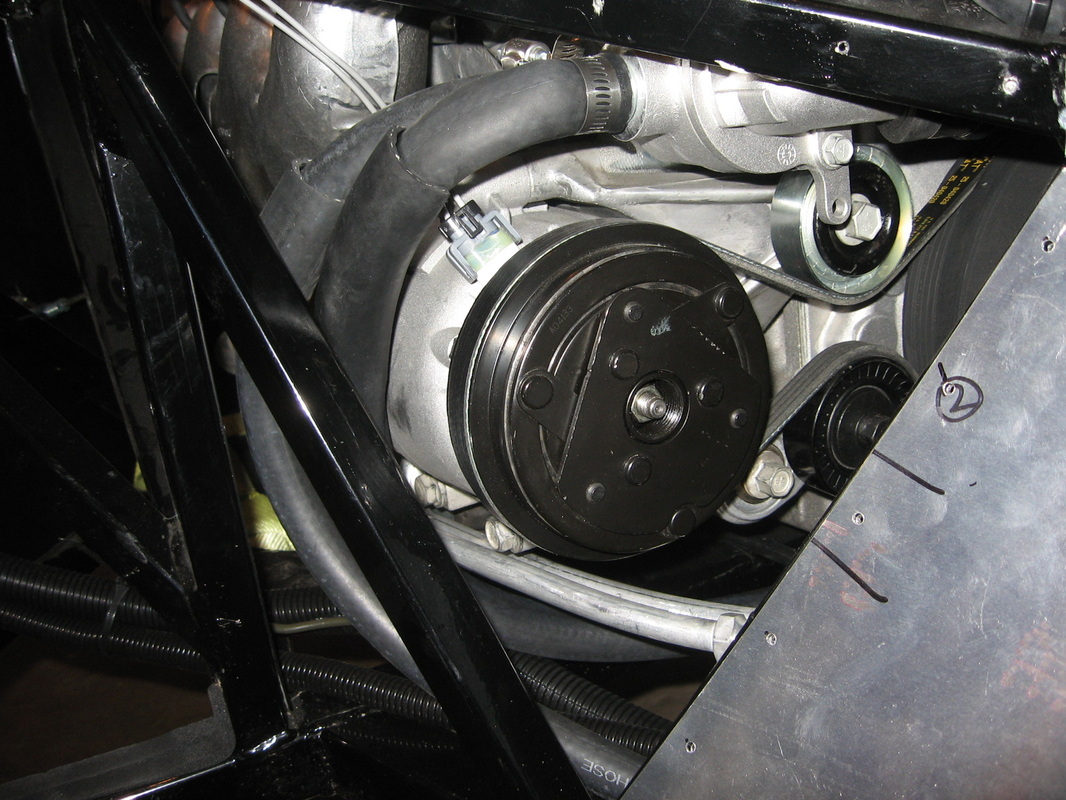
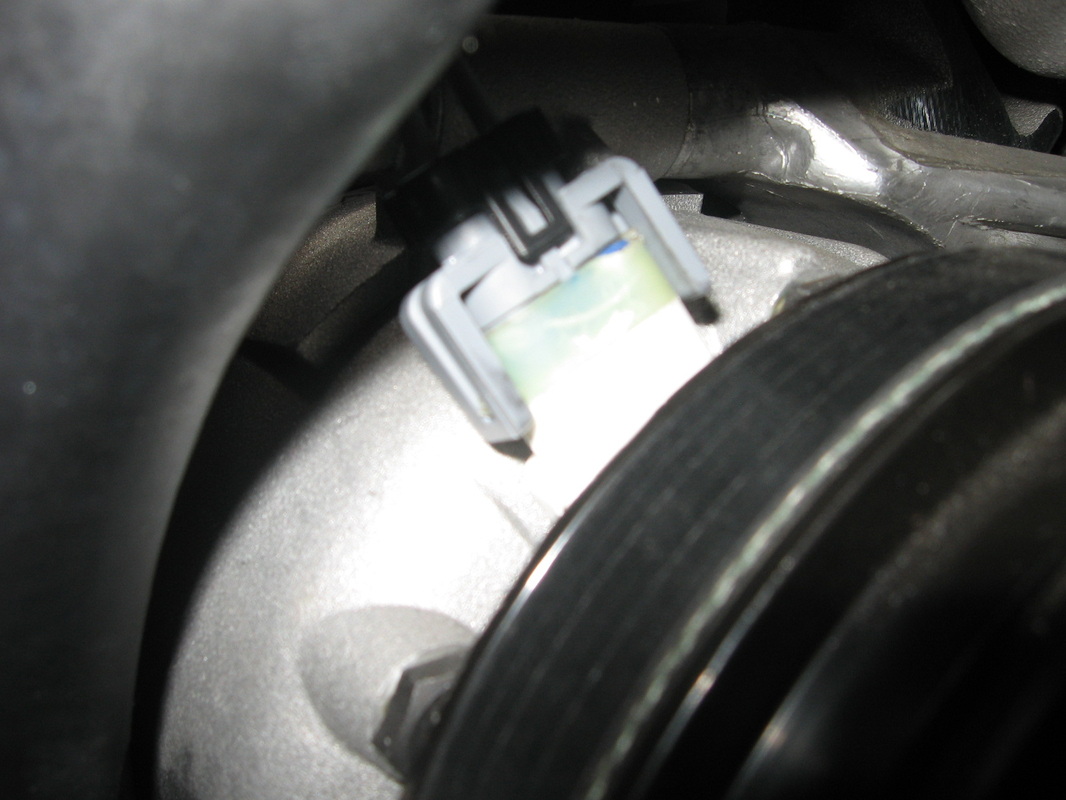
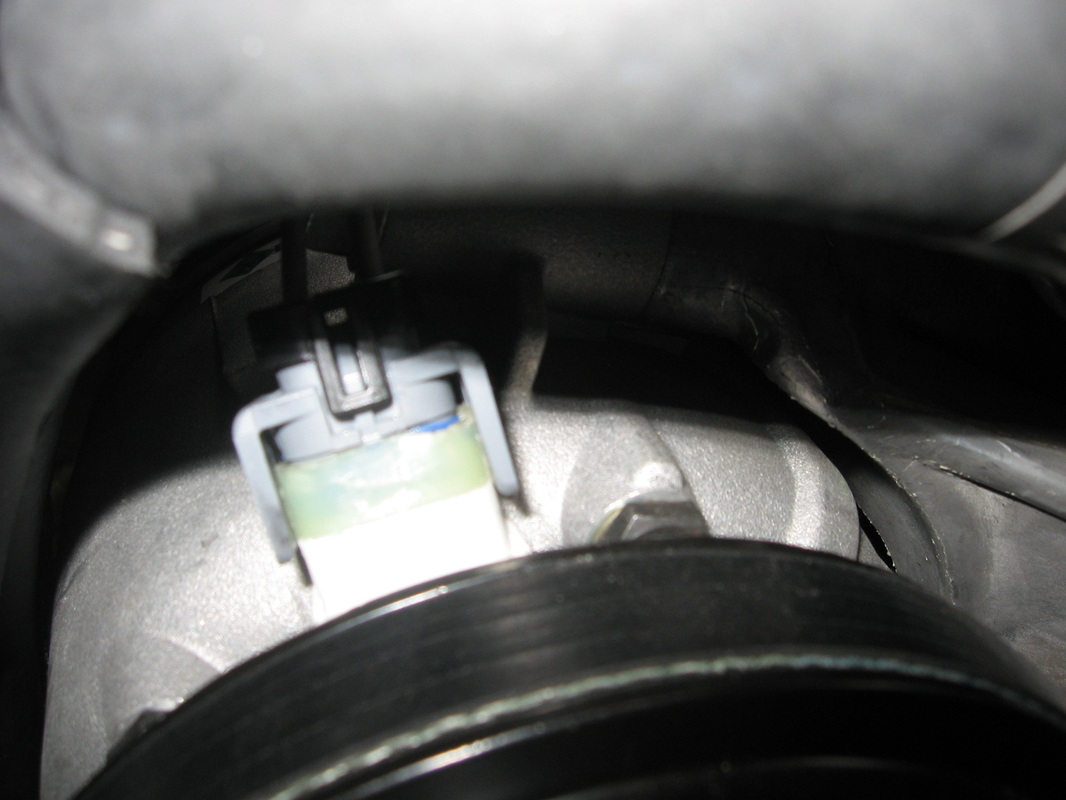
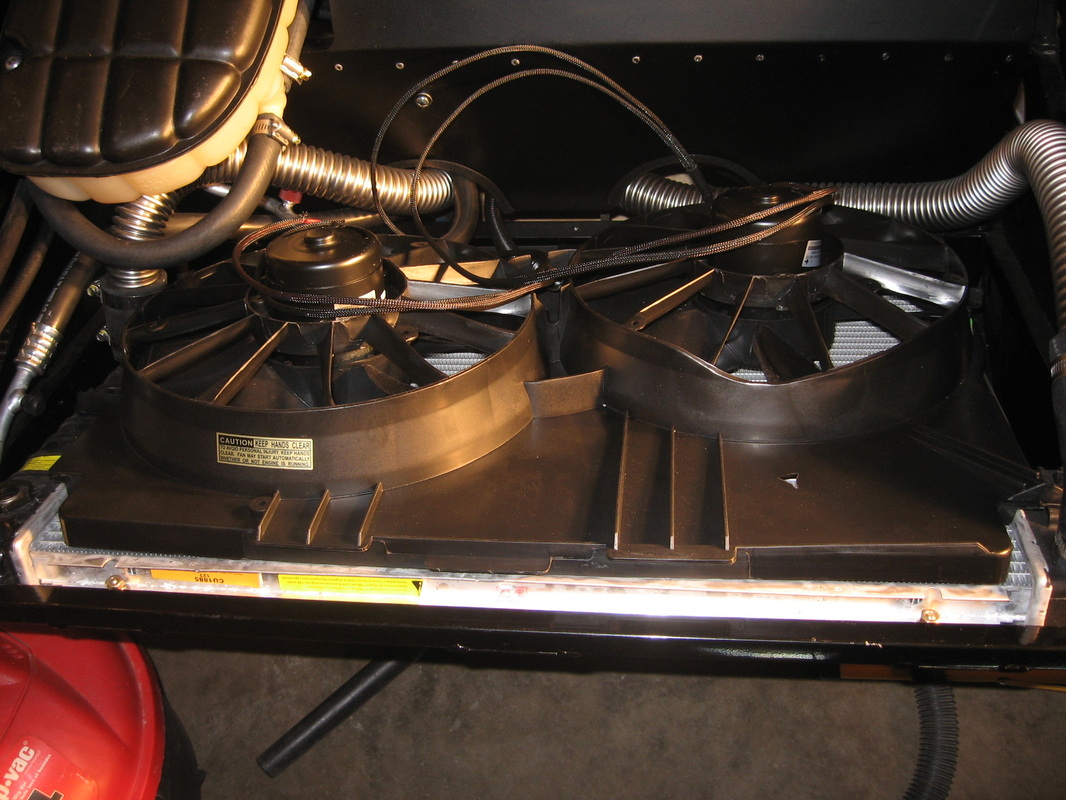
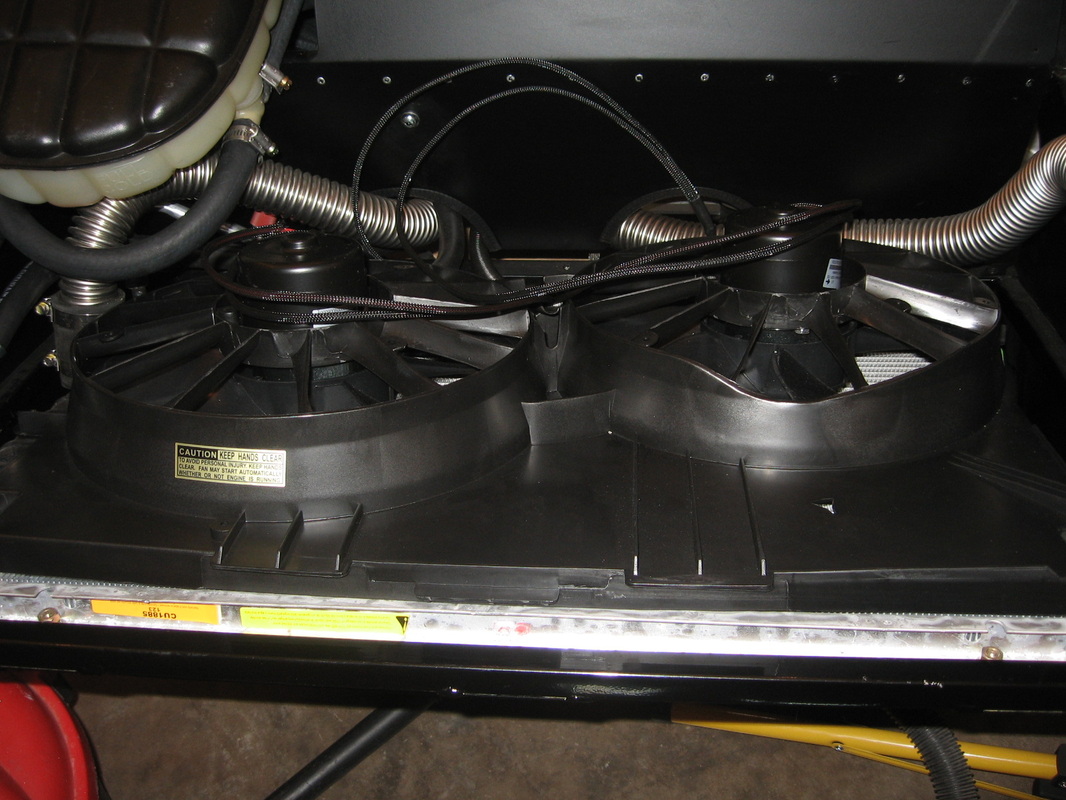
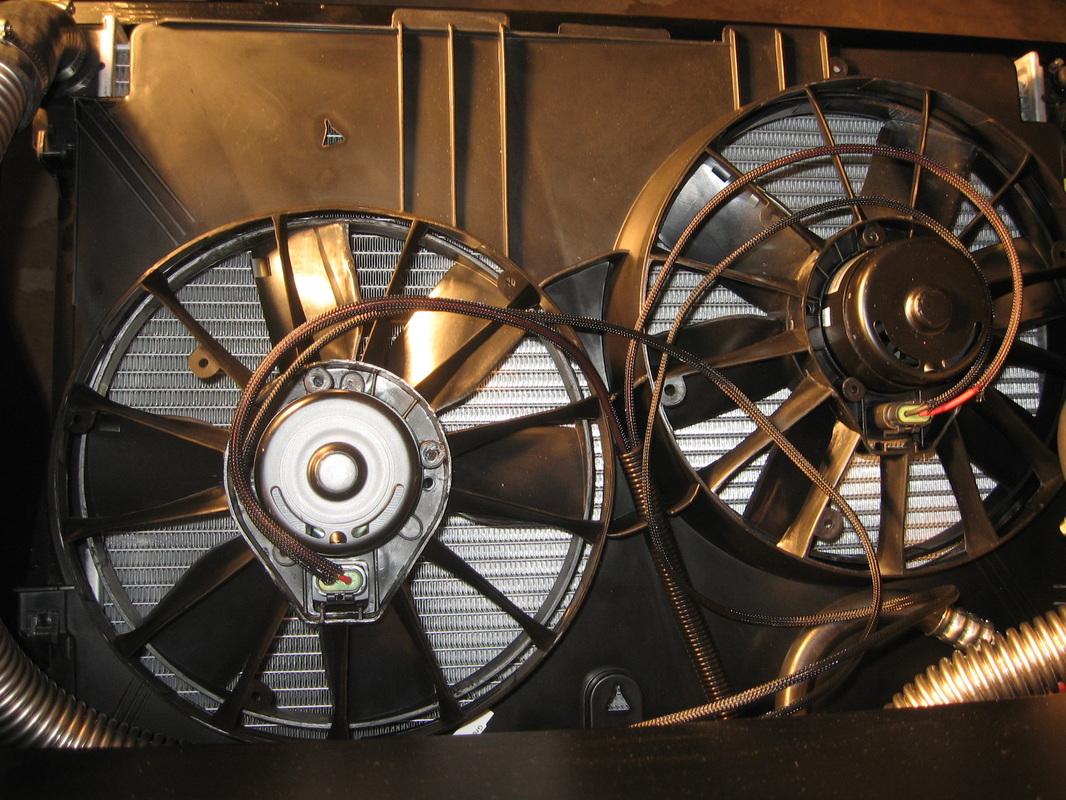
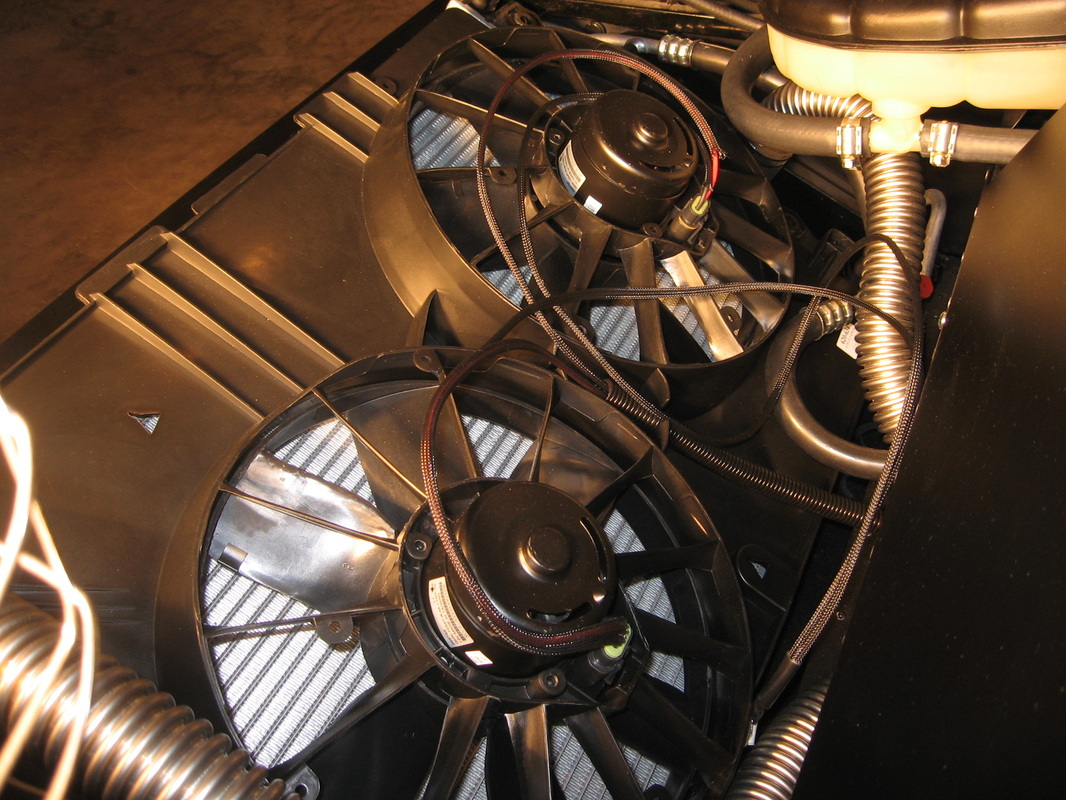
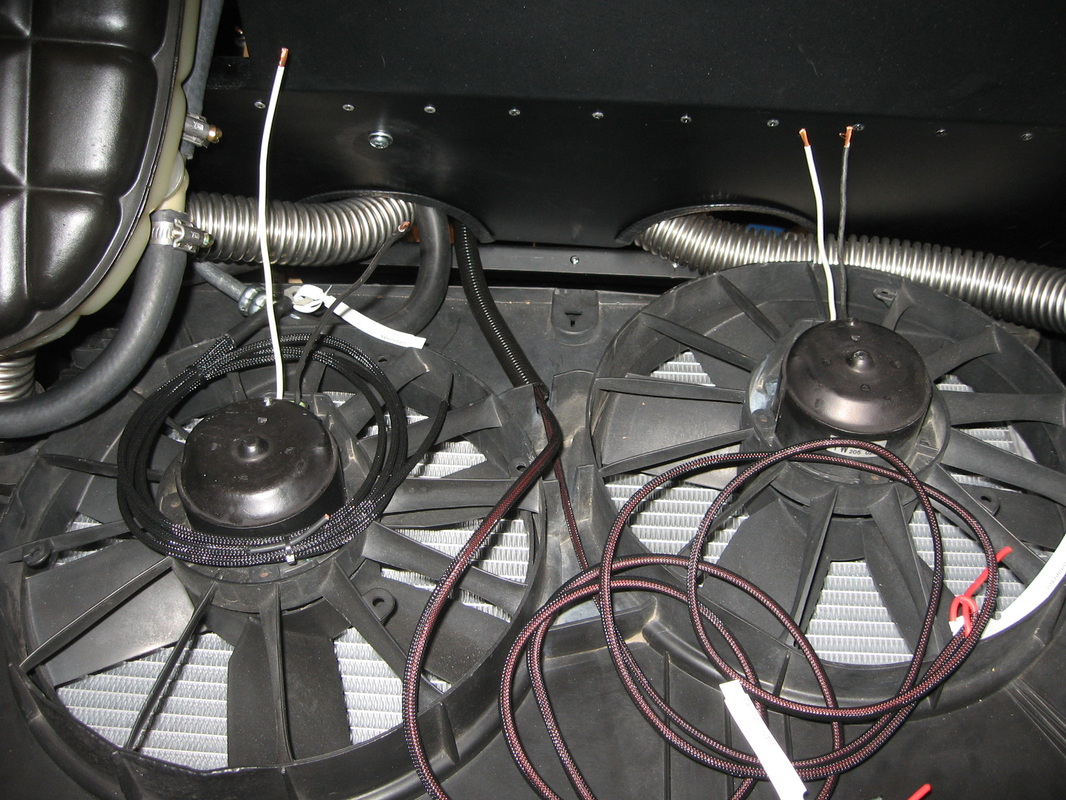
The new Fan Assembly was installed. The old one had a burn spot as it was used. Also put the wire clip on the ac compressor.
Nov 18-28,2011
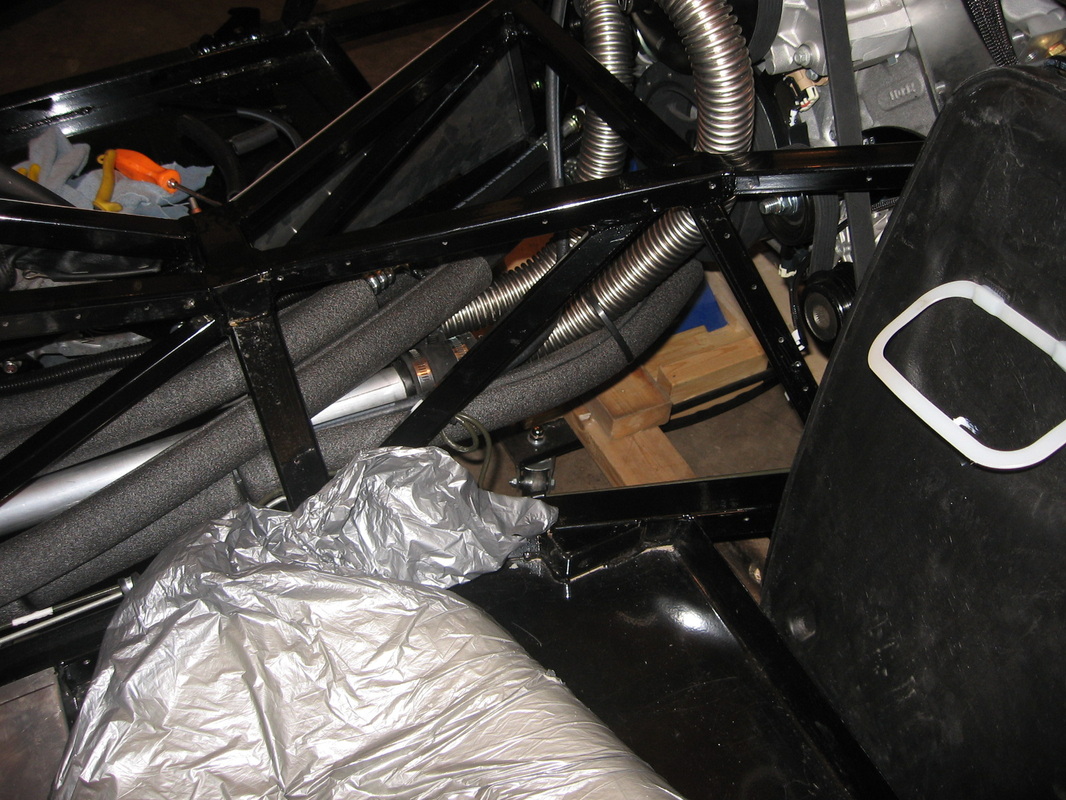
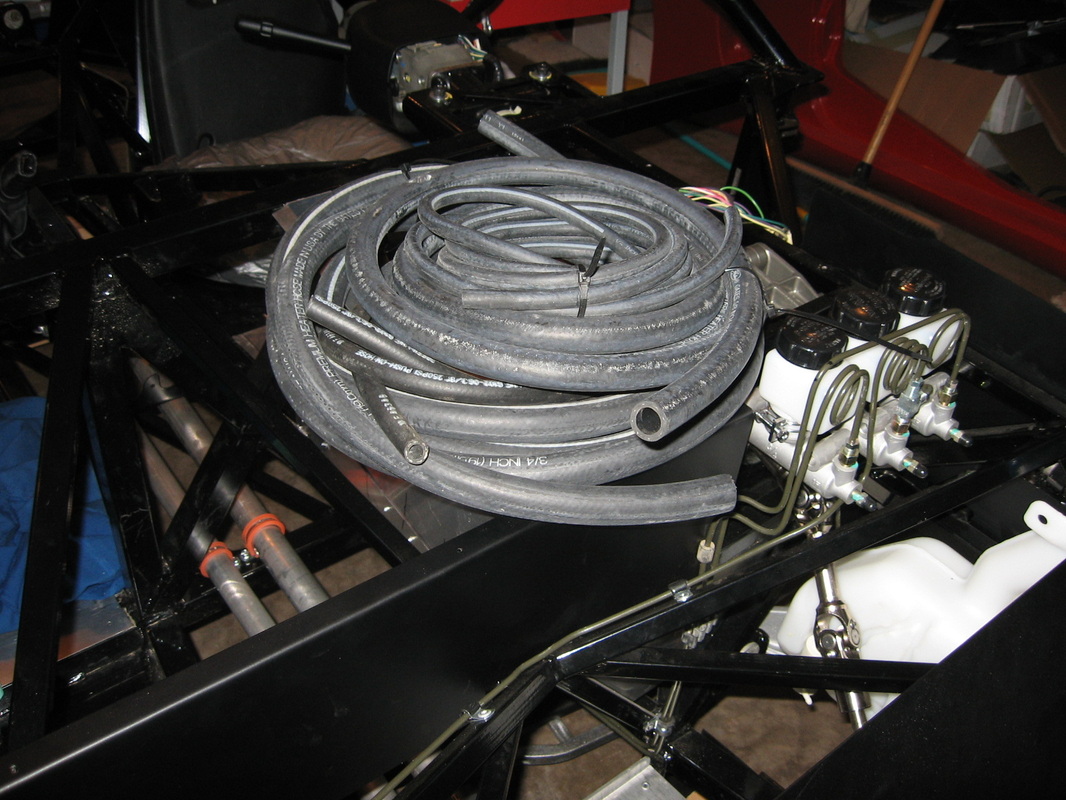
Dam hoses, just think I have it then the next step takes me back to reworking them. Just when I think I have the hoses in what I think will be a good spot another problem comes up. After what seems like days reworking these lines I might have it! Also started fitting the interior pannels just to get a feel that I have made some progress. I have also ordered the Kooks headers should be in for My Xmas gift (Hope).
Nov 13, 2011
Installed the fan wiring harness from the computer to the front where the fans are. Had to snake the line through the tunnel of the car.
Sept 17, 2011
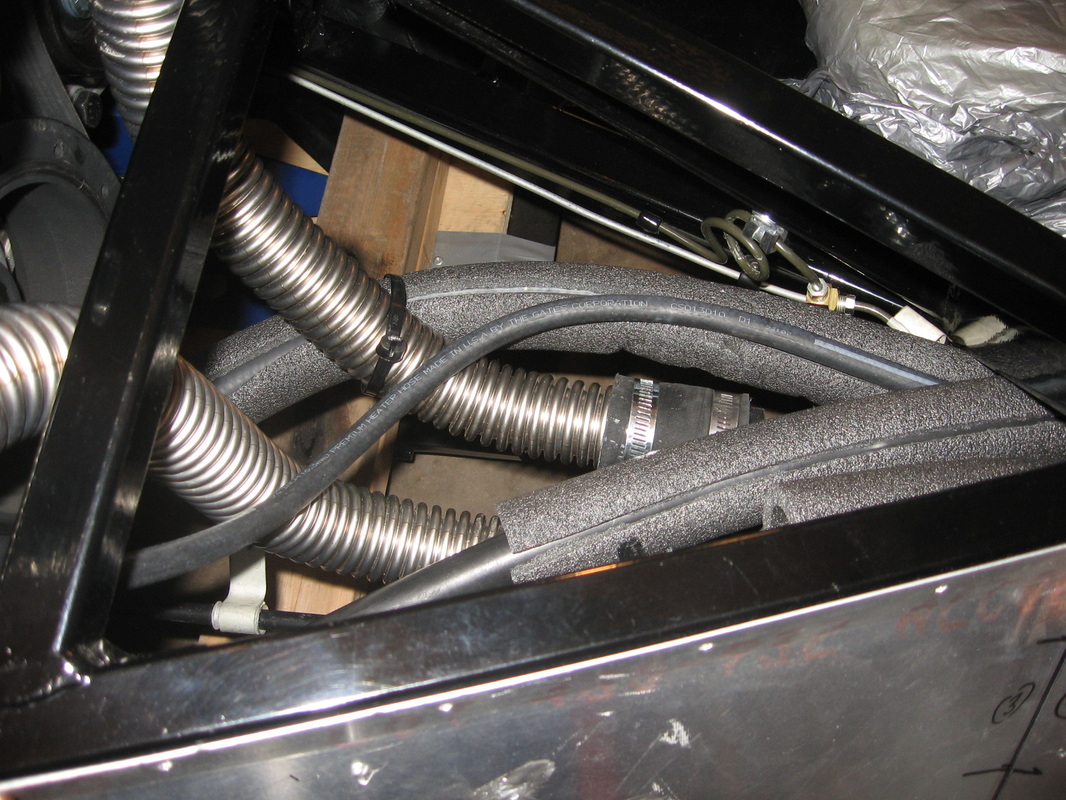
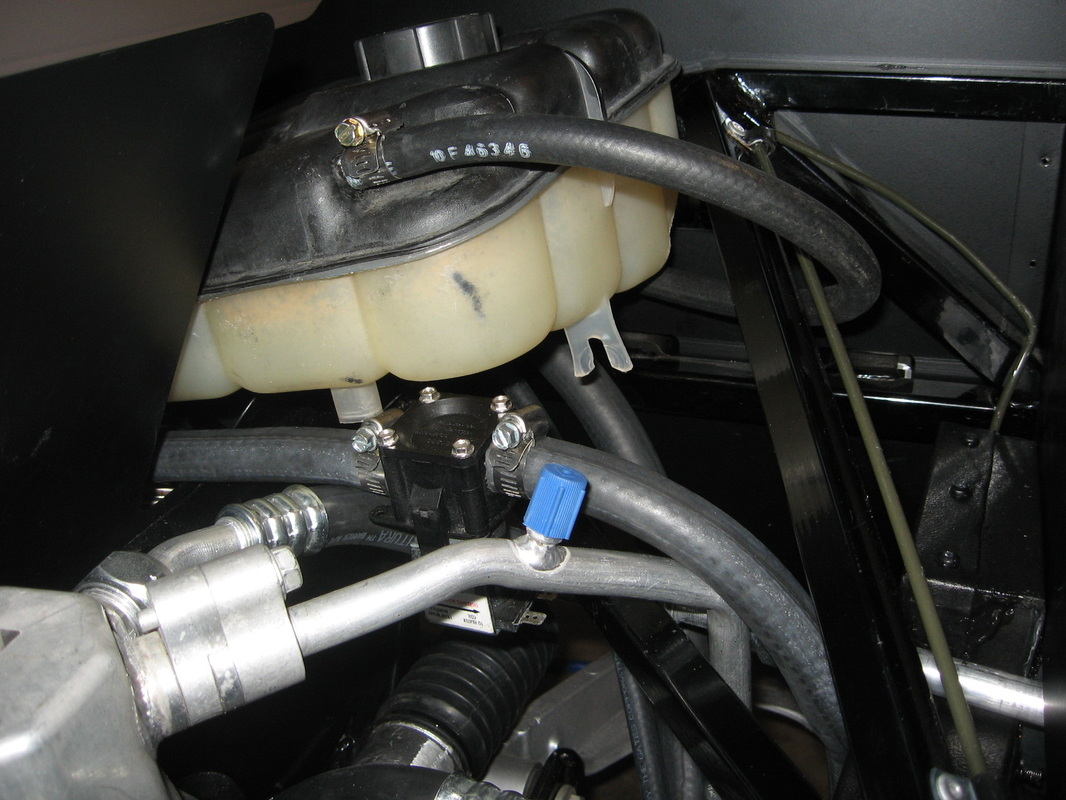
The line were not in the right place to be connected to the surge tank. So again out they came and another 2 hours running the lines to where they sould be. All part of the build I guess but loving it. Beer is cold and tasting good.

Sept 01
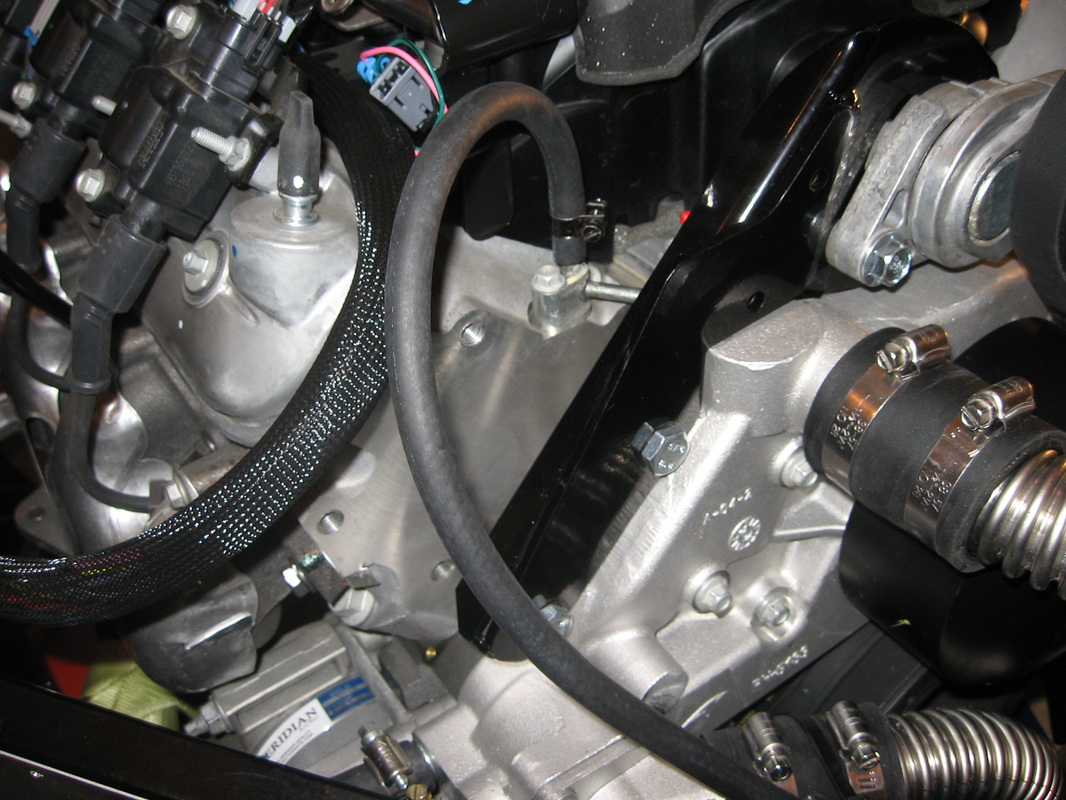
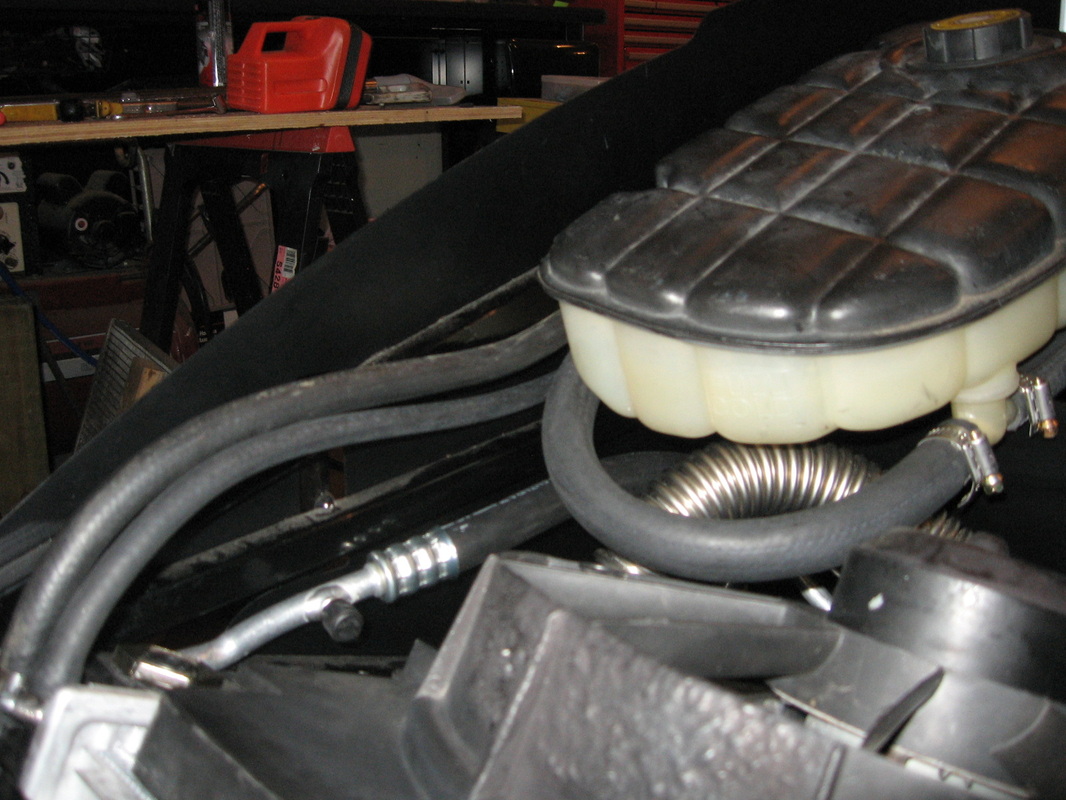
Had to cut the new heater hose that was ordered. Installed the hose end piece then used the supplied hose clamps to finish it off. Had to find the heater hoses these will be installed next.


Aug 20, 2011
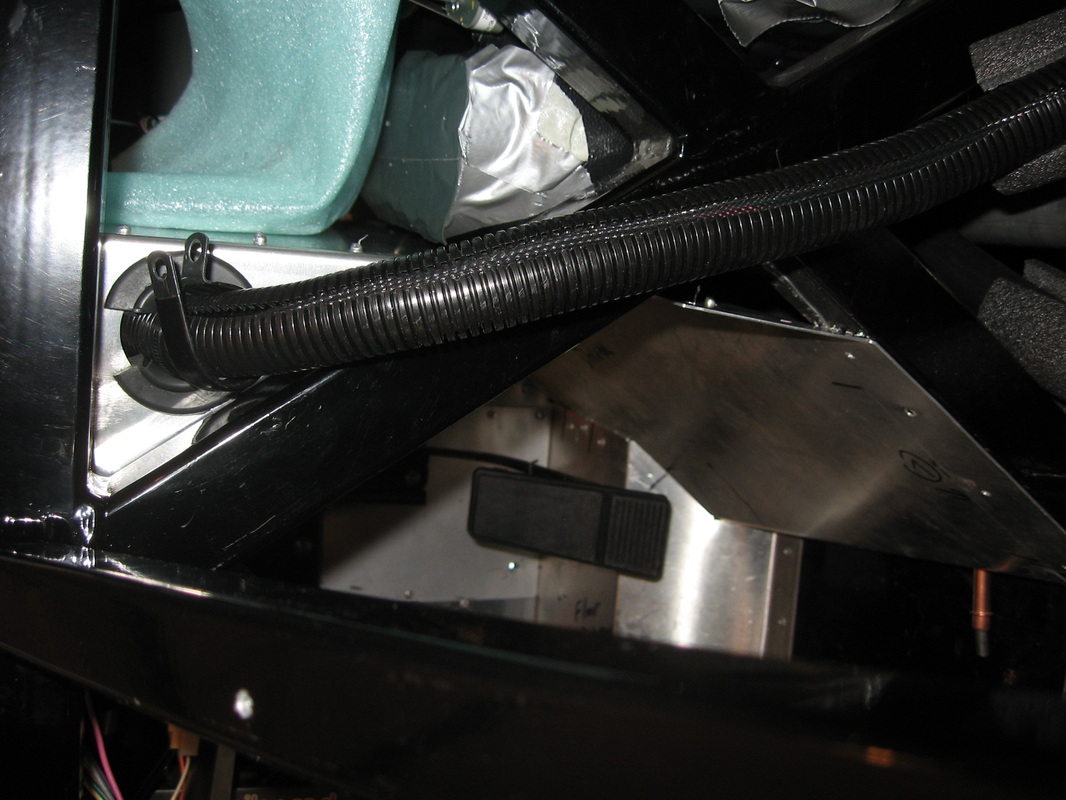
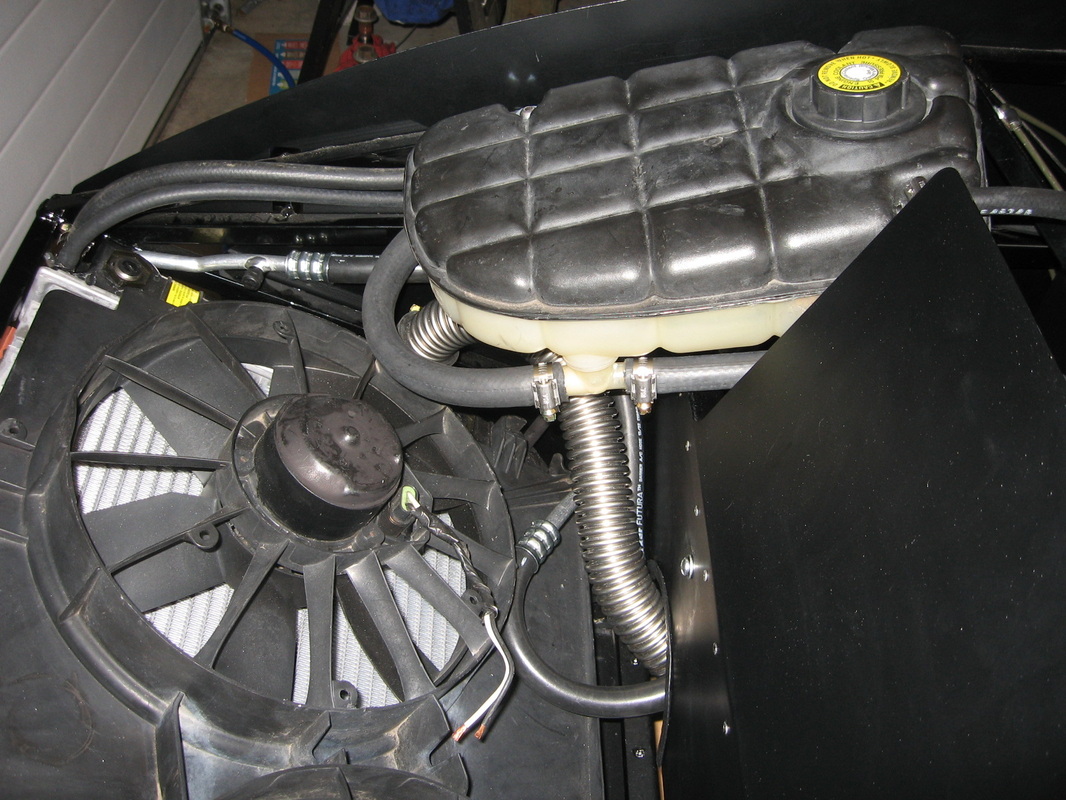
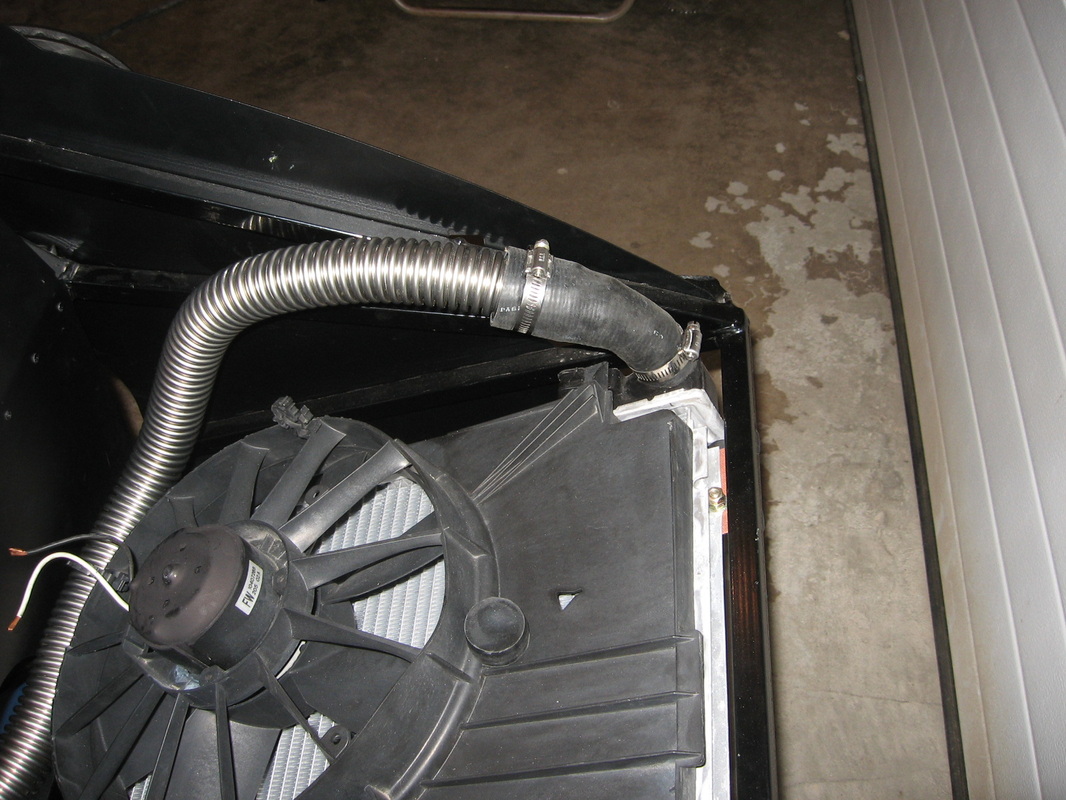
Installed the lines at the front from the rad to the hard tubes.
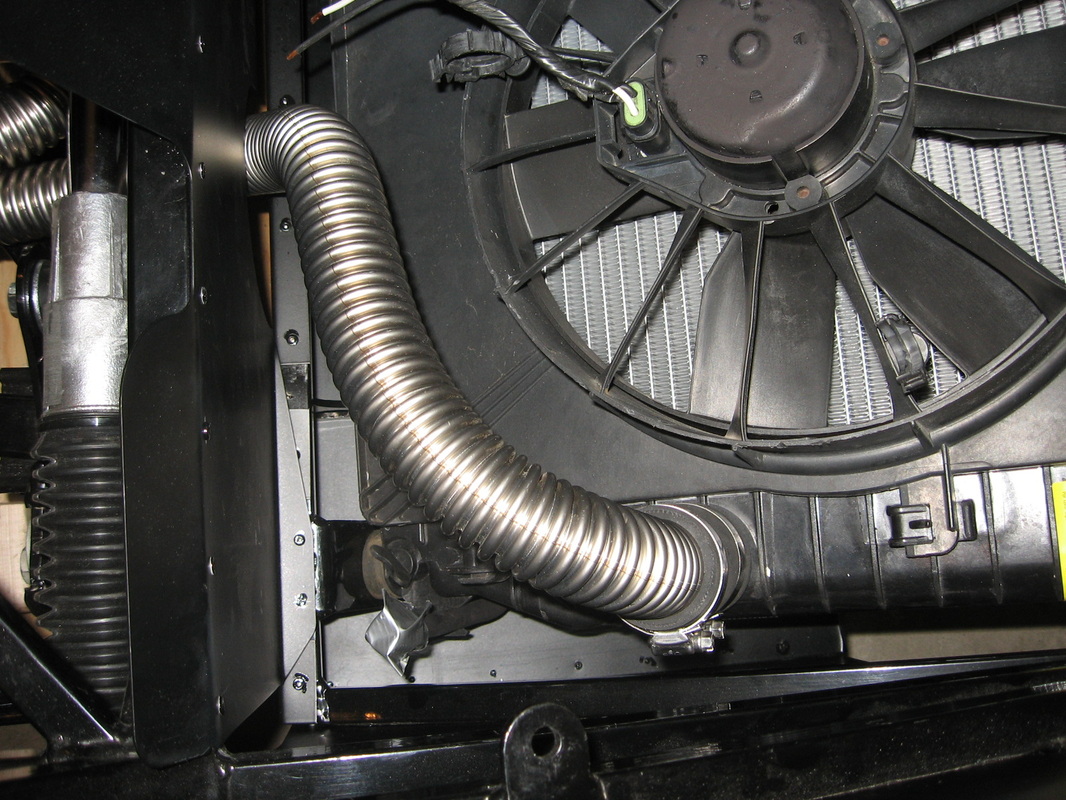

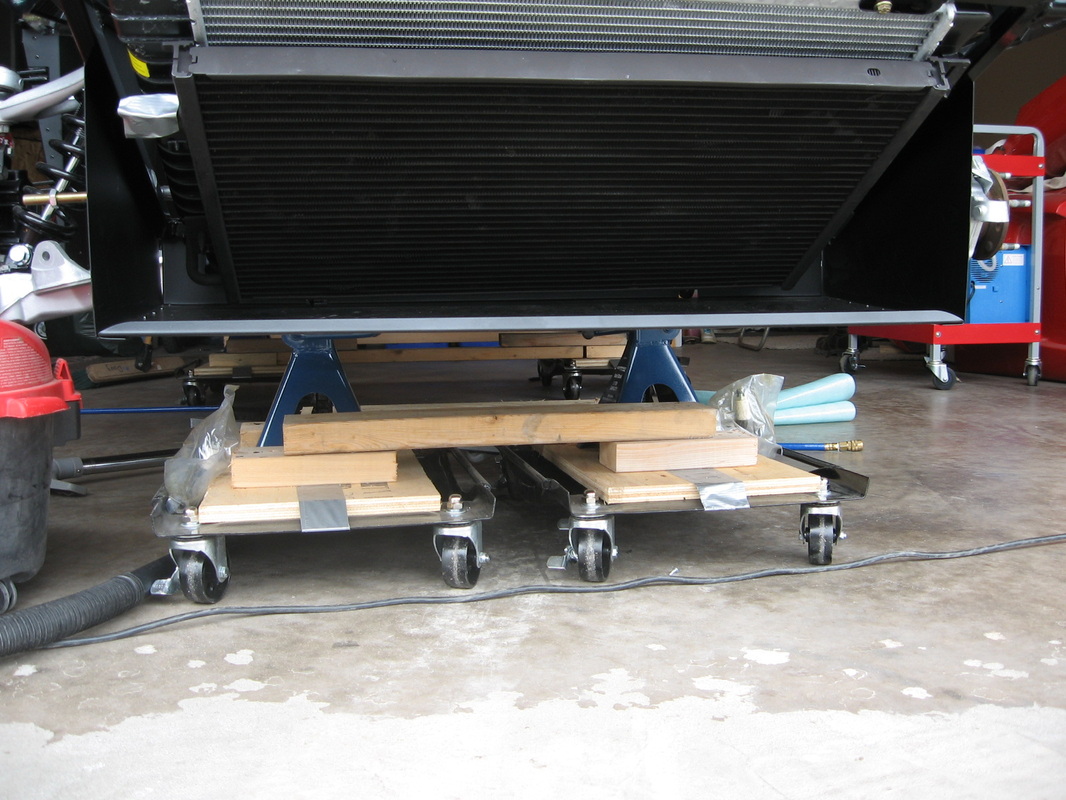
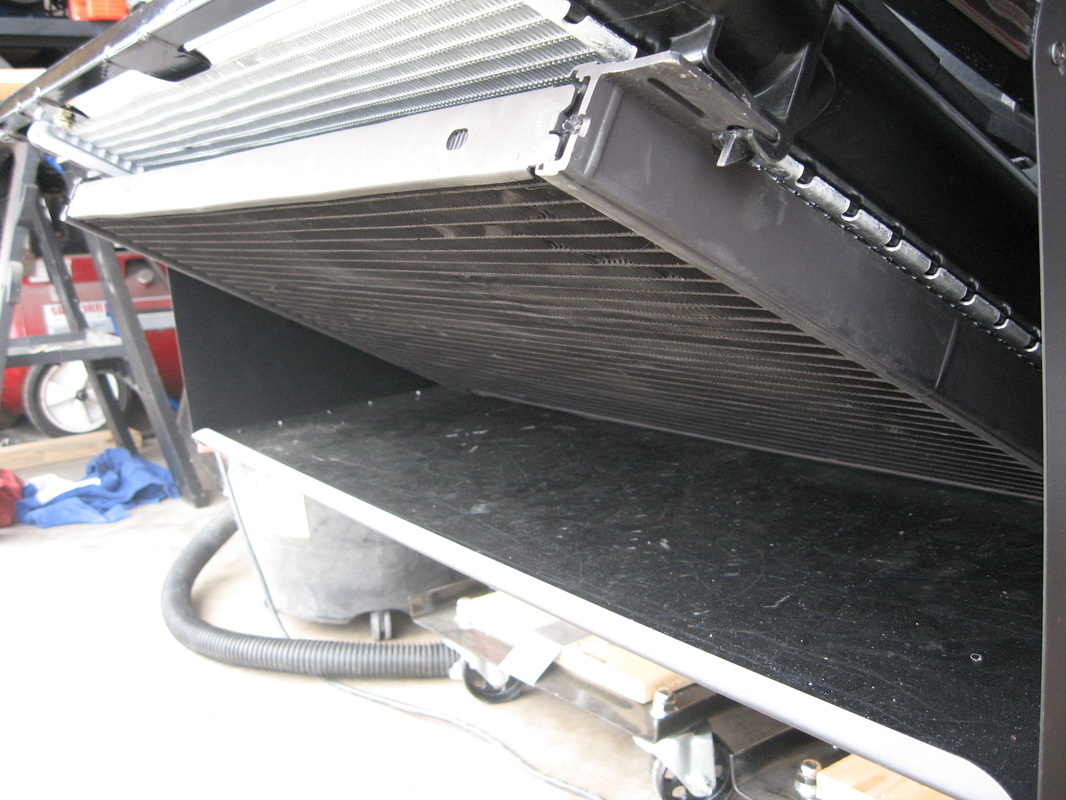
The Rad Install
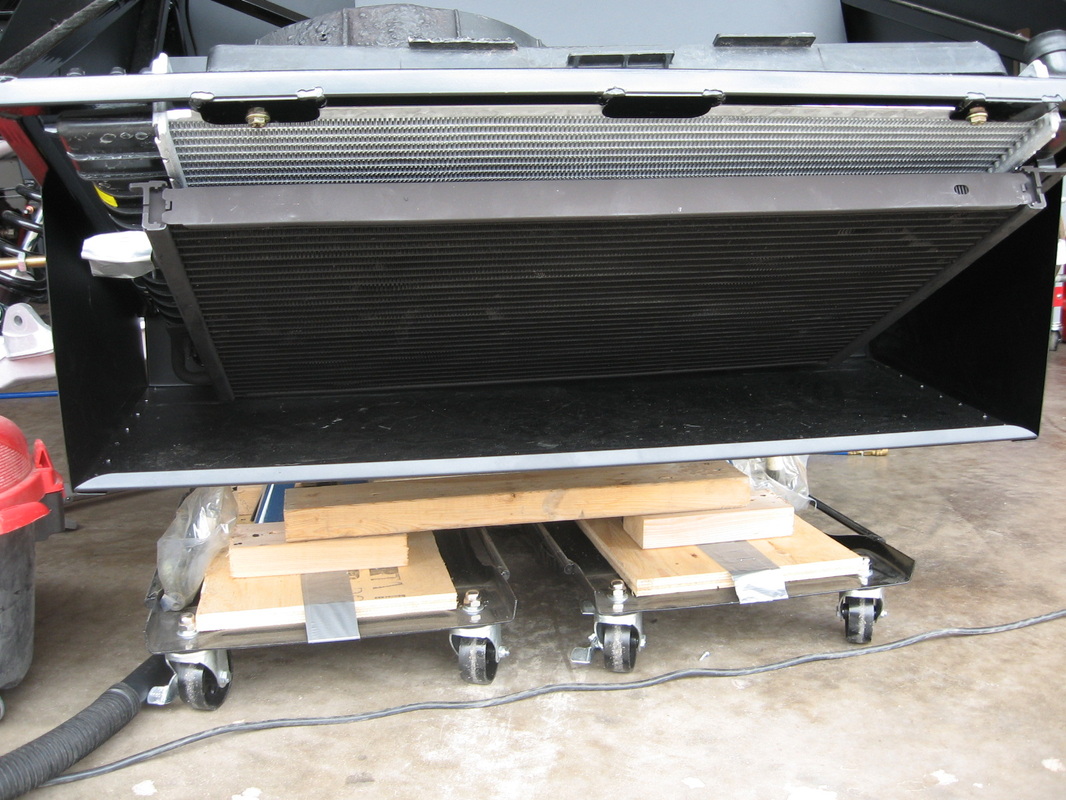
This part of the build was very easy just followed the manual. I had to order a new rad as the donor kit did not have one. I also painted the condensor a flat black so when you look at the front of the car you will not see it.