April 19-25, 2013
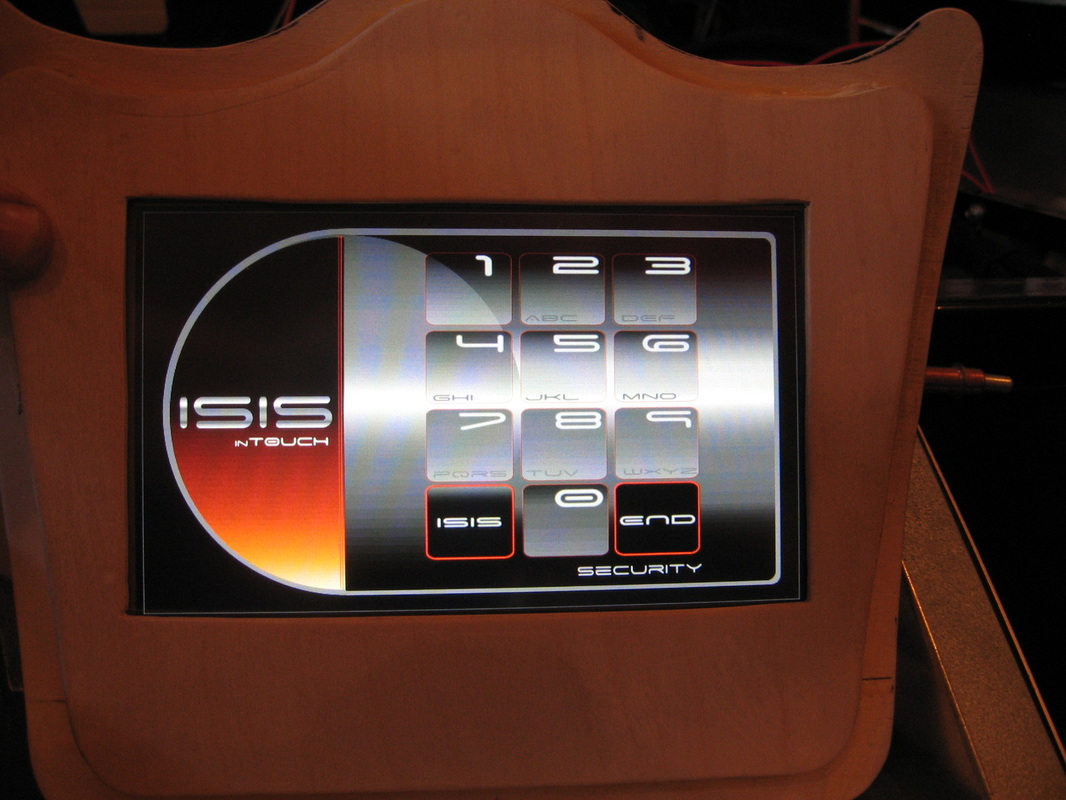
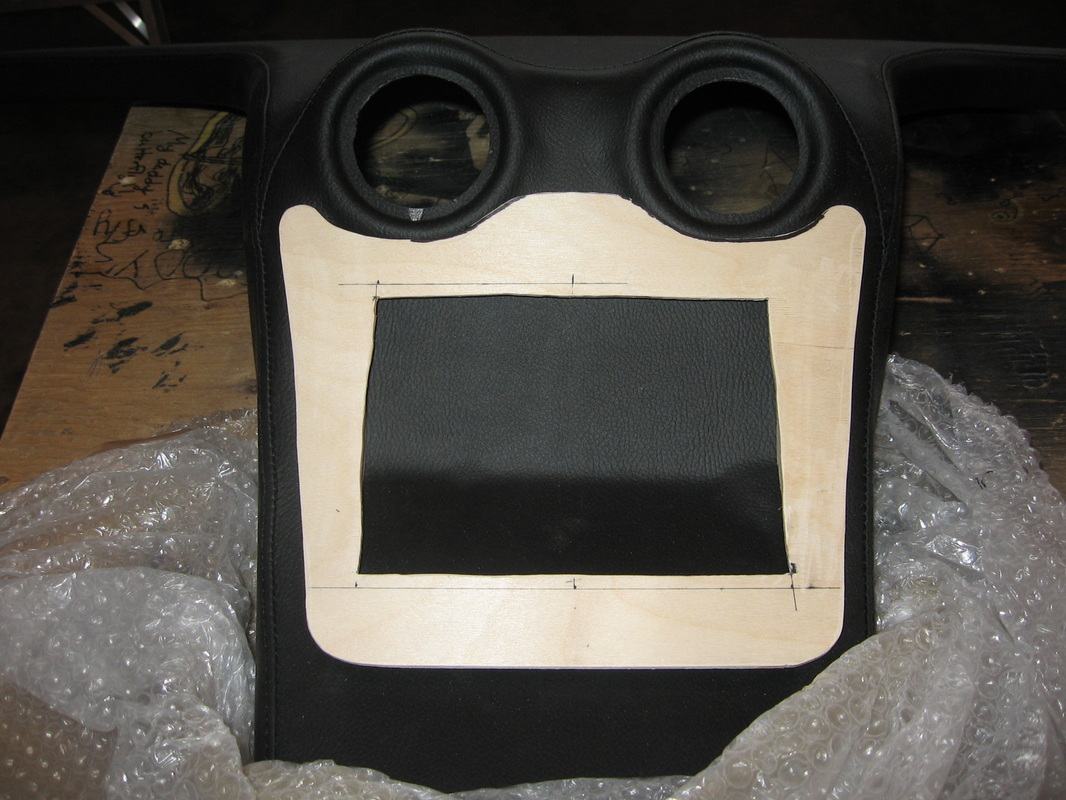
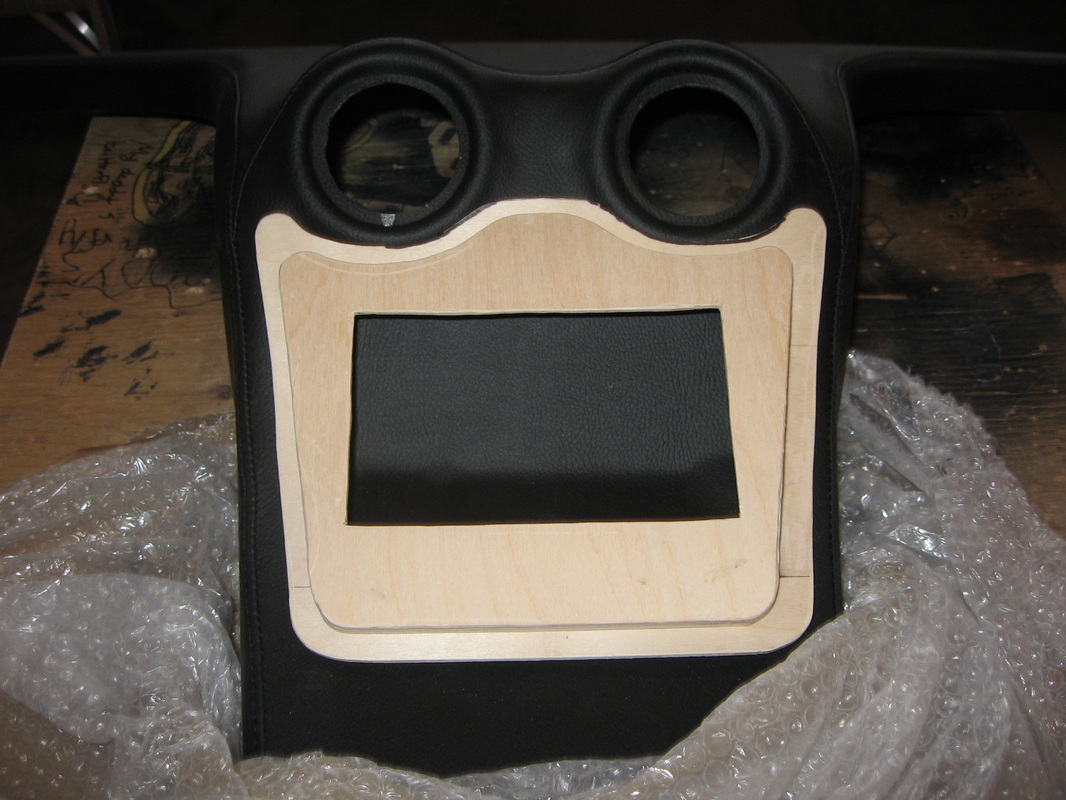
This week has been a huge milestone, ISIS powered up and the display unlocked. Starter and ignition wires are connected to the ISIS system. Once I have the car running I will get the bezel covered to match the interior colors. I am debating on getting the GTM logo on the bottom of the bezel might be to much though.
Oct 20 Nov 06, 2012 Nov 11-12, 2012
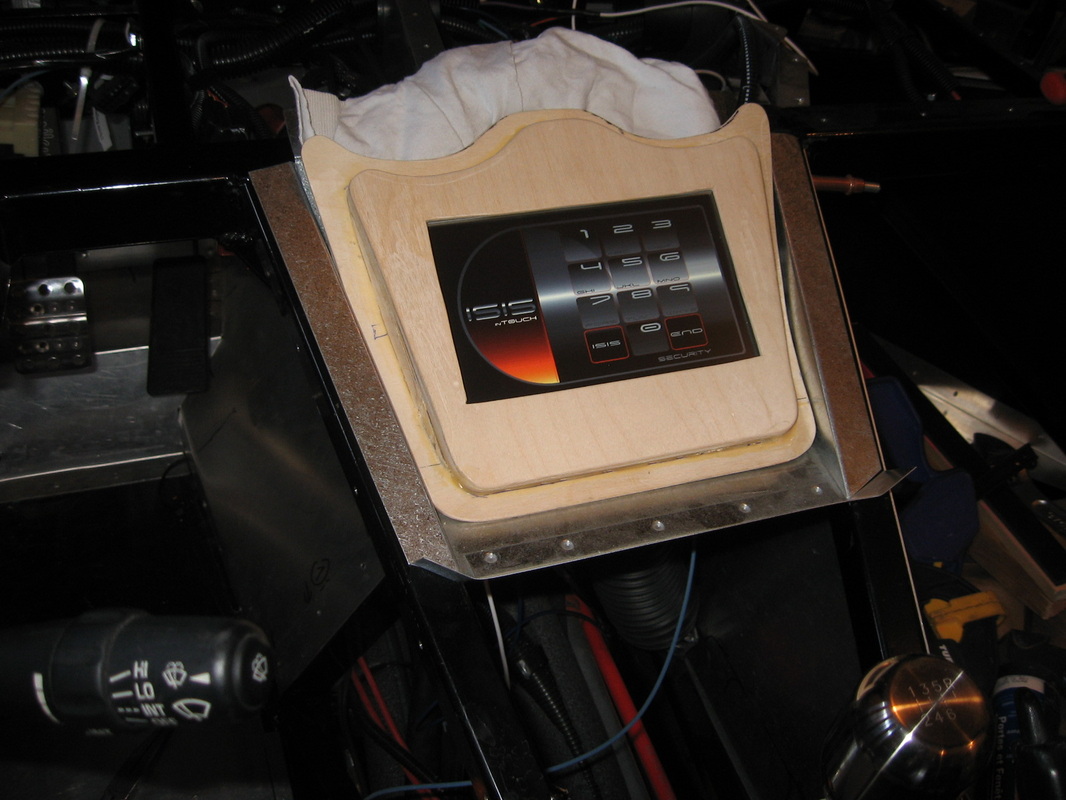
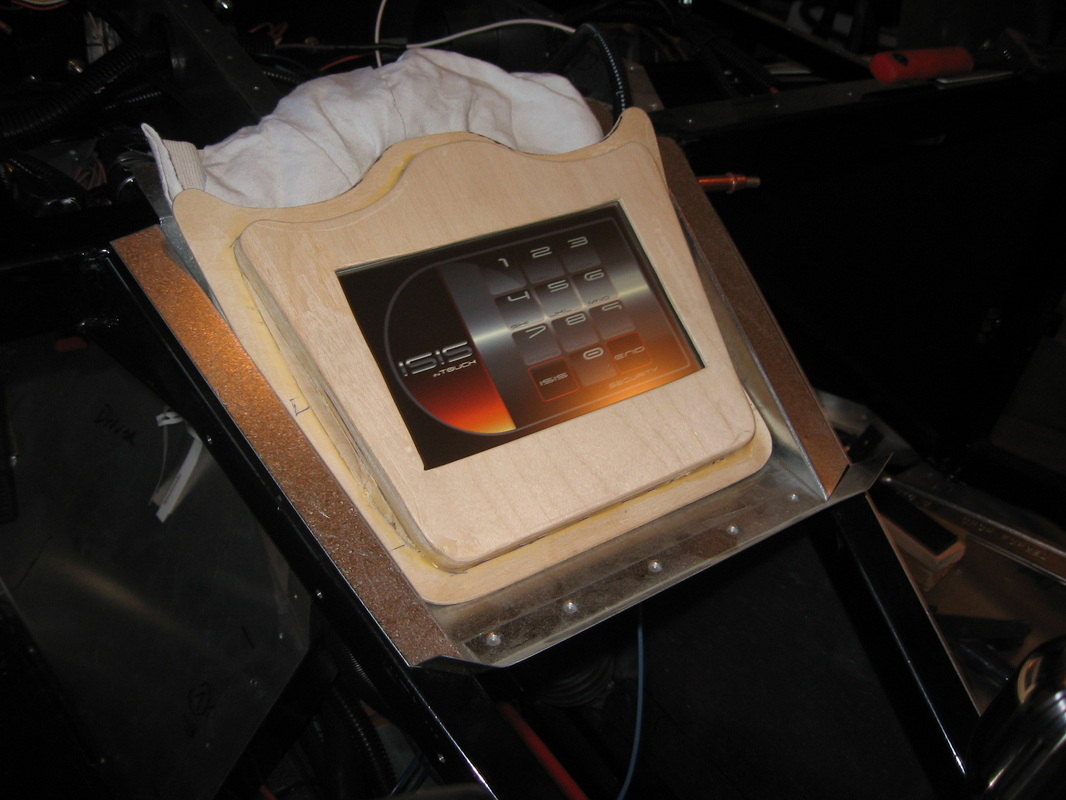
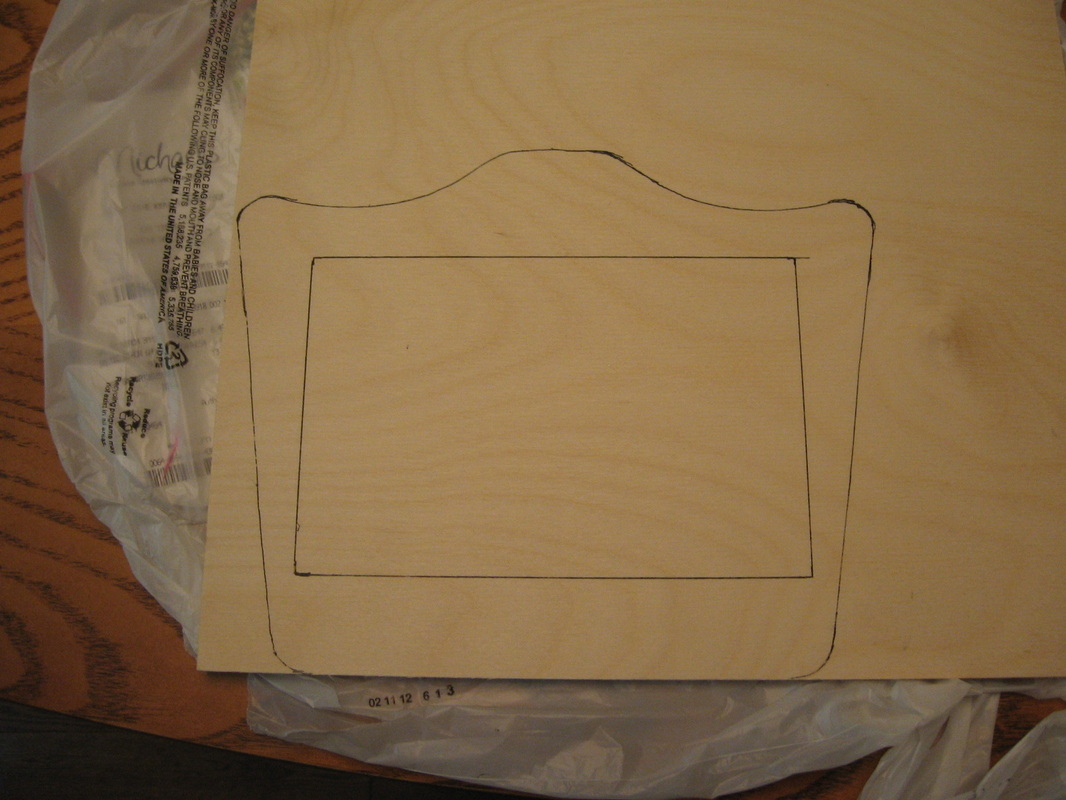
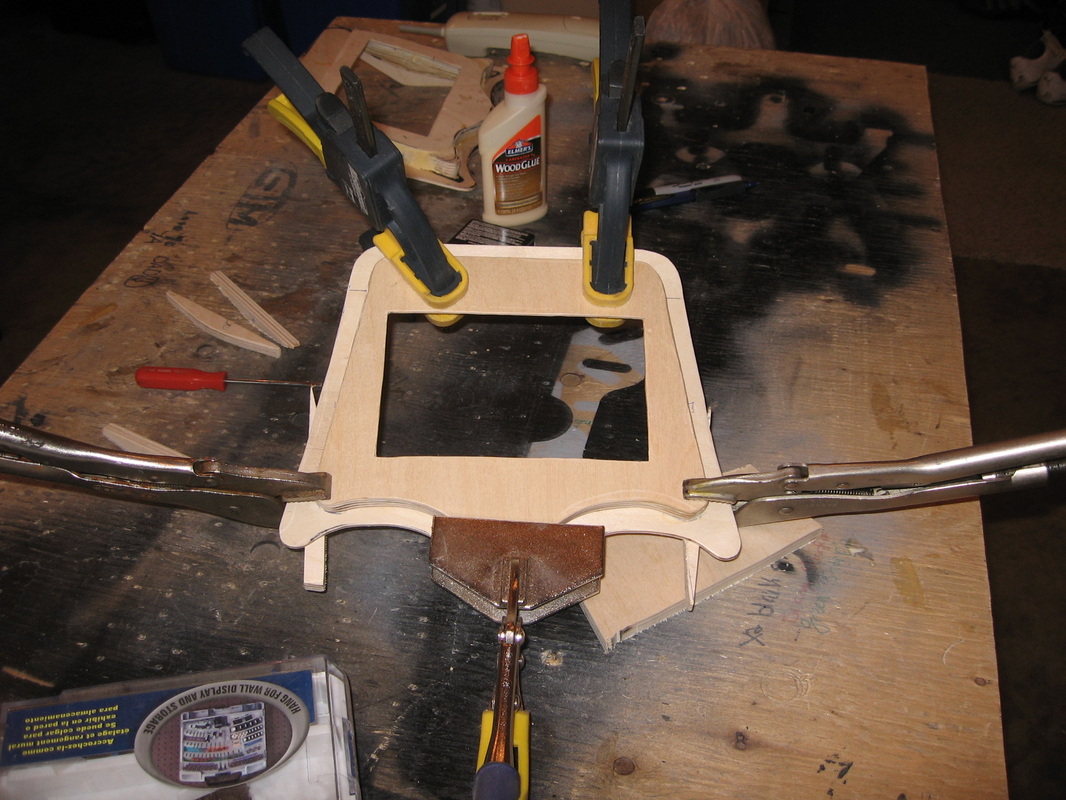
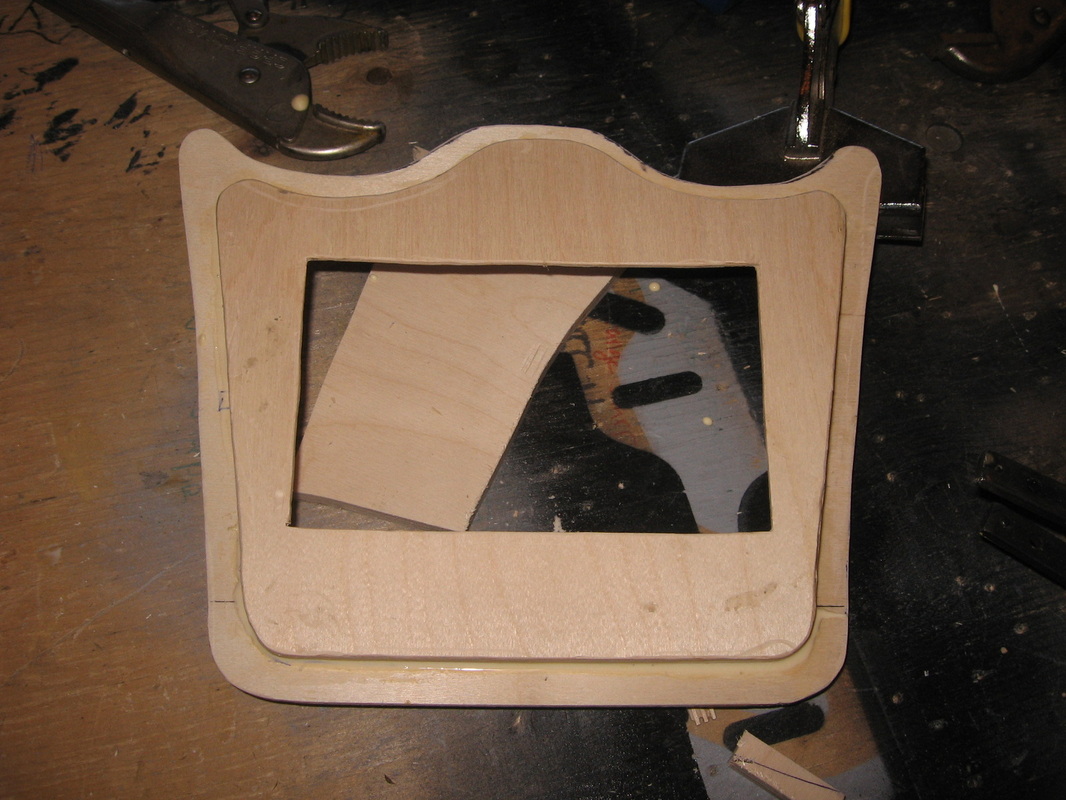
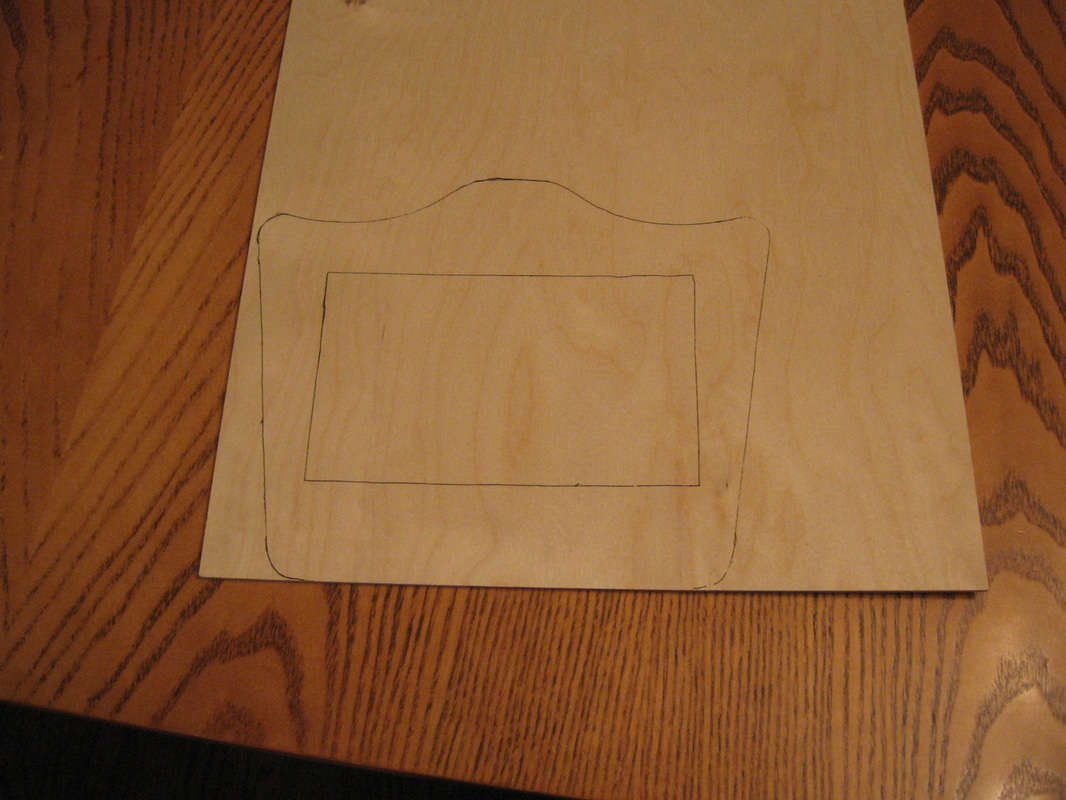
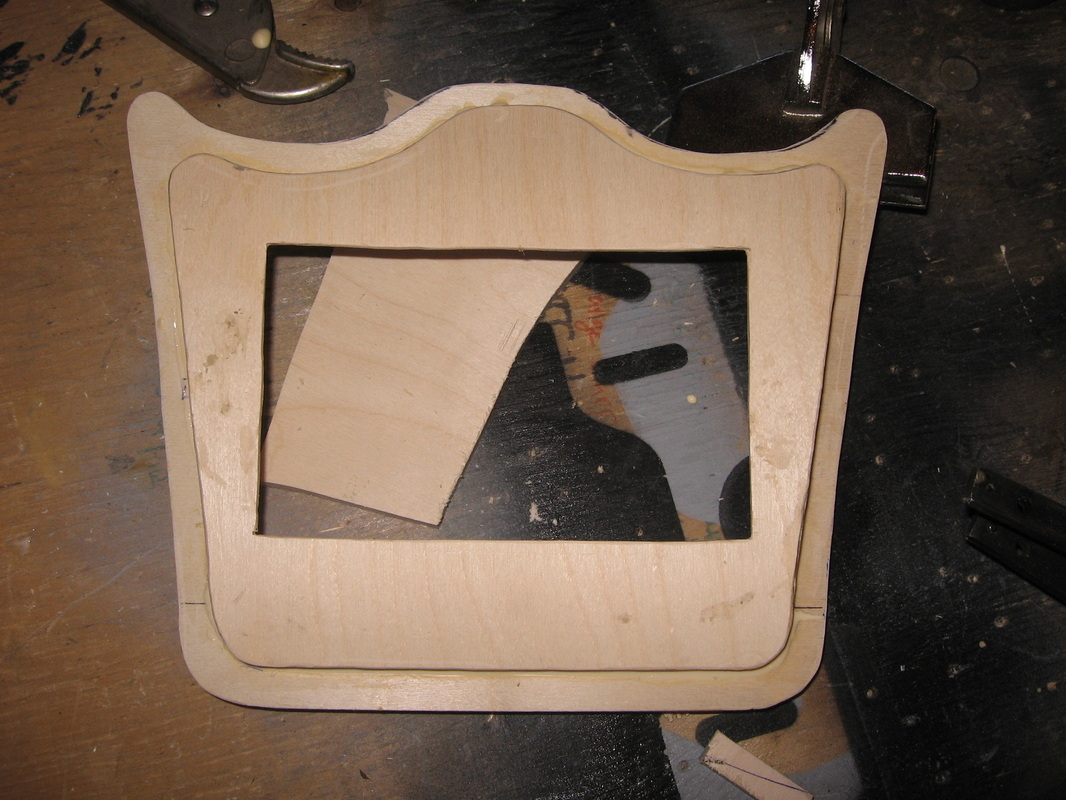
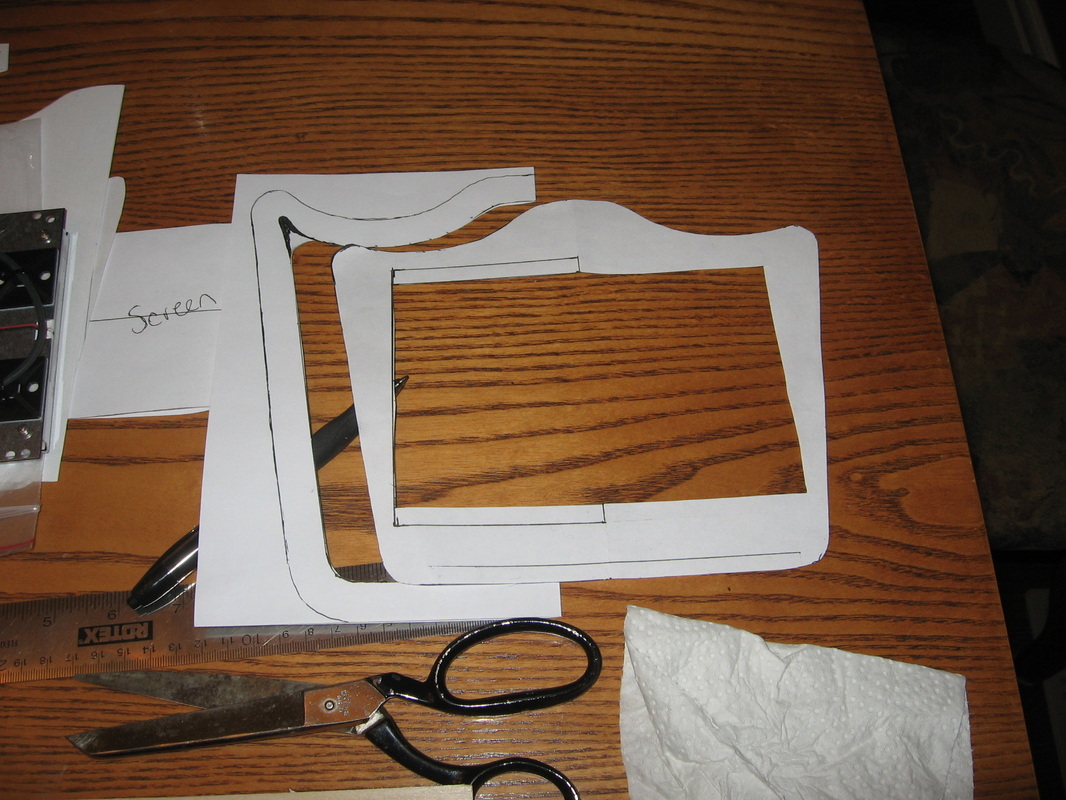
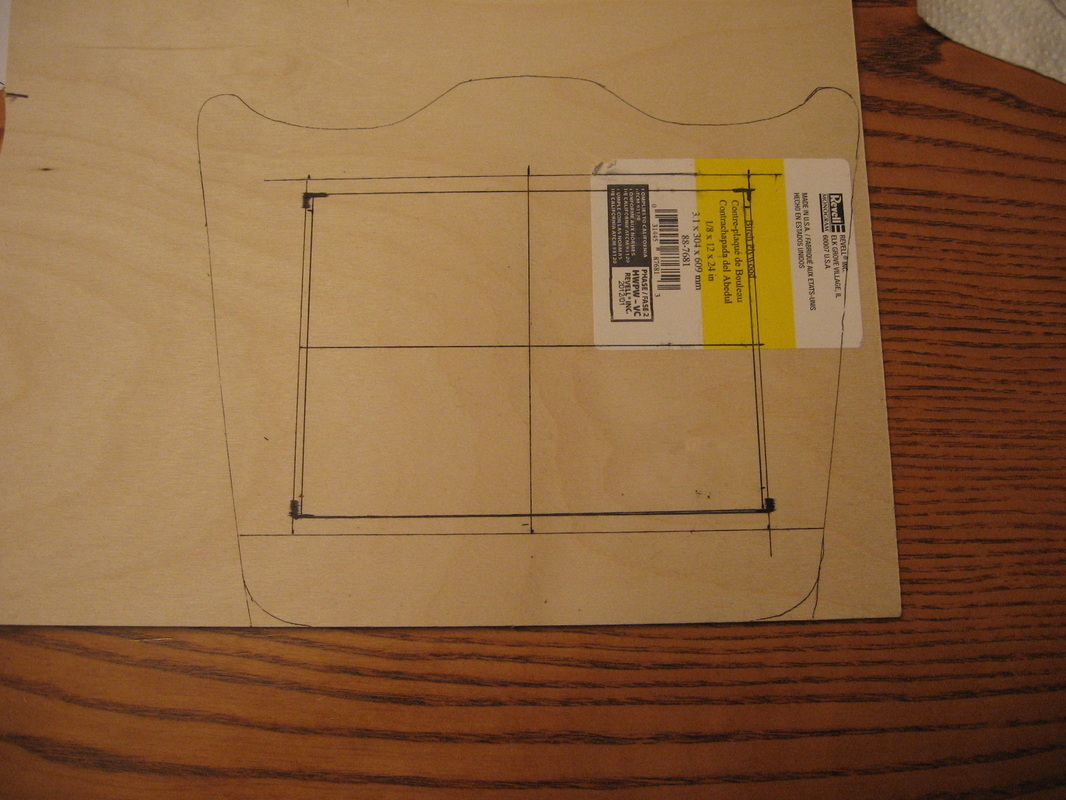
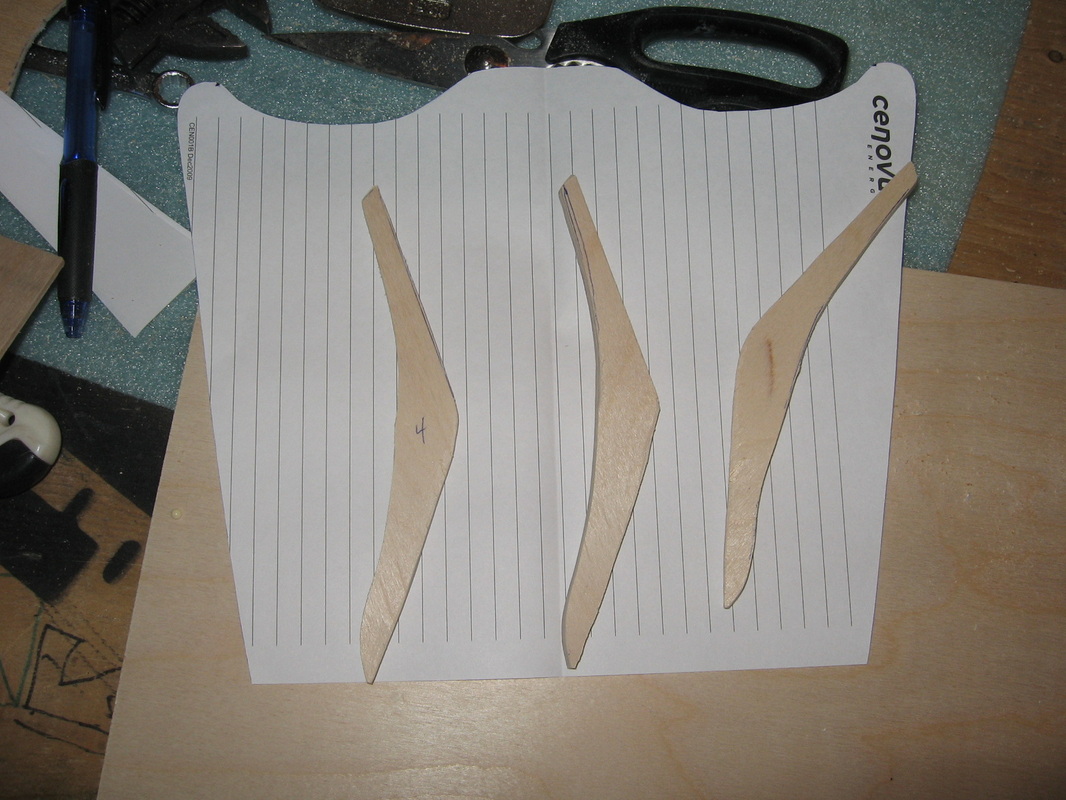
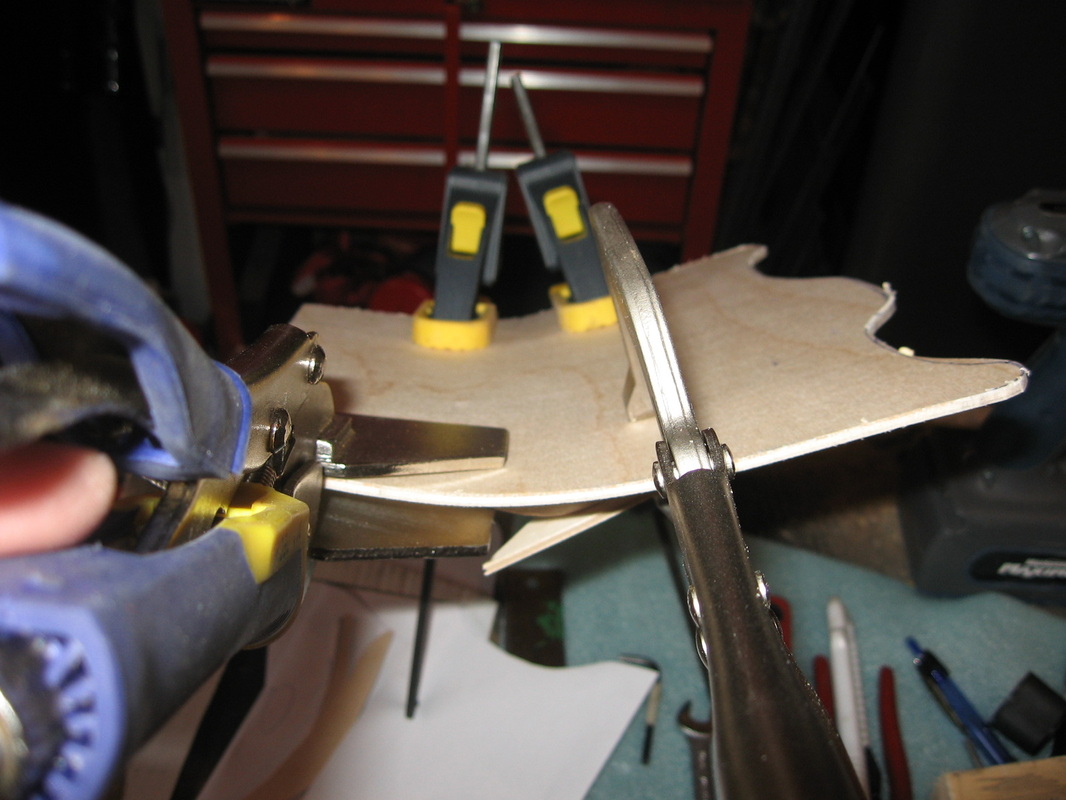
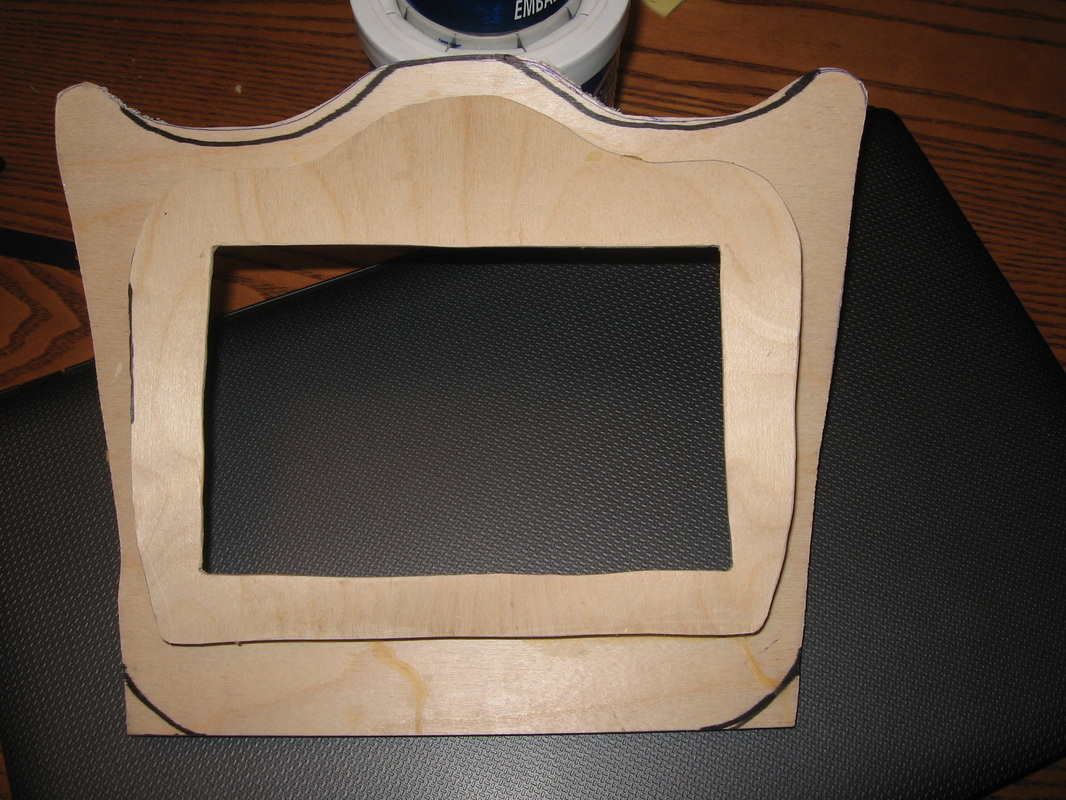
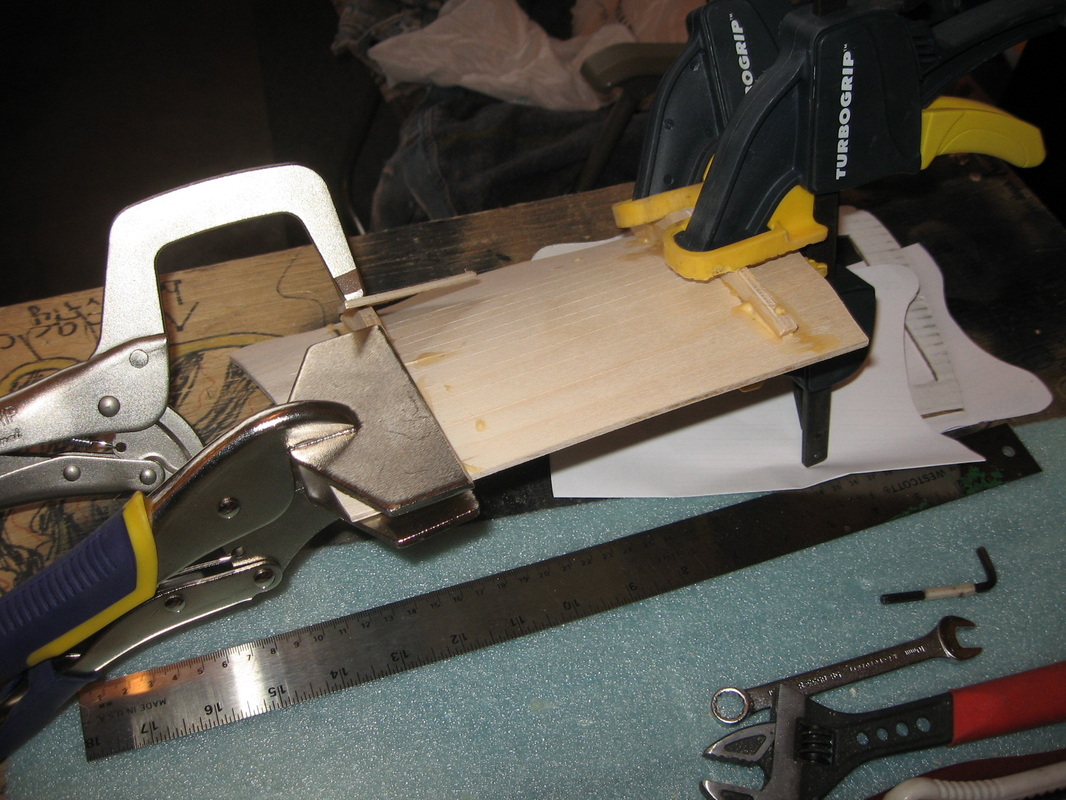
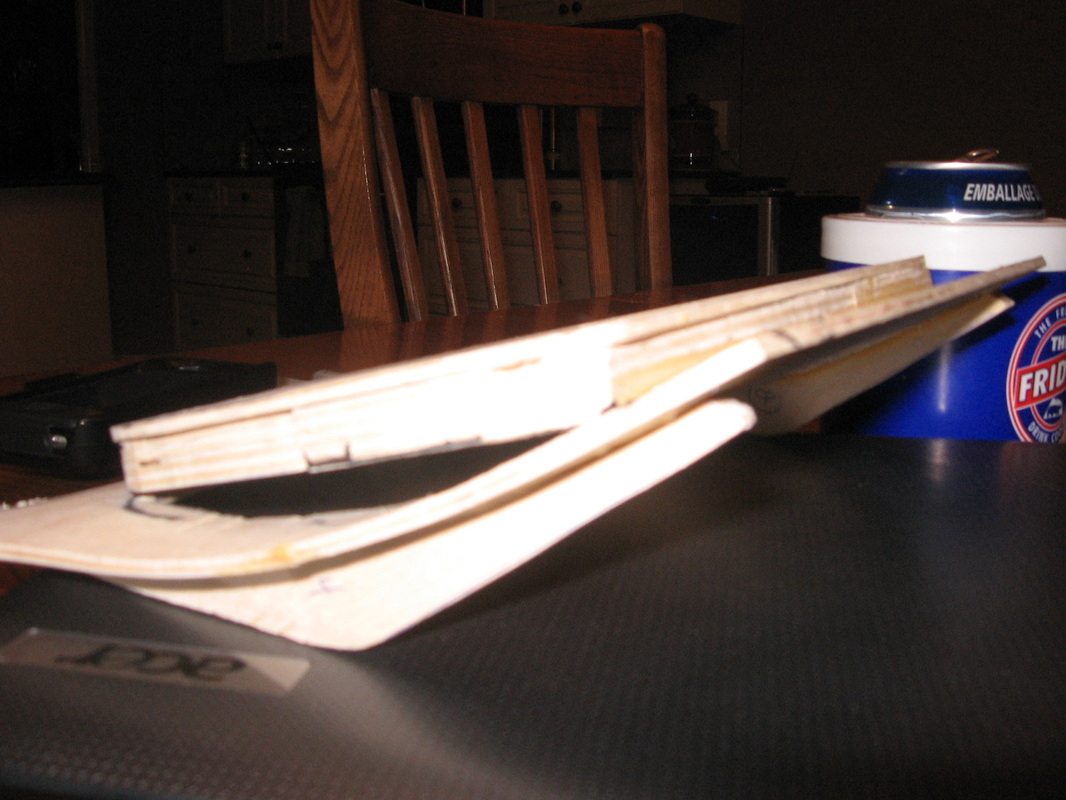
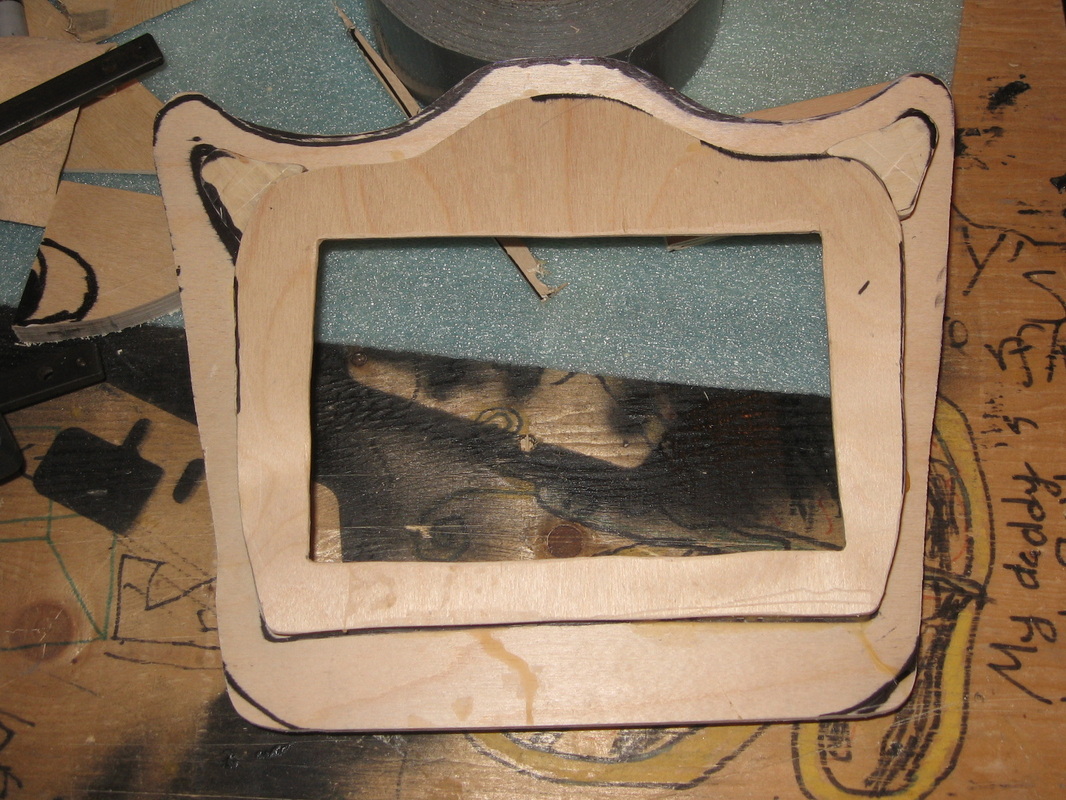
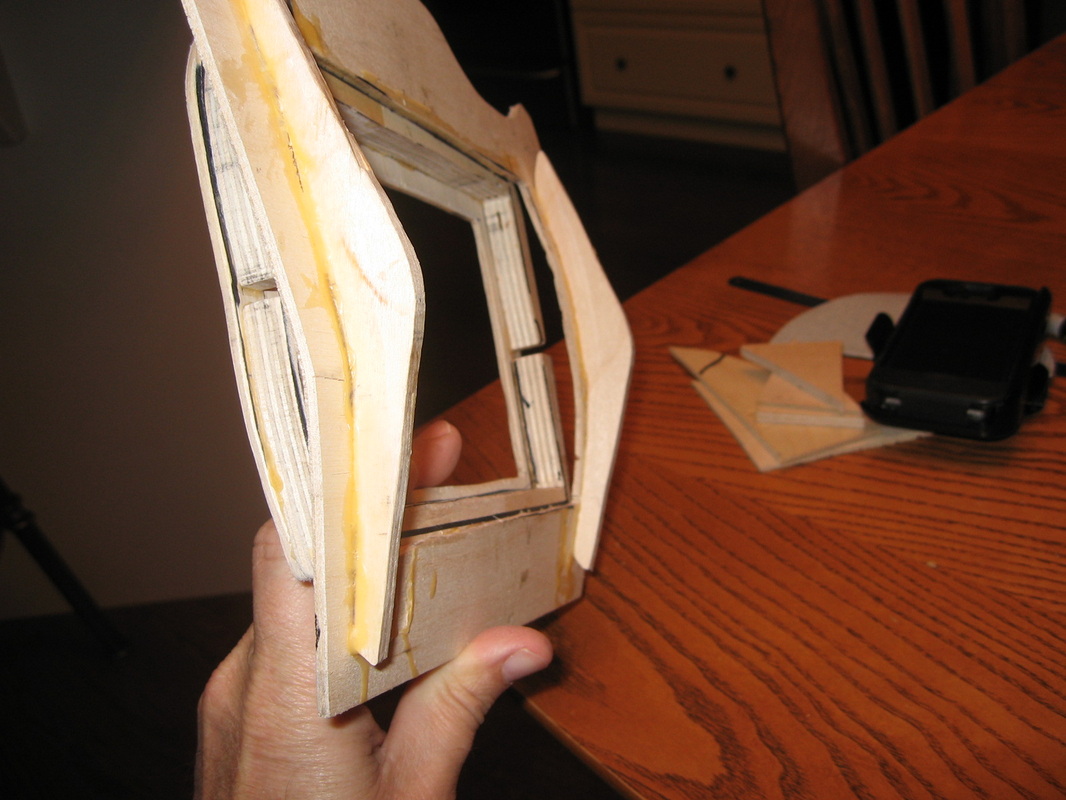
I first had to ask kempo if he was ok if I copyed his bezel for the ISIS intouch screen. He has said yes, so now I can post some pictures. This is has been a very challenging task as I have never done something like this. I have completed the wood mold now I will fiber glass the complete piece. I will be covering it with leather same as the roof liner or a carbon fiber look. I will finish on my next set of days off.
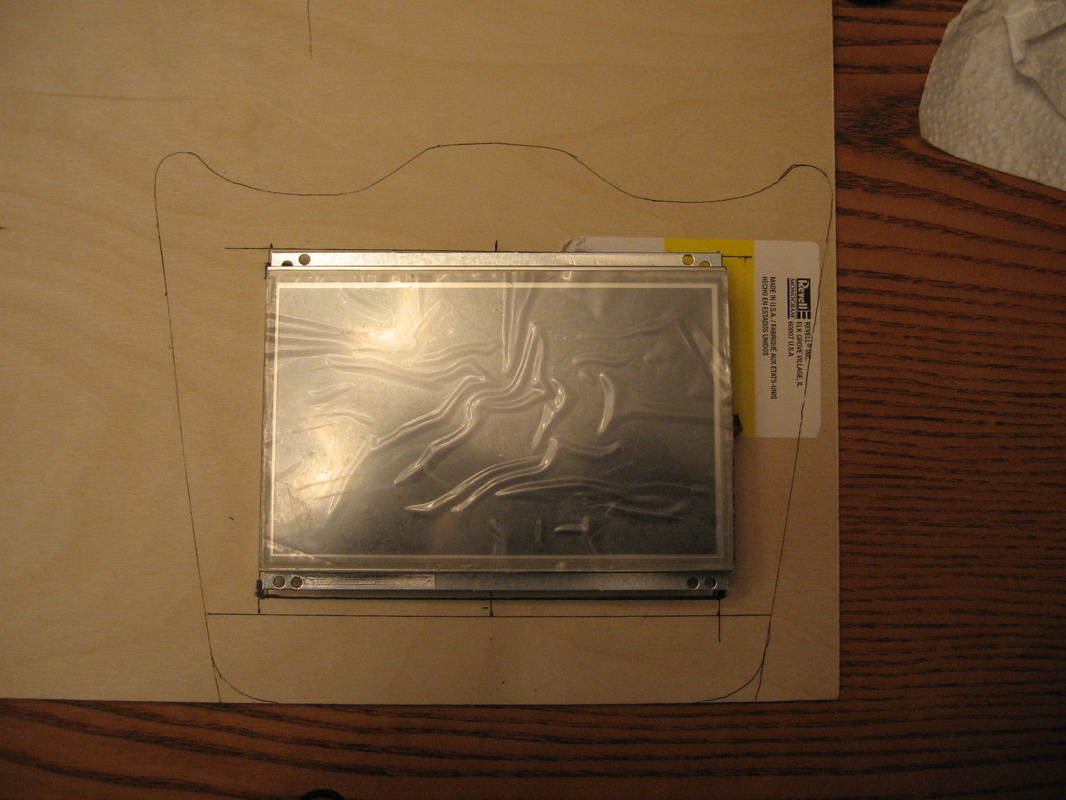
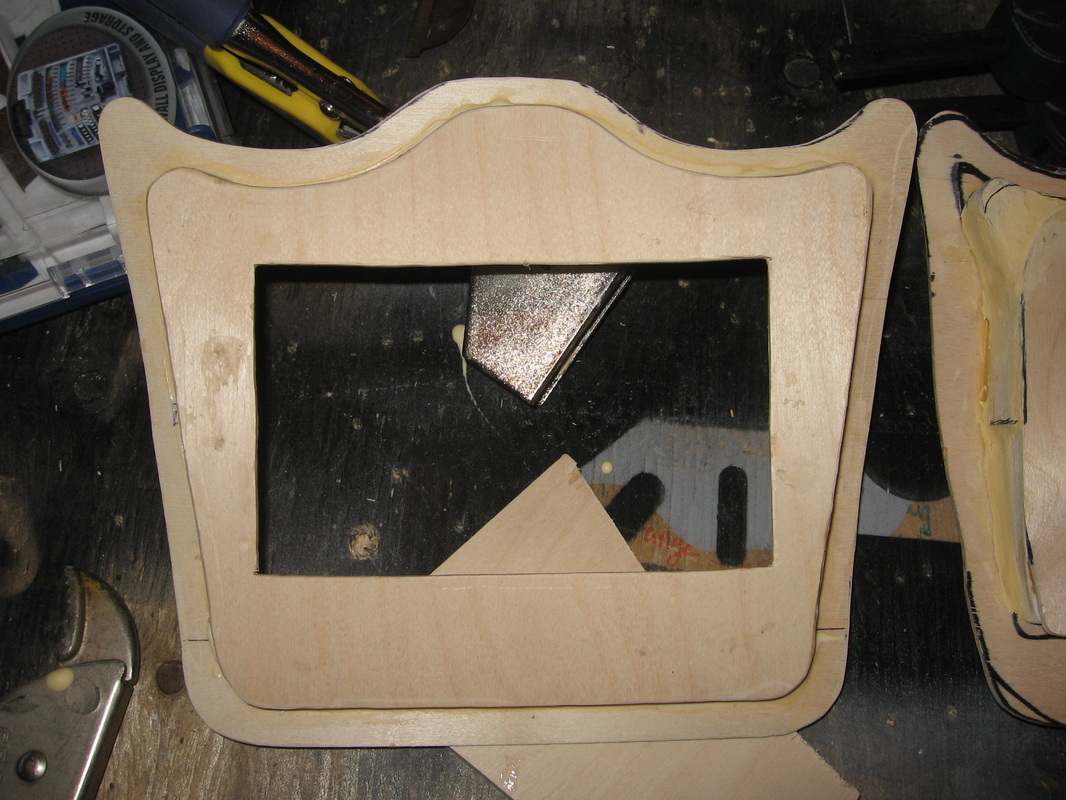
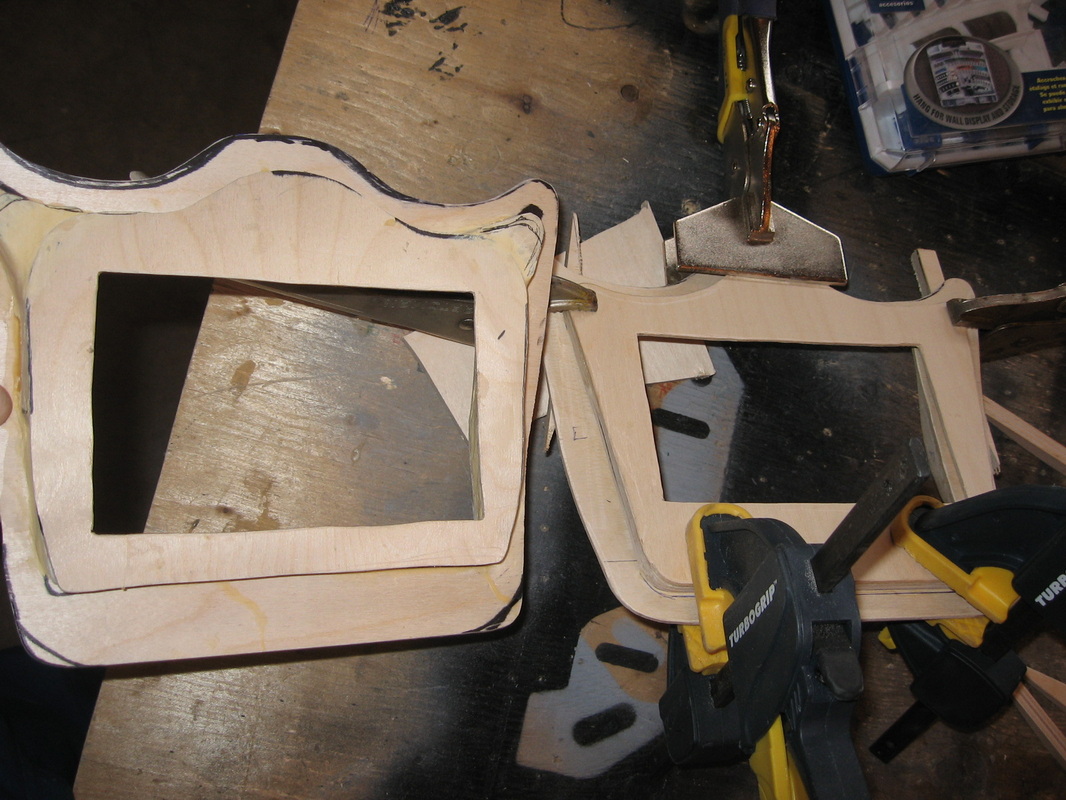
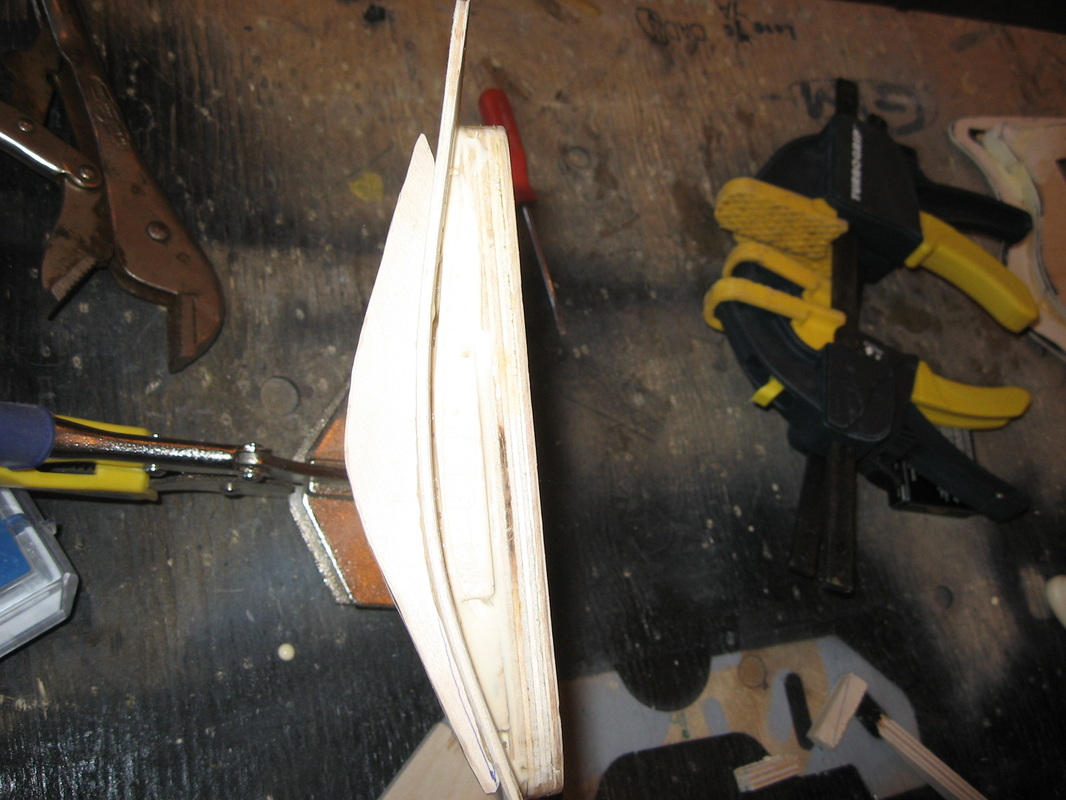
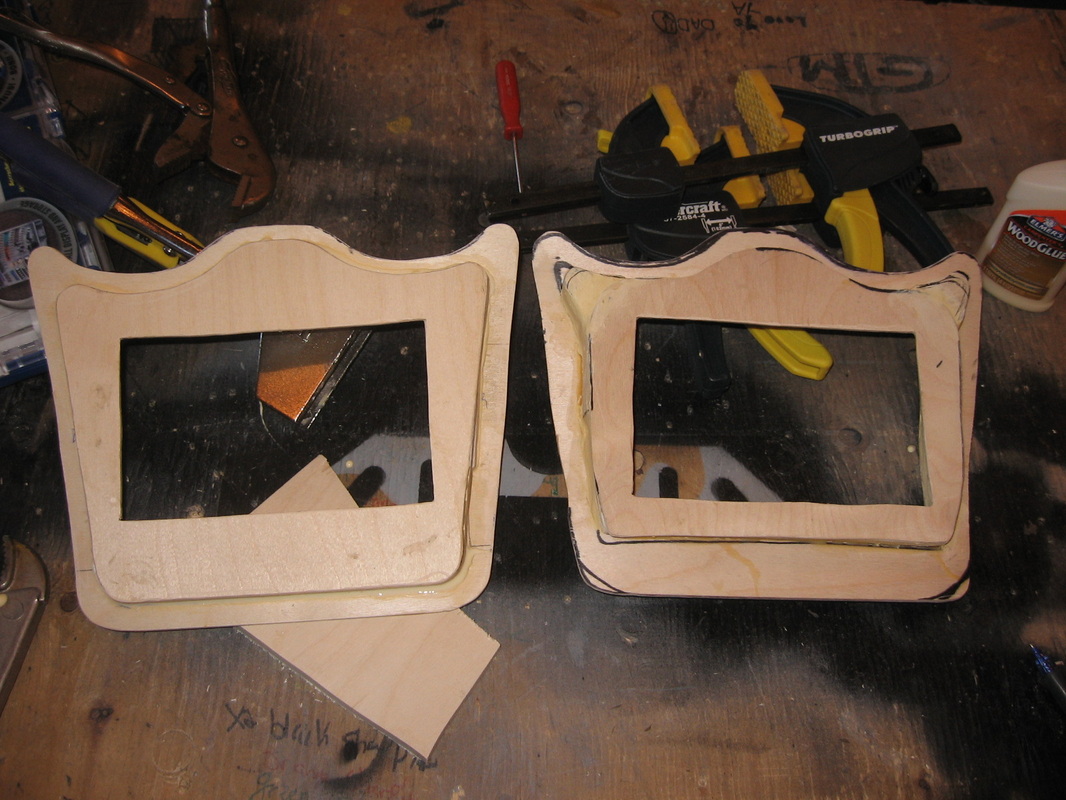
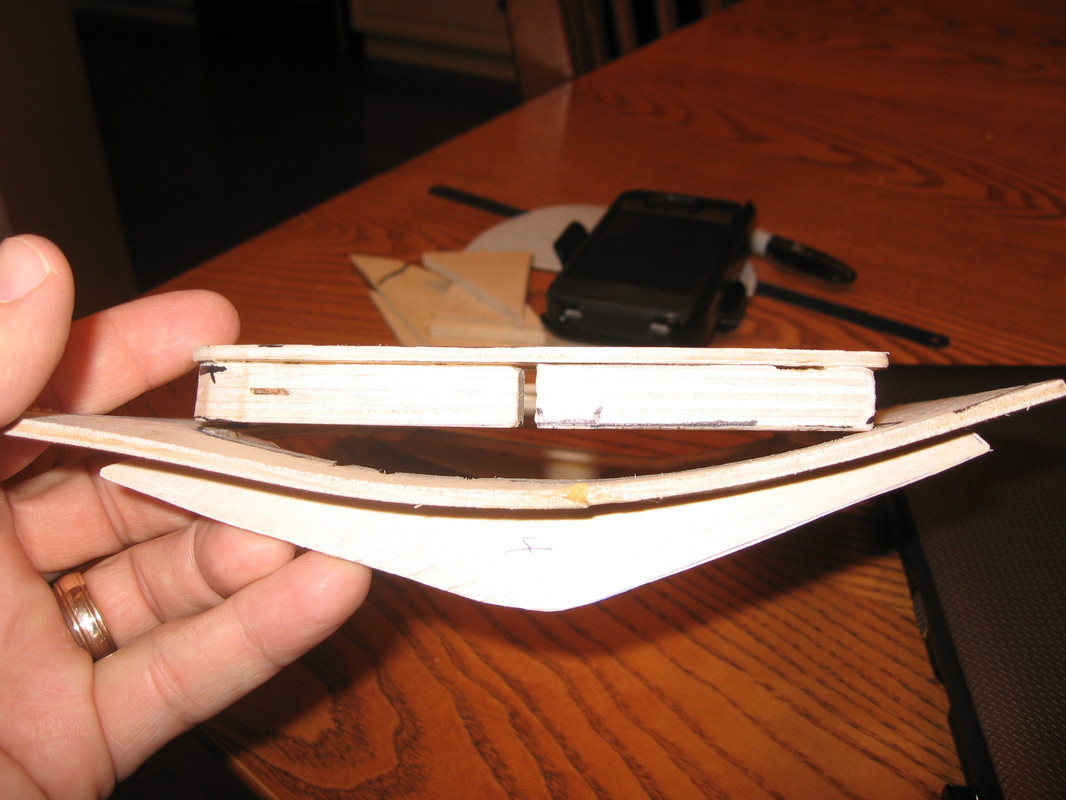
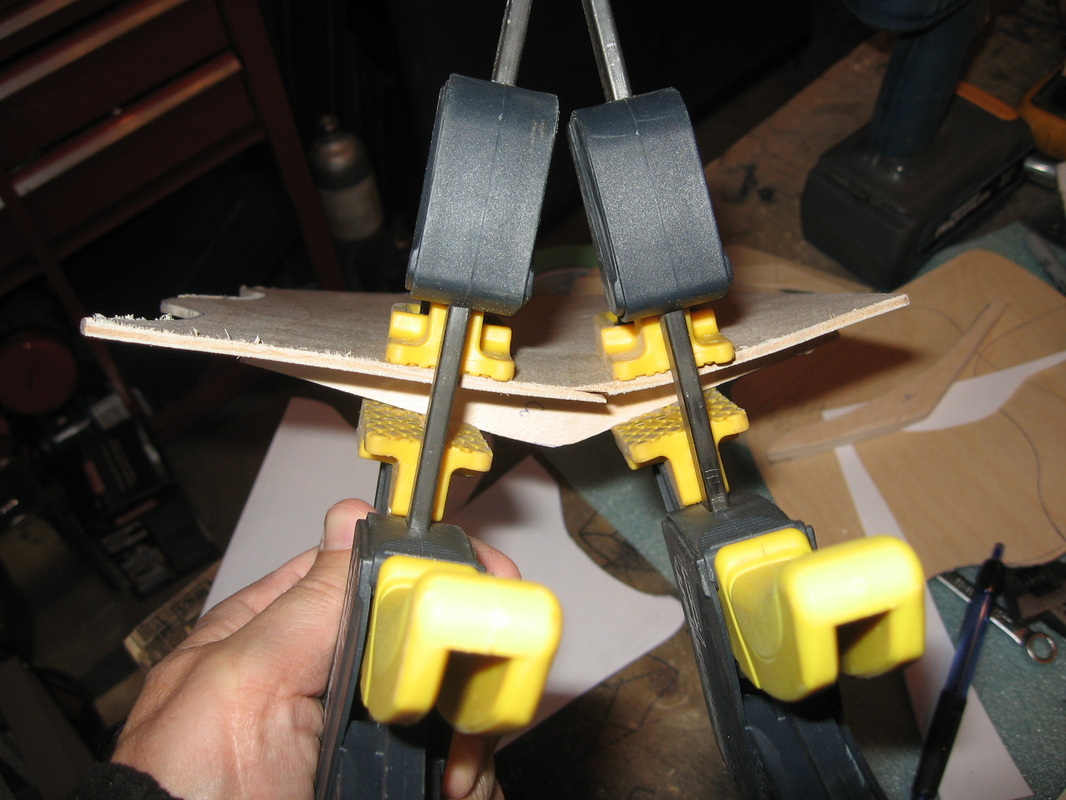
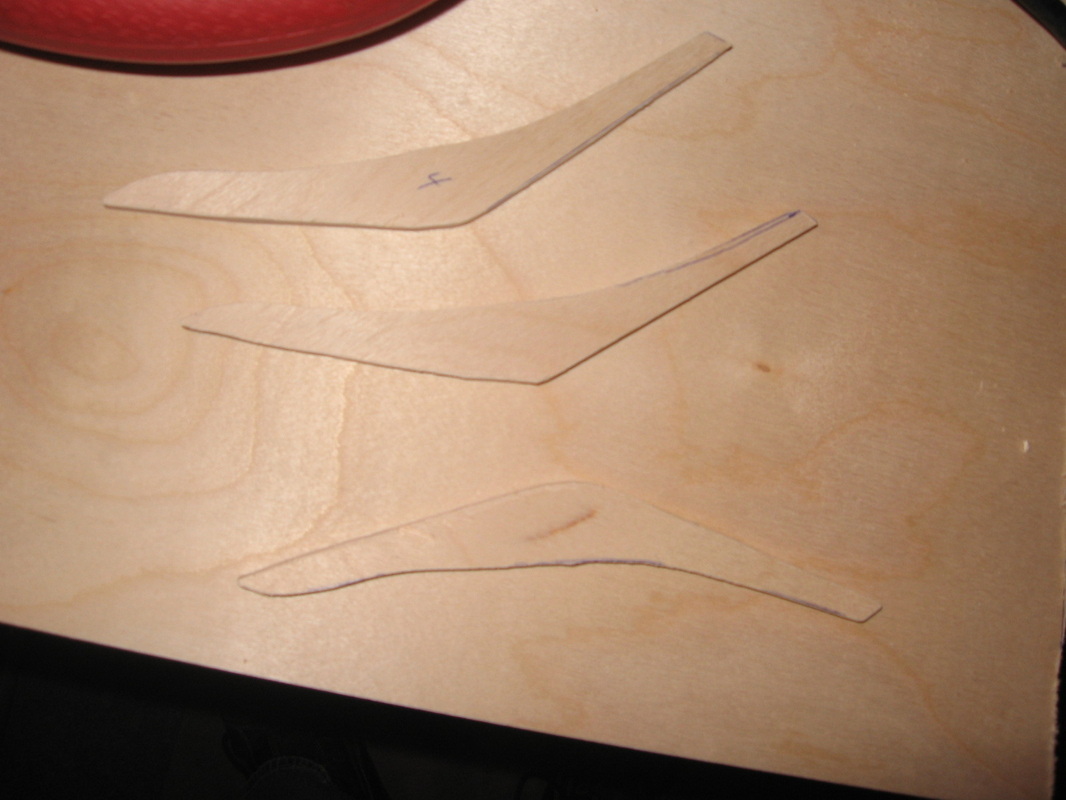
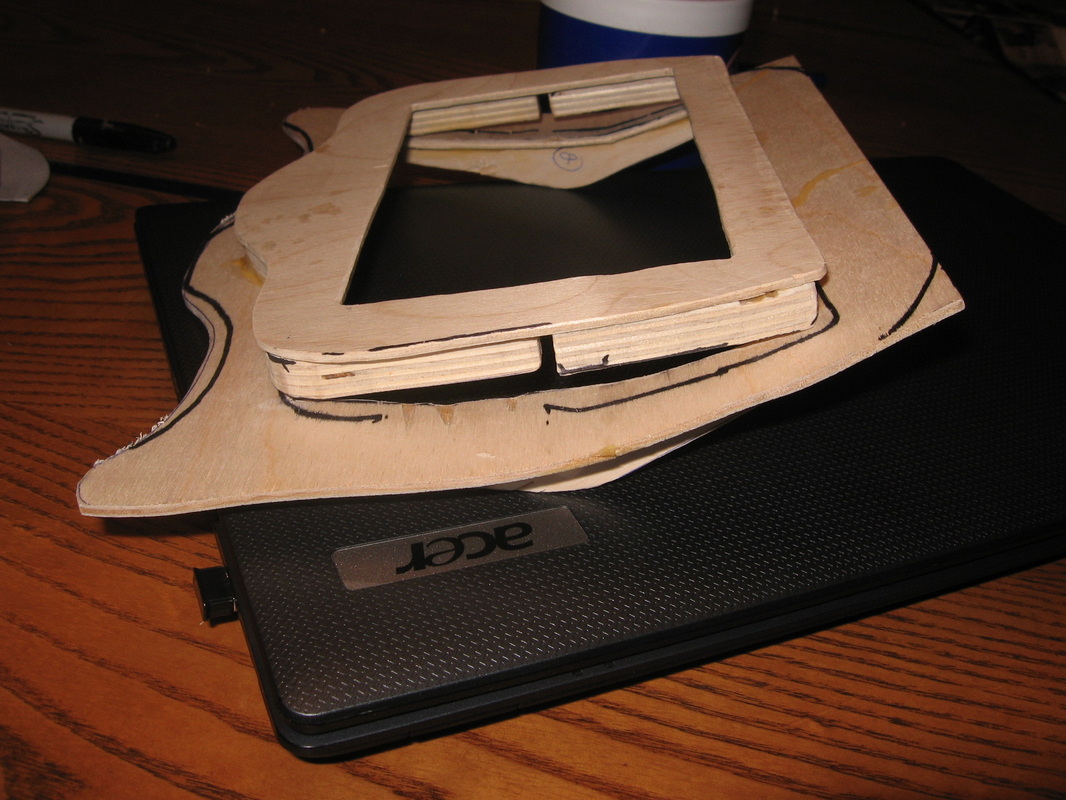
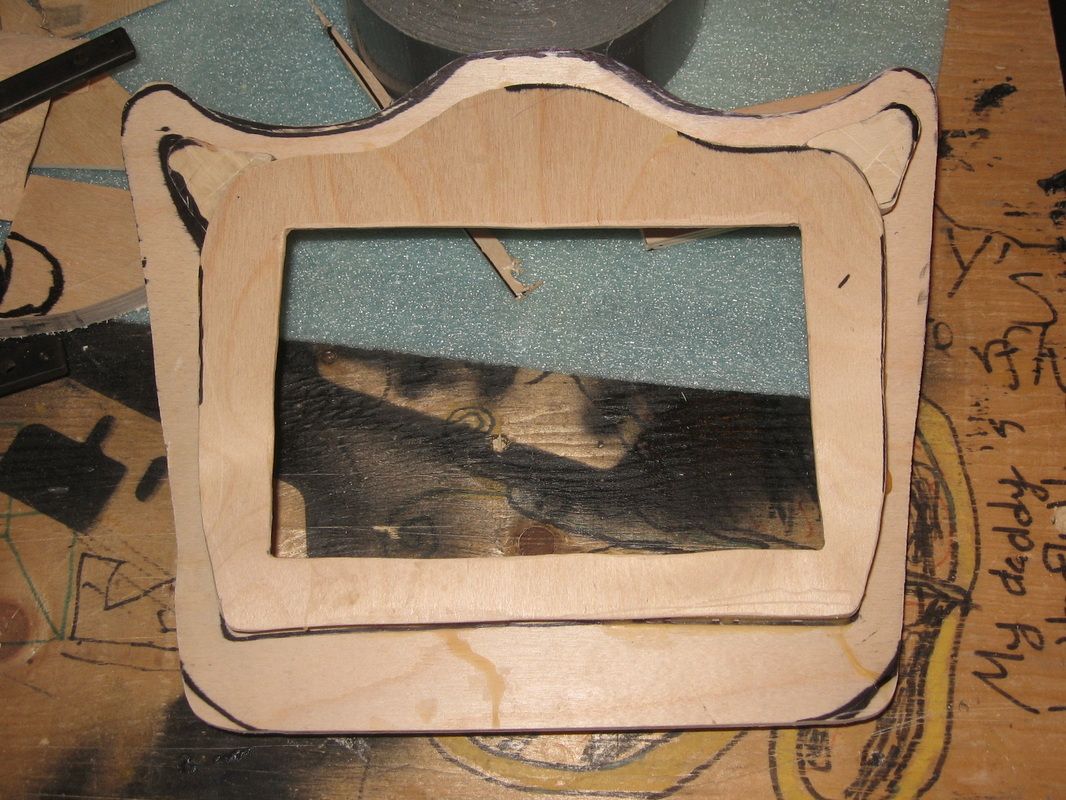
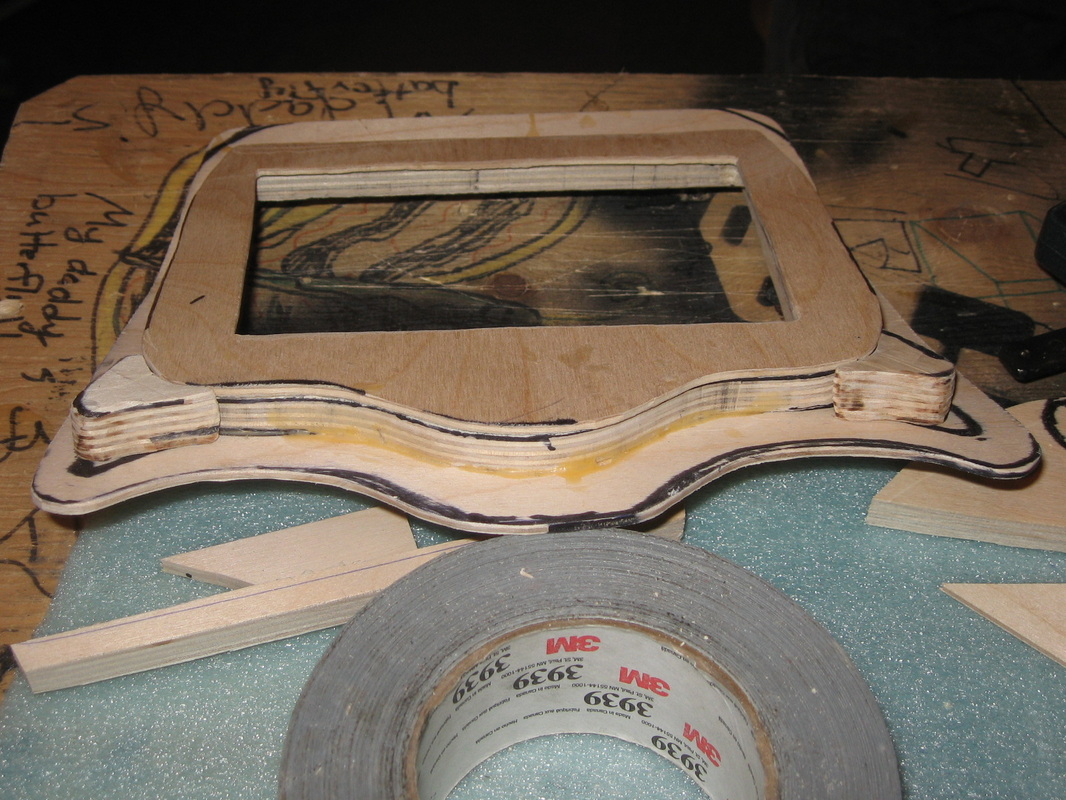
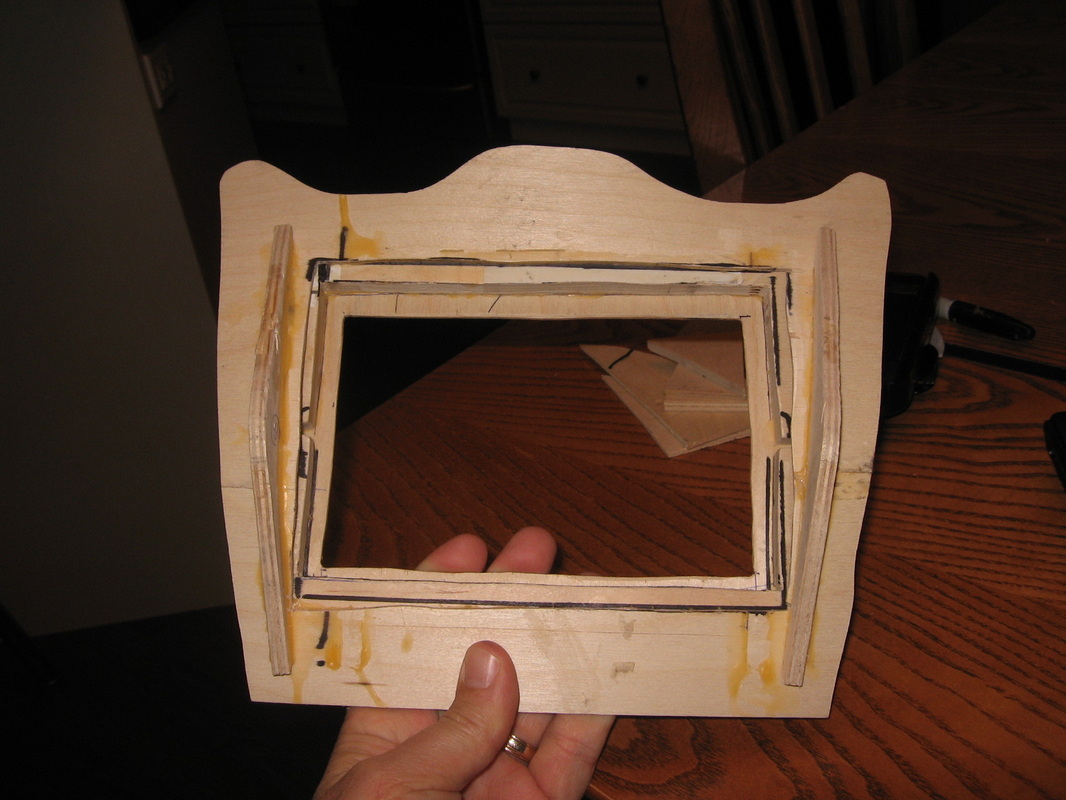
After looking at my first attempt it just was not ggod enough for the finished product. Started making another one and I think this time I have it just right. Its only time and I am on days off, kids are in school and the wife is at work. These top pictures will be of the second build. This is the finish that I was looking for.
After looking at my first attempt it just was not ggod enough for the finished product. Started making another one and I think this time I have it just right. Its only time and I am on days off, kids are in school and the wife is at work. These top pictures will be of the second build. This is the finish that I was looking for.


April - May
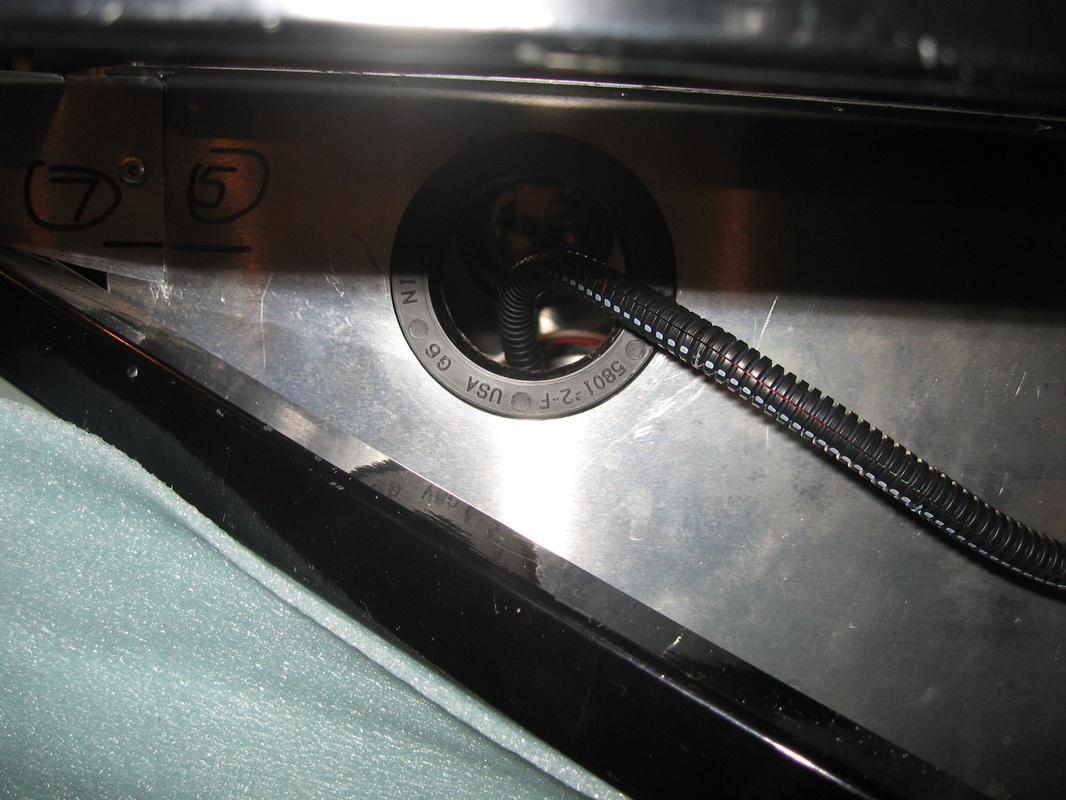
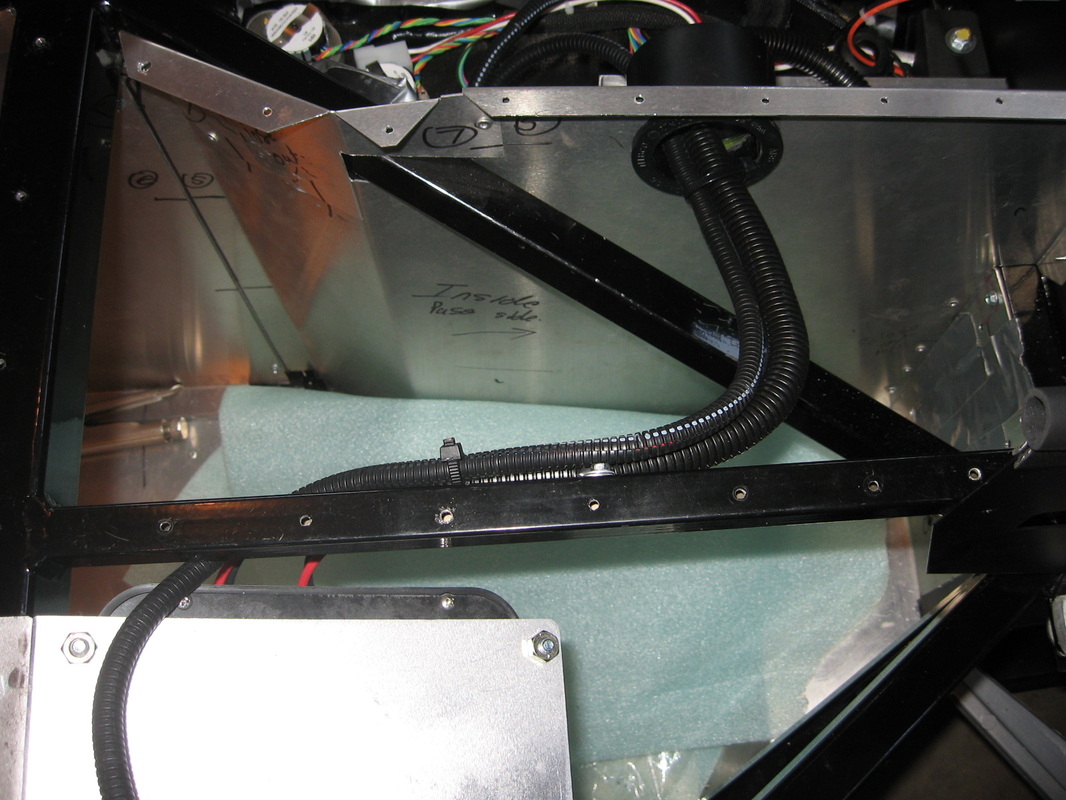
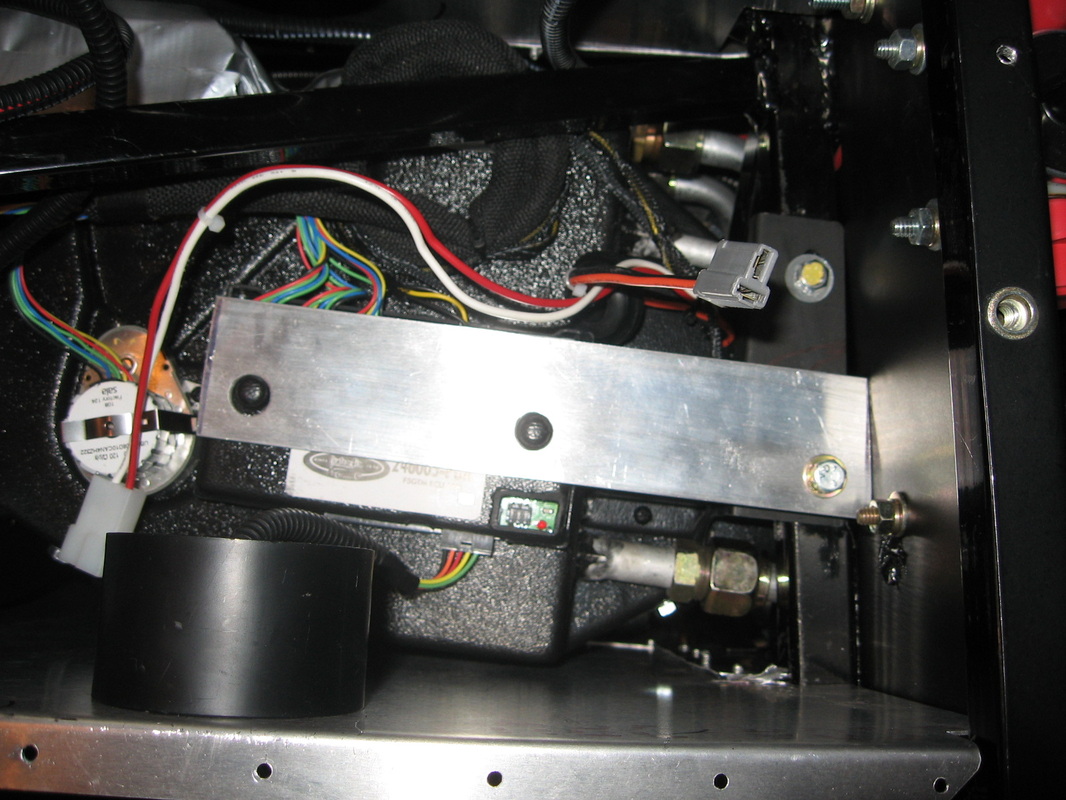
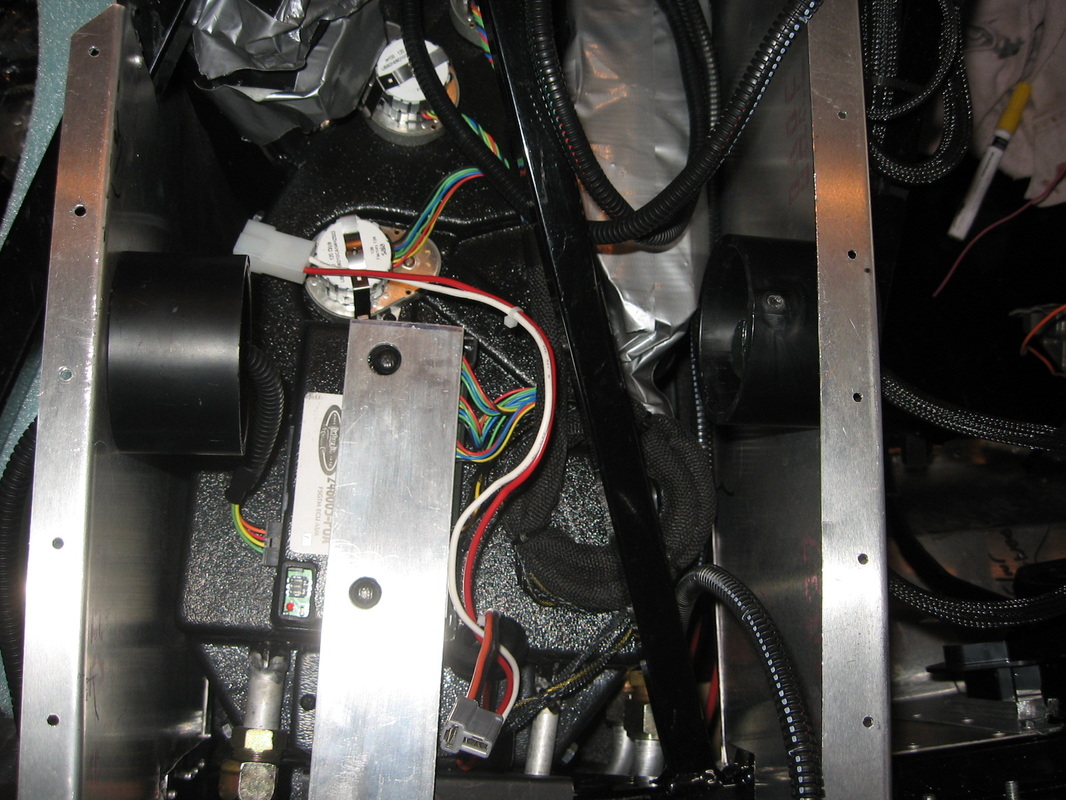
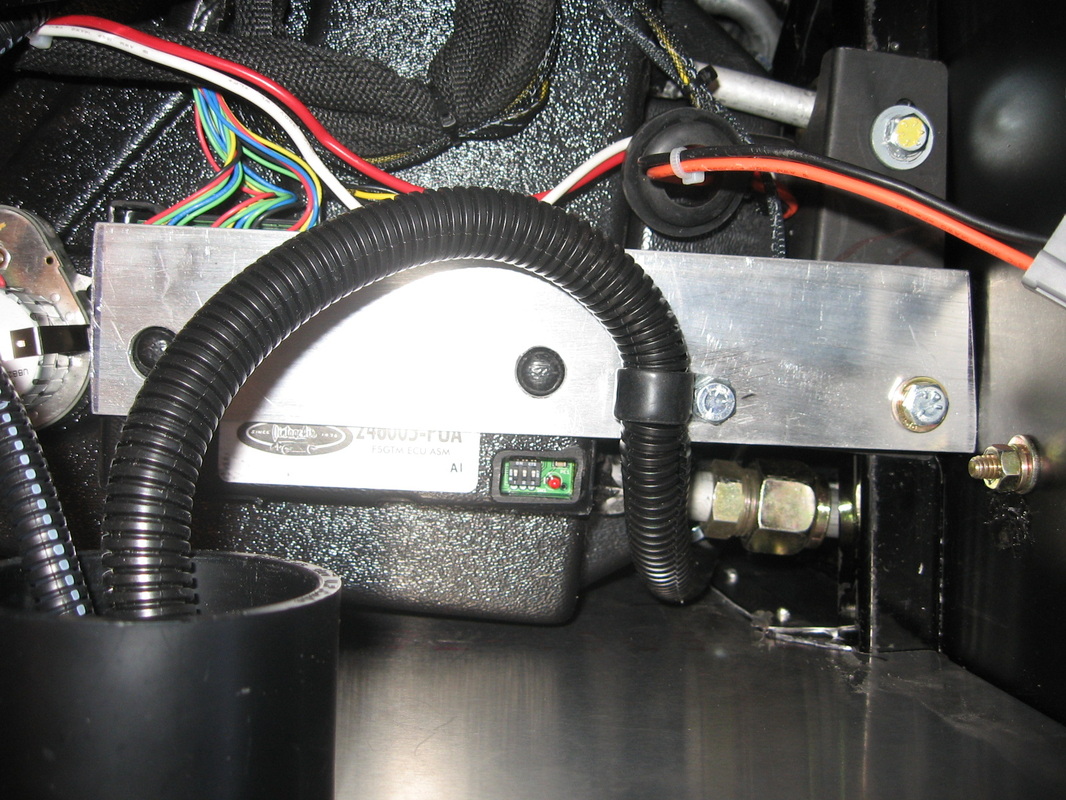
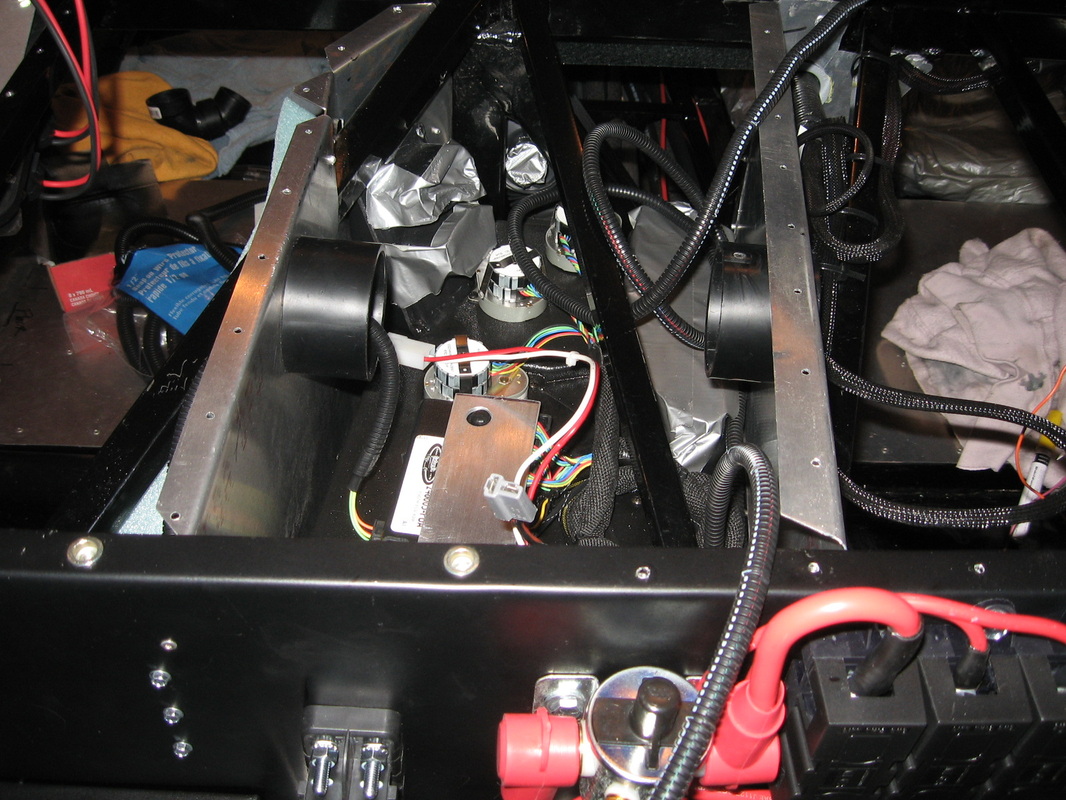
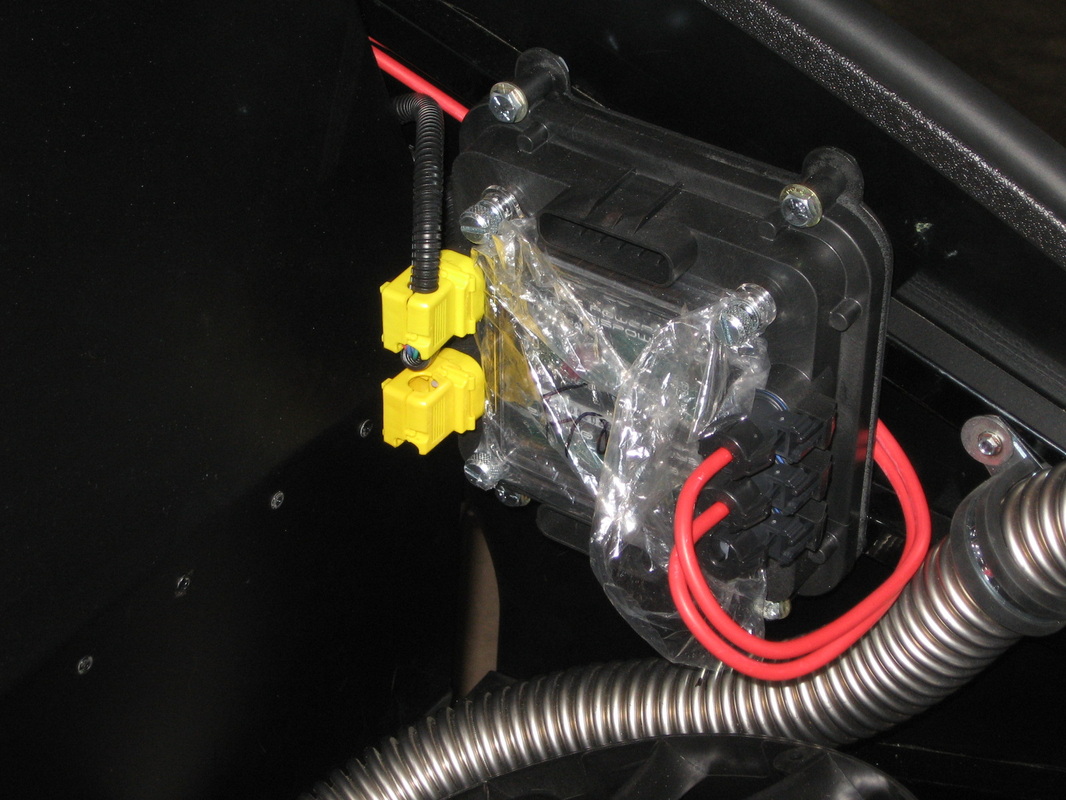
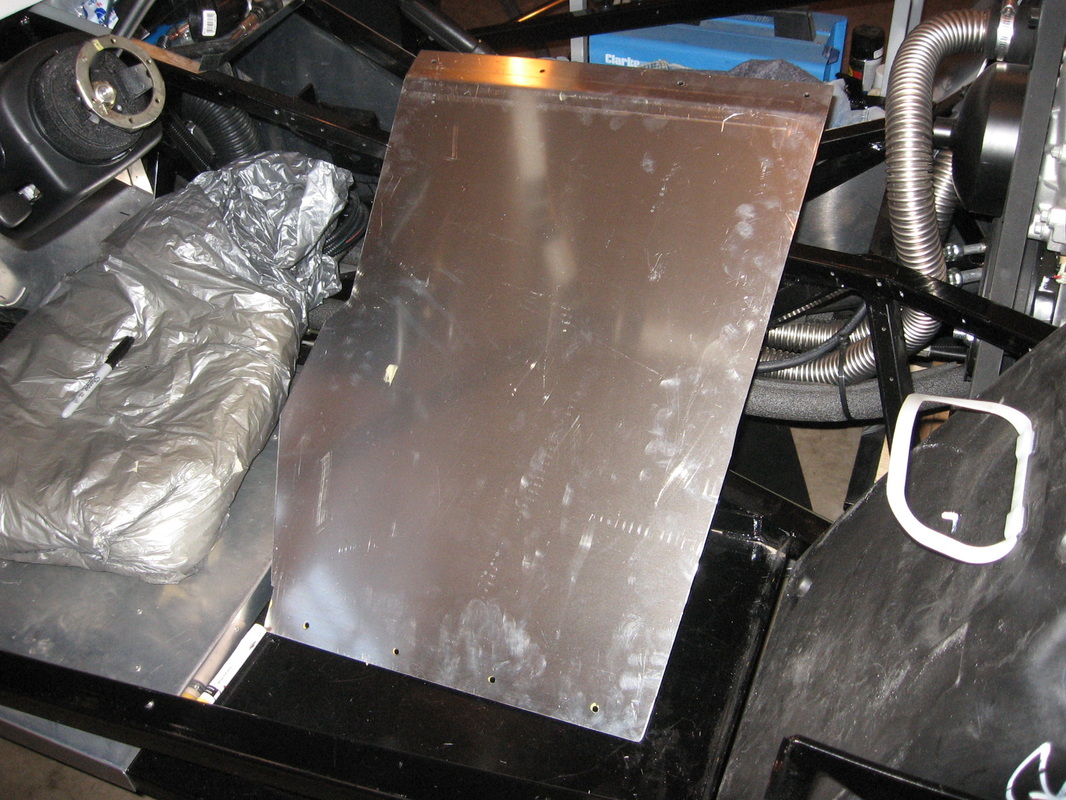
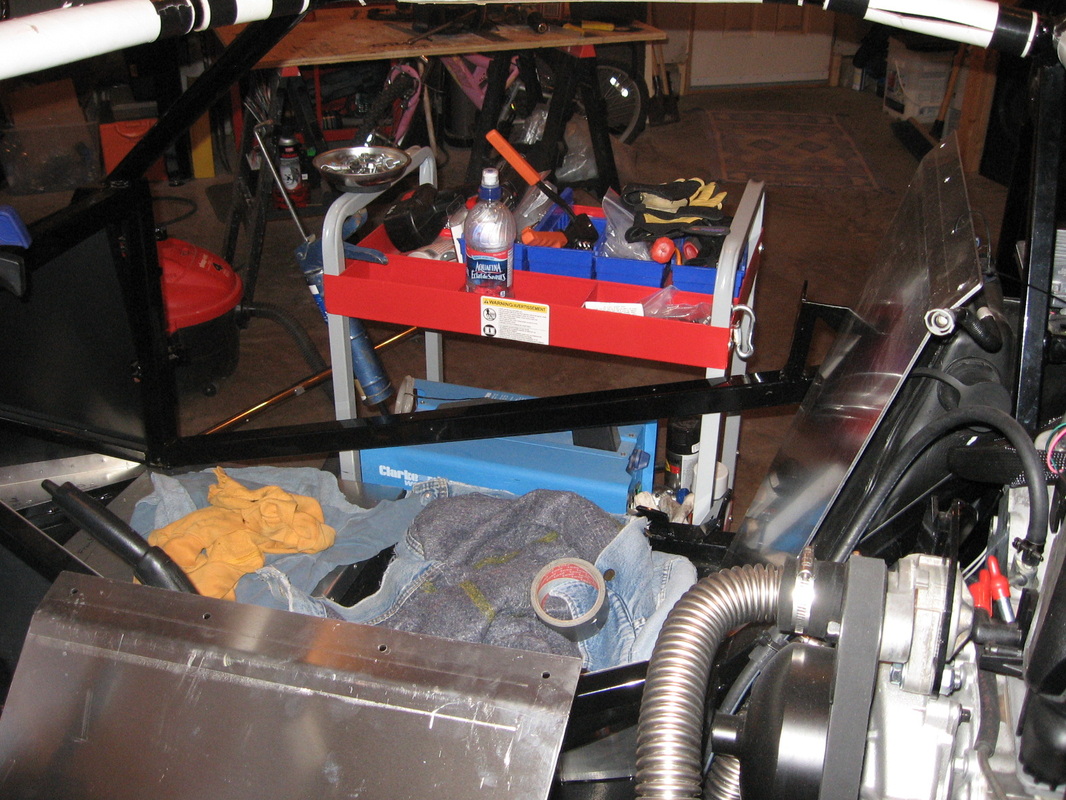
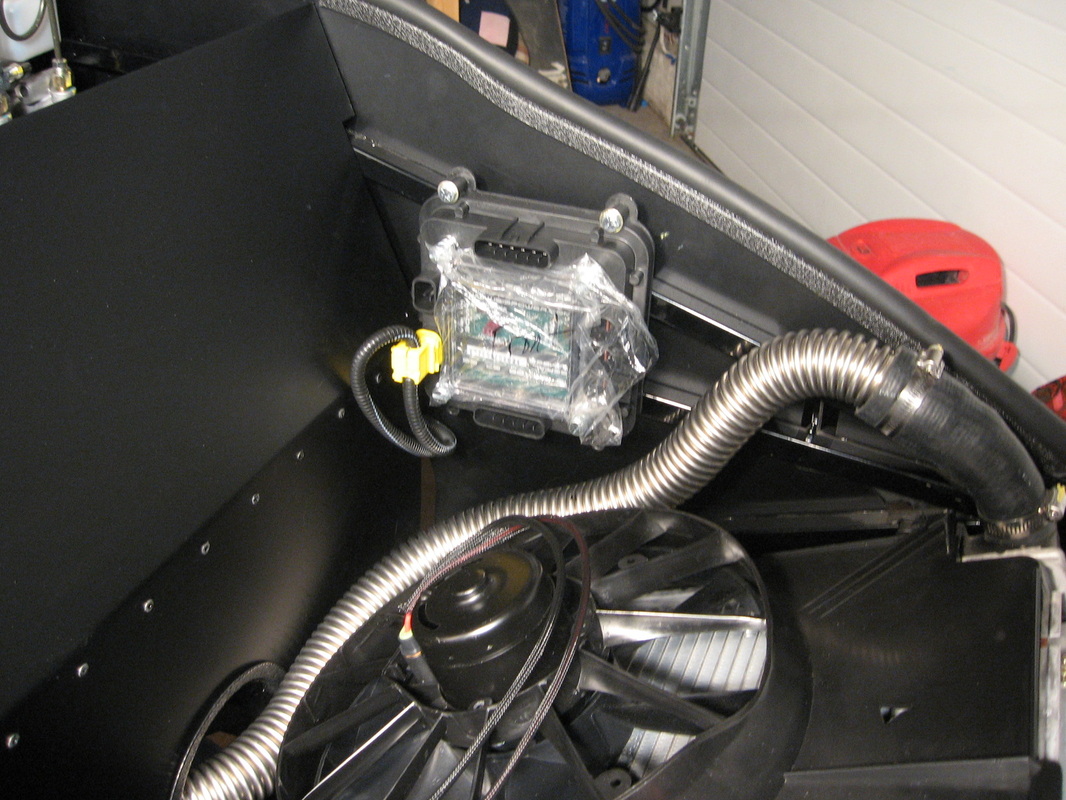
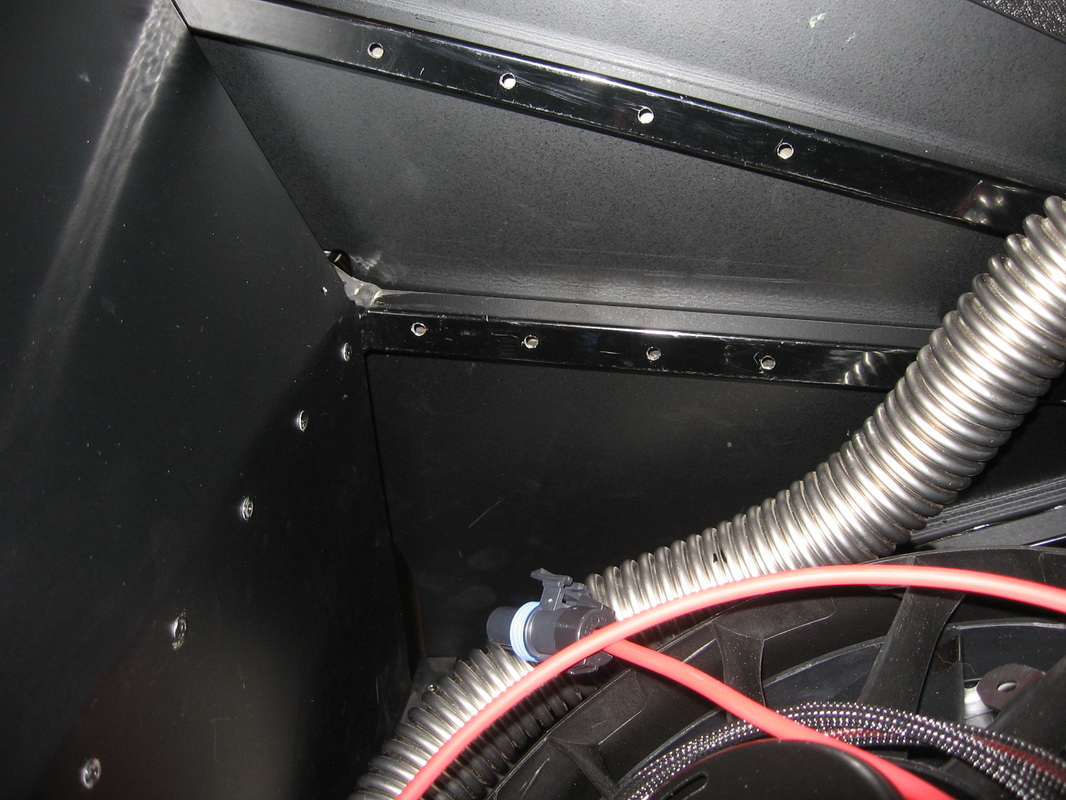
Putting the inmotion in and getting the wires into the right spot. The ECU that is for the Vintage Air was to close to the side to plug the ISIS into so I had to move it over. Put a piece of aluminum off the bolt that holds in the heater. Drilled the two holes that will hold it down.


April 02- 03, 2012
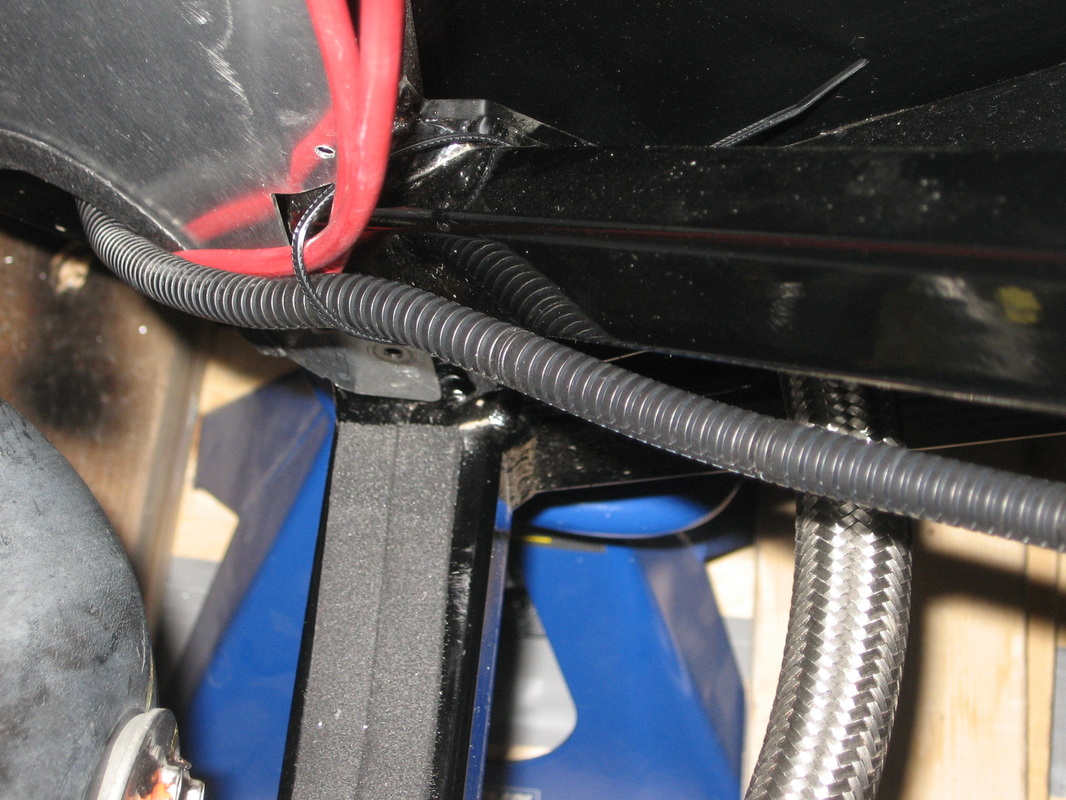
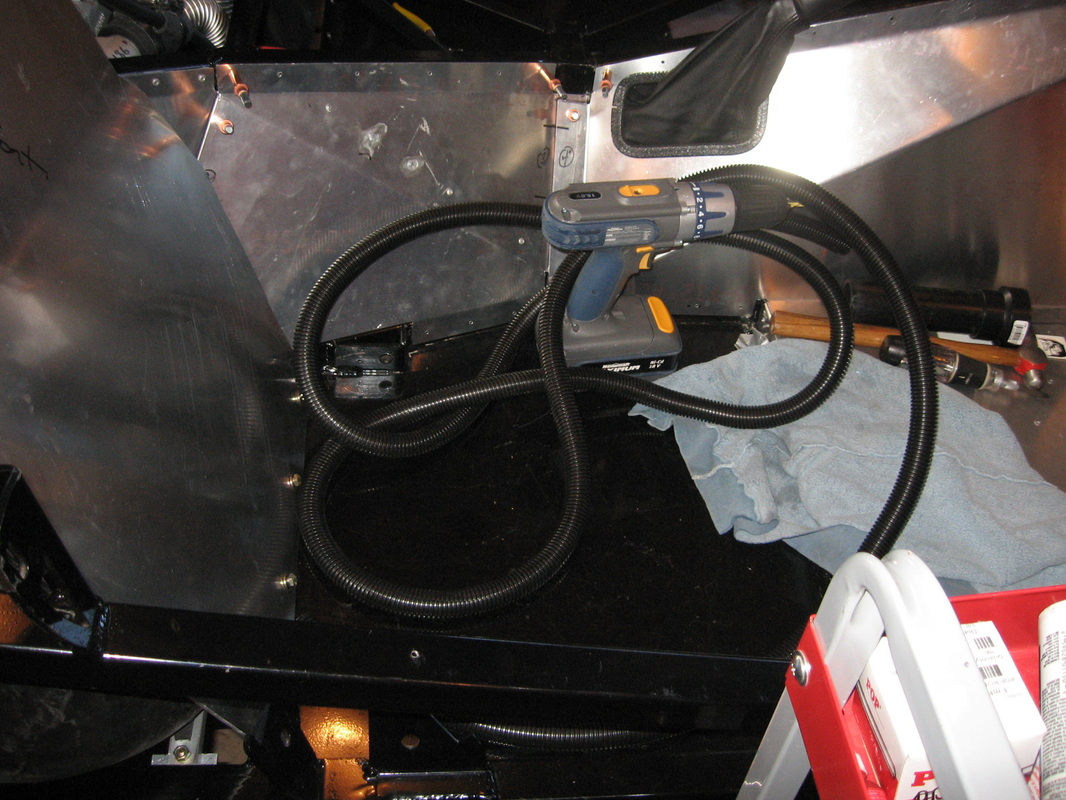
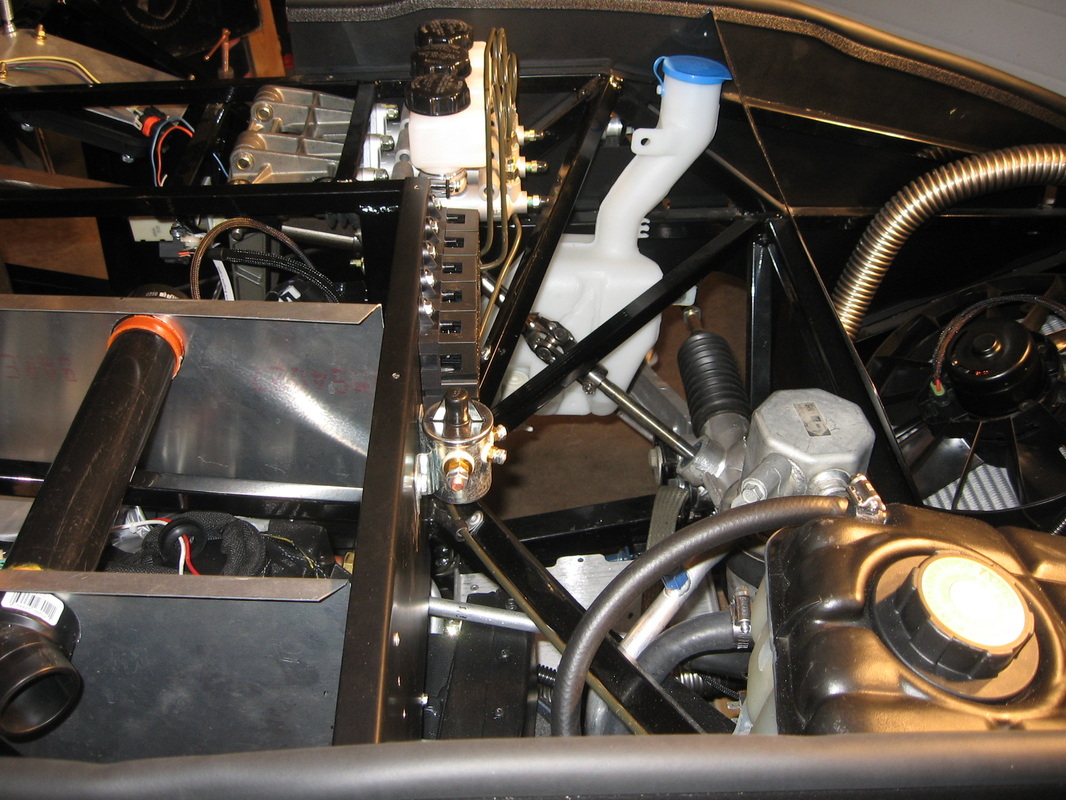
Still making progress on this wiring and getting the main positive wires run. Was not sure about how to get the engine temp to the gauge as the enginge harness uses the one on the drivers side. Rumrunner had a good idea- pull the plug on the passanger side then install another sensor. It was suggested not tap into a single wire to support 2 gauges. This was a very simple procedure and should work out fine. When I do a finale clean up on the wiring I will put loom on all of these wires.

Mar 18, 20 2012
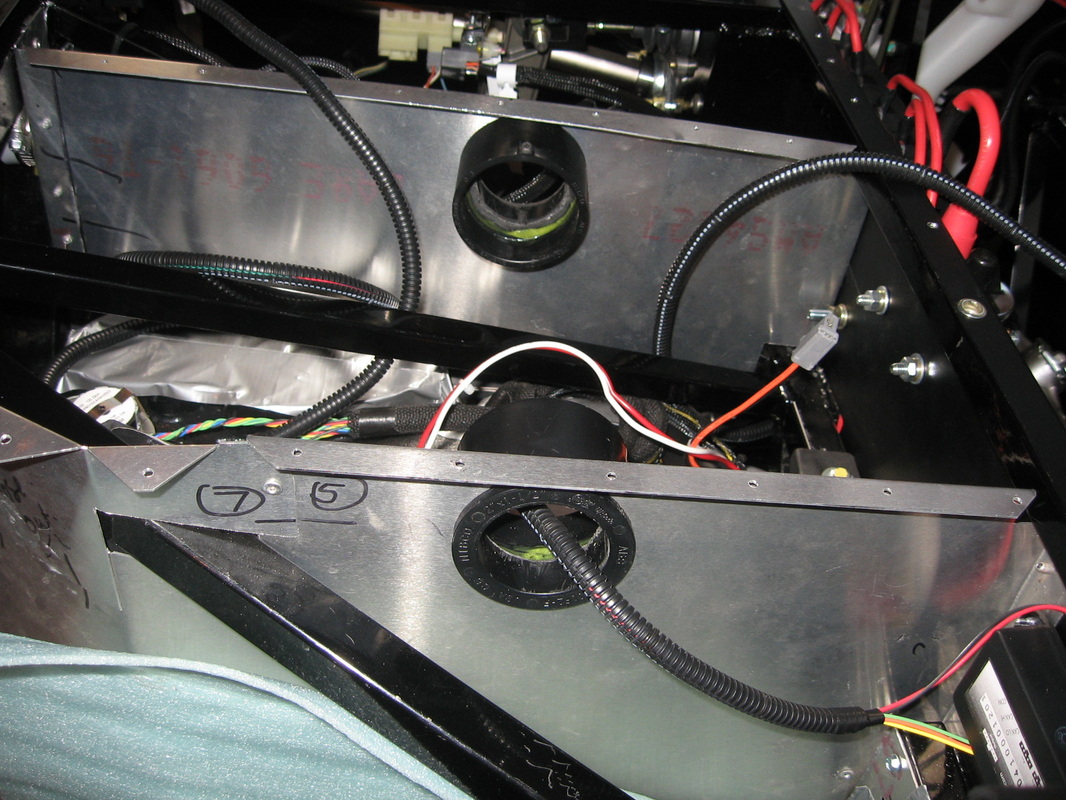
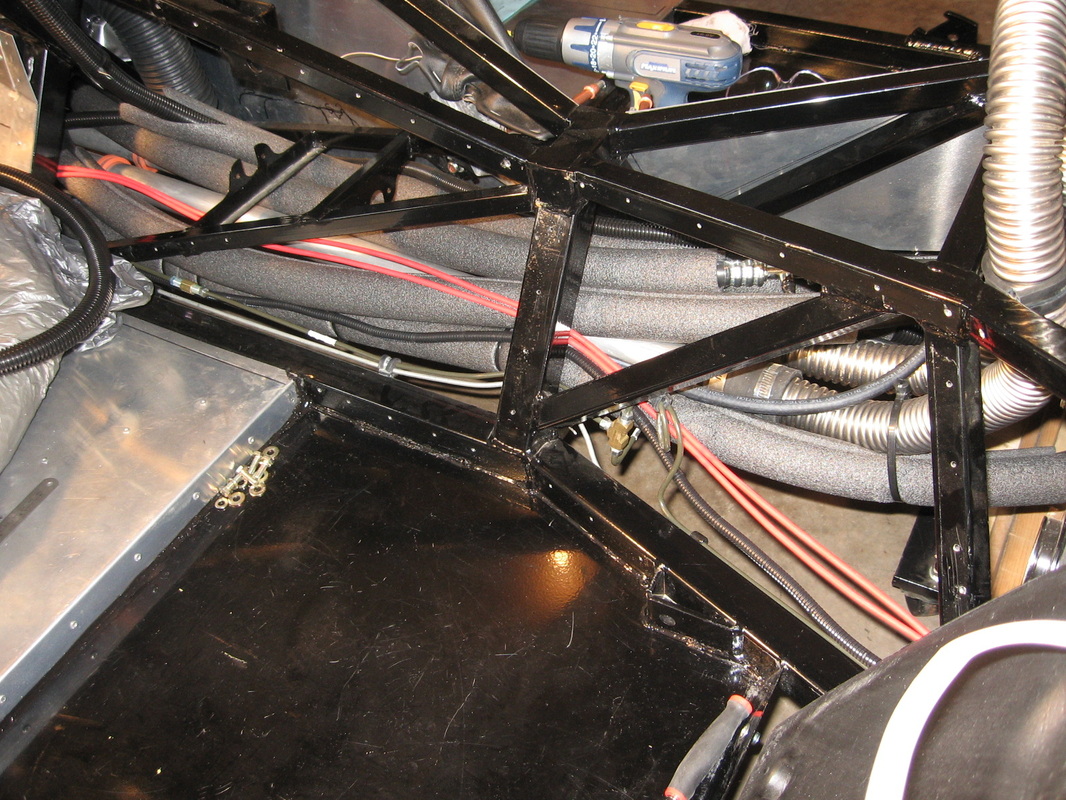
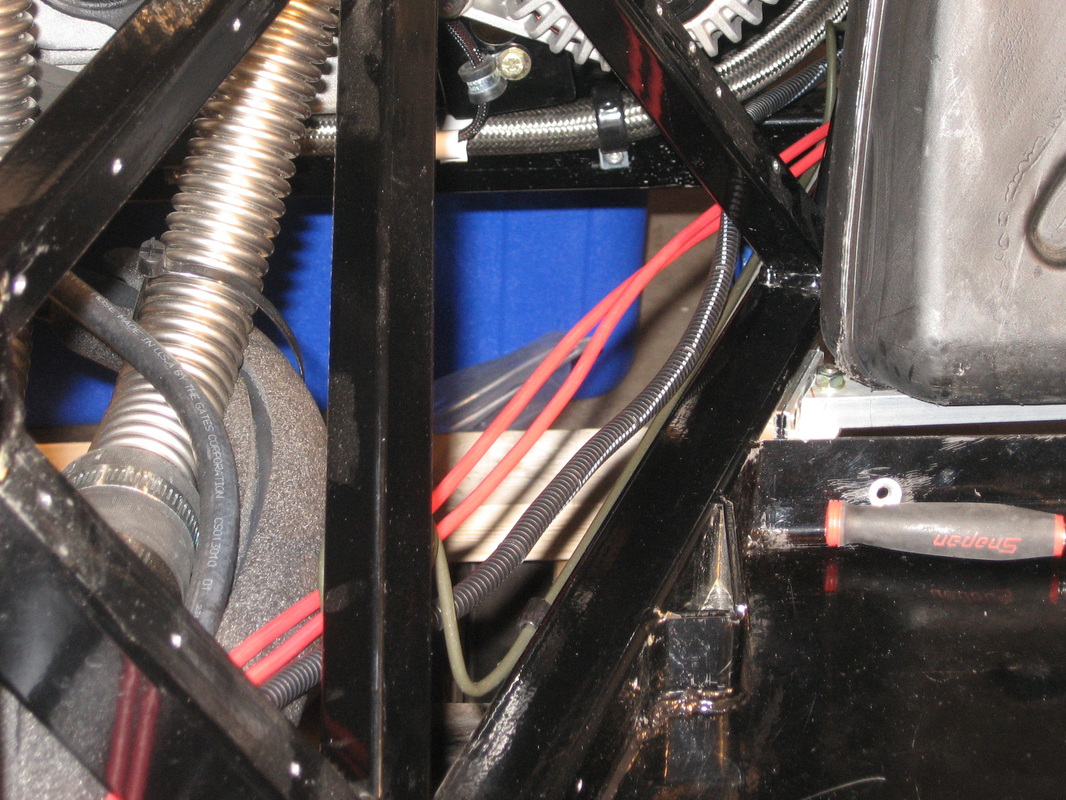
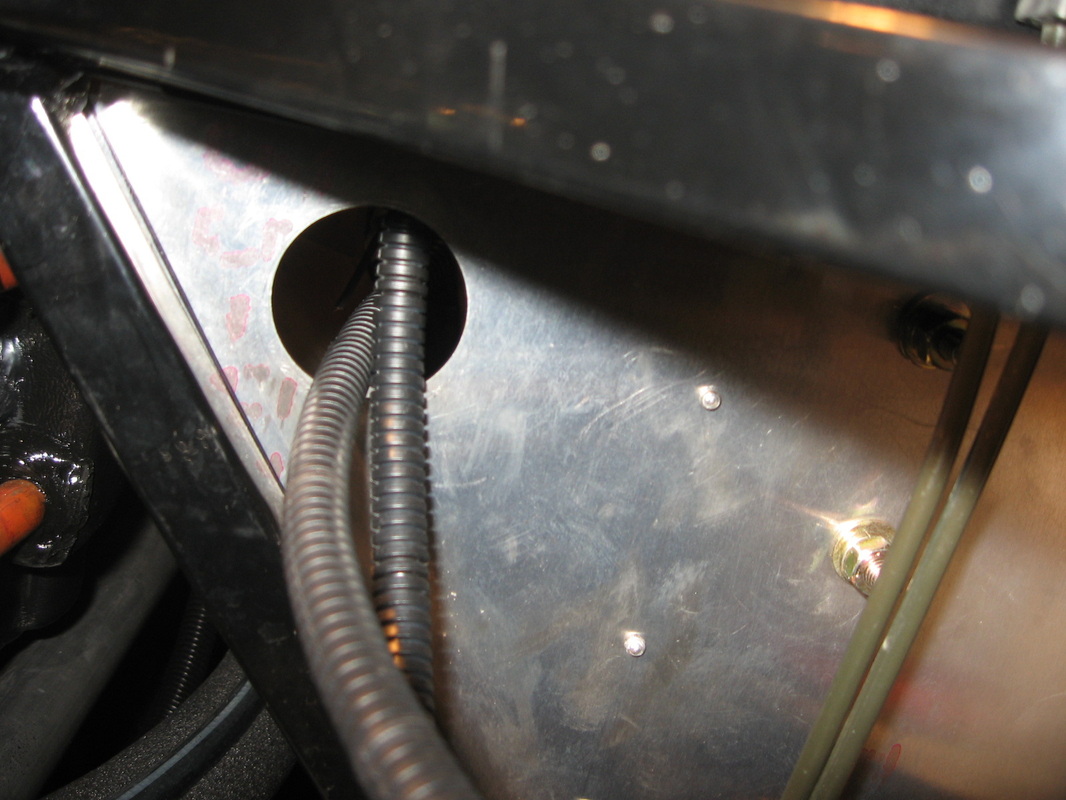
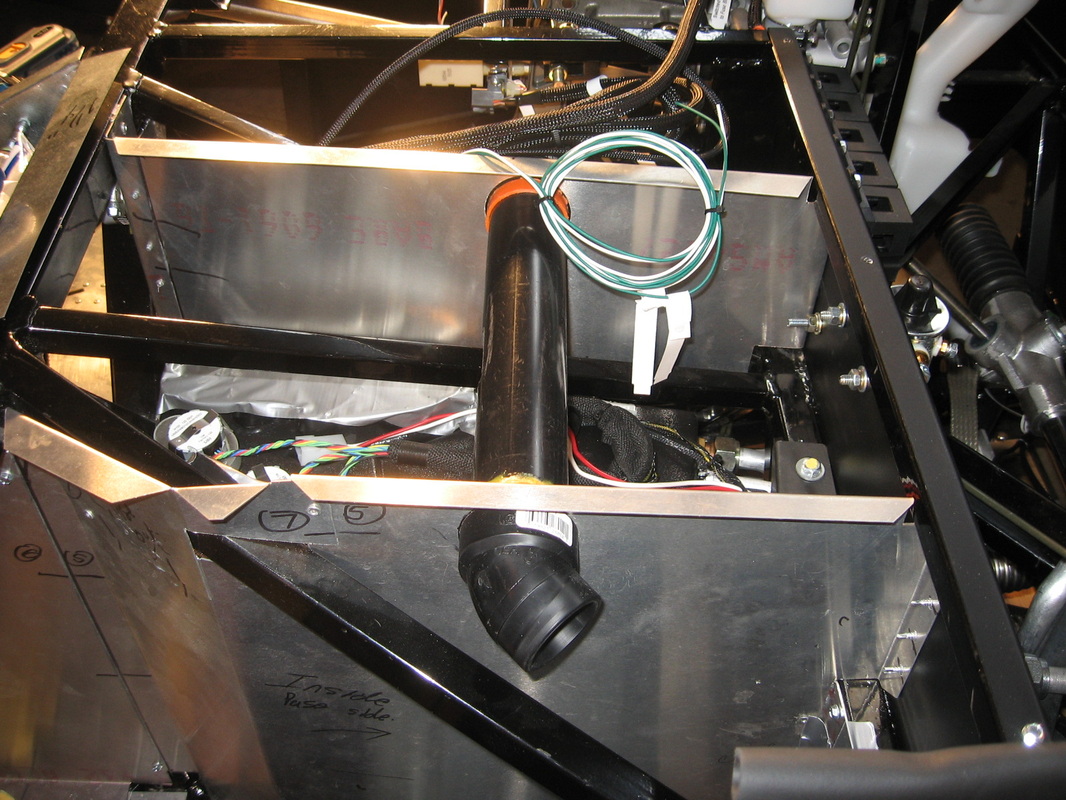
Still working on the ISIS I managed to get some of the power cables run through the tunnel. I will secure it later as I know that I will have to move them at some point.


Mar 16, 2012
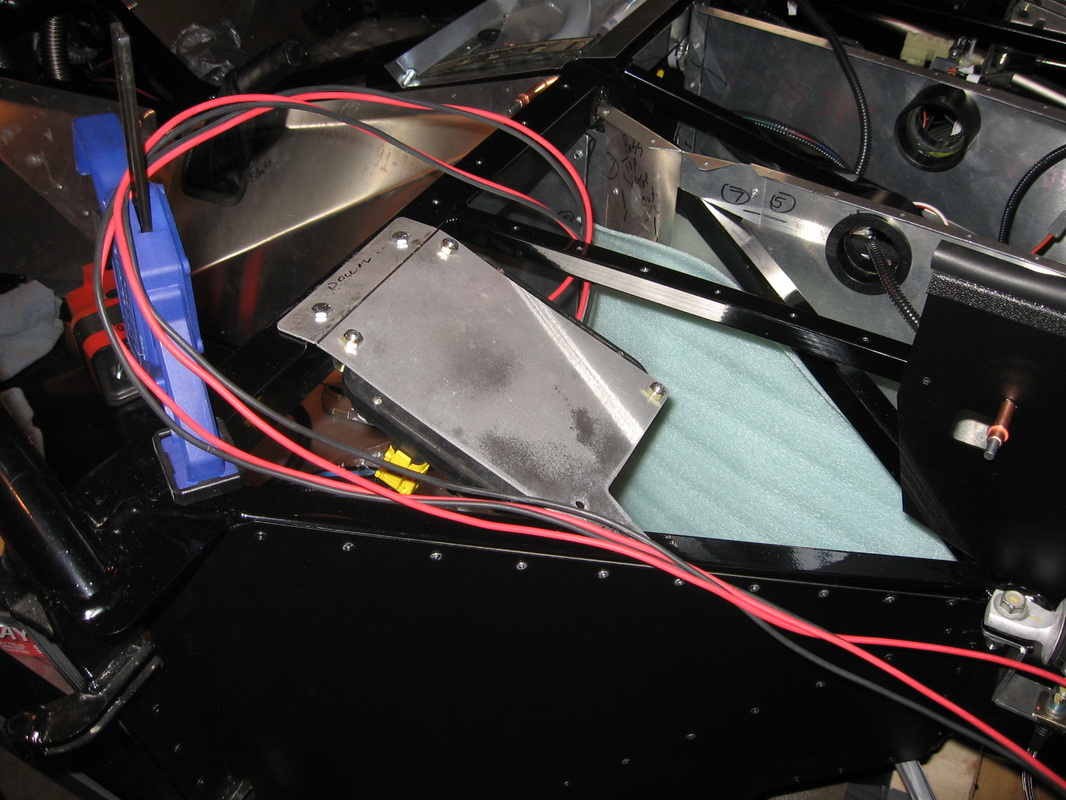
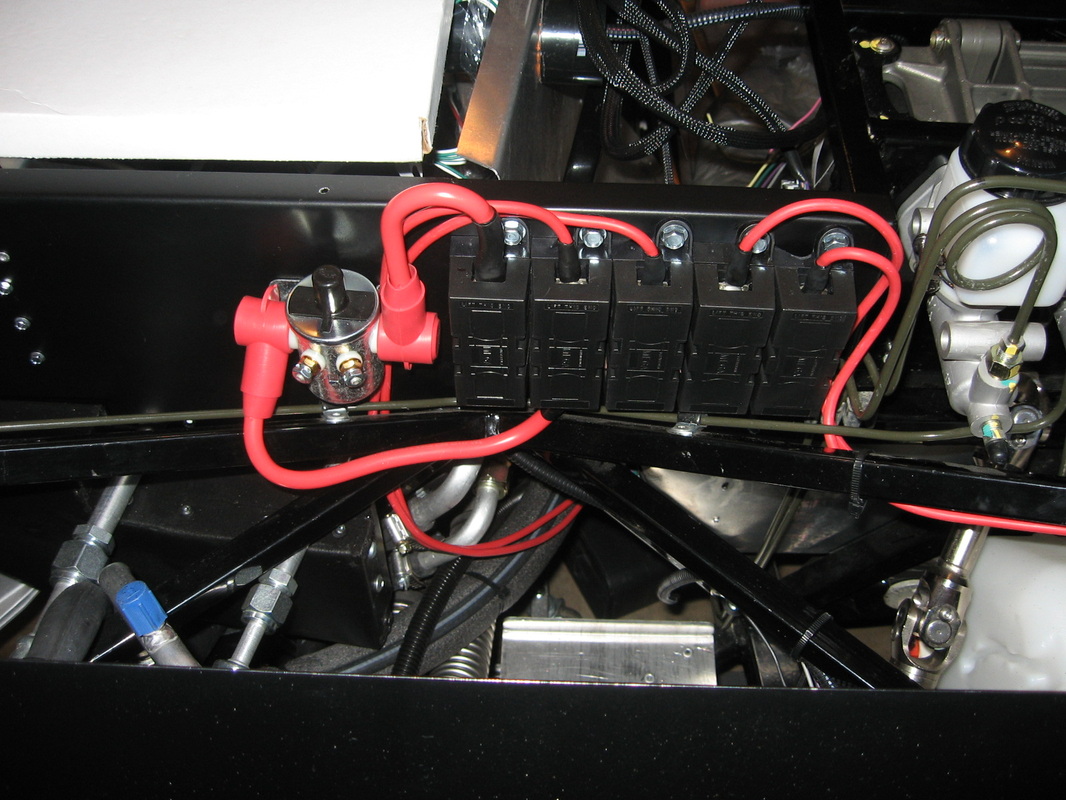
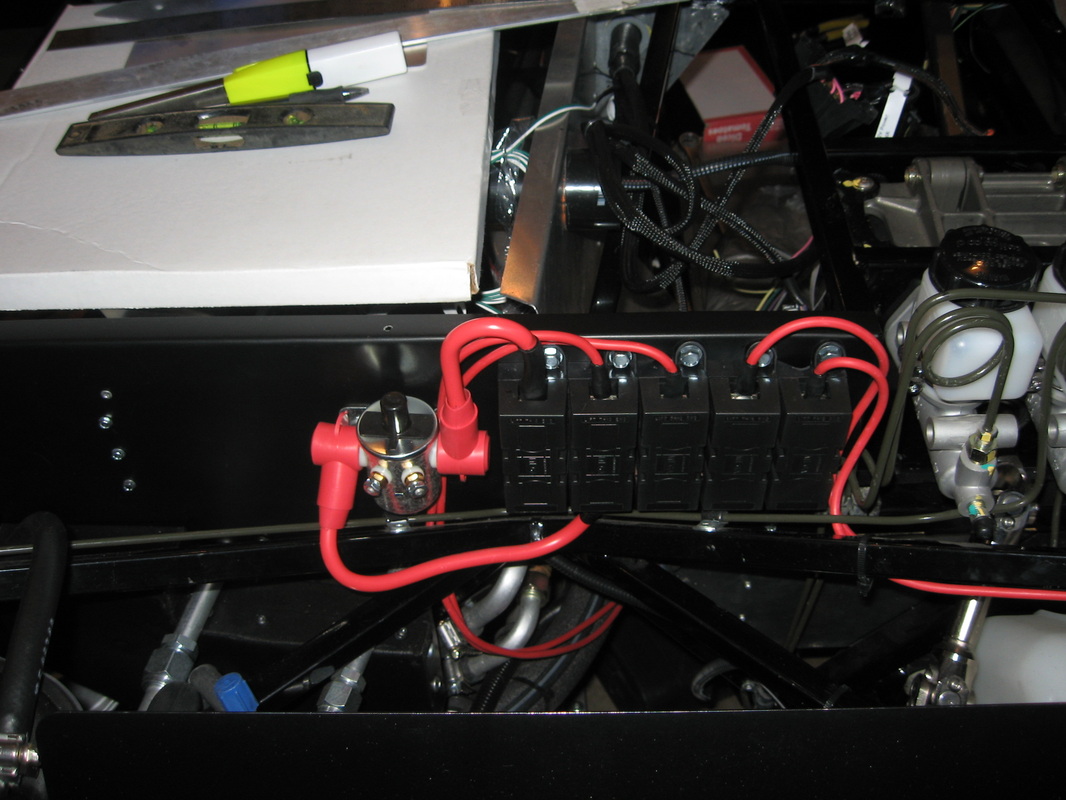
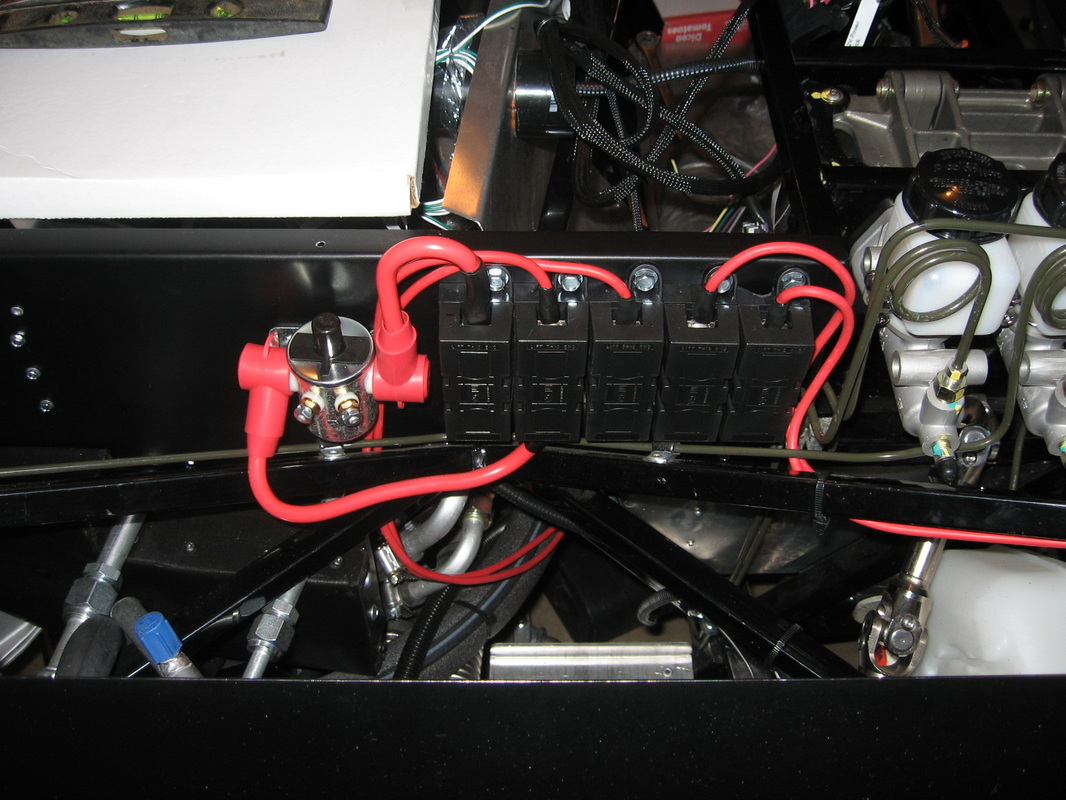
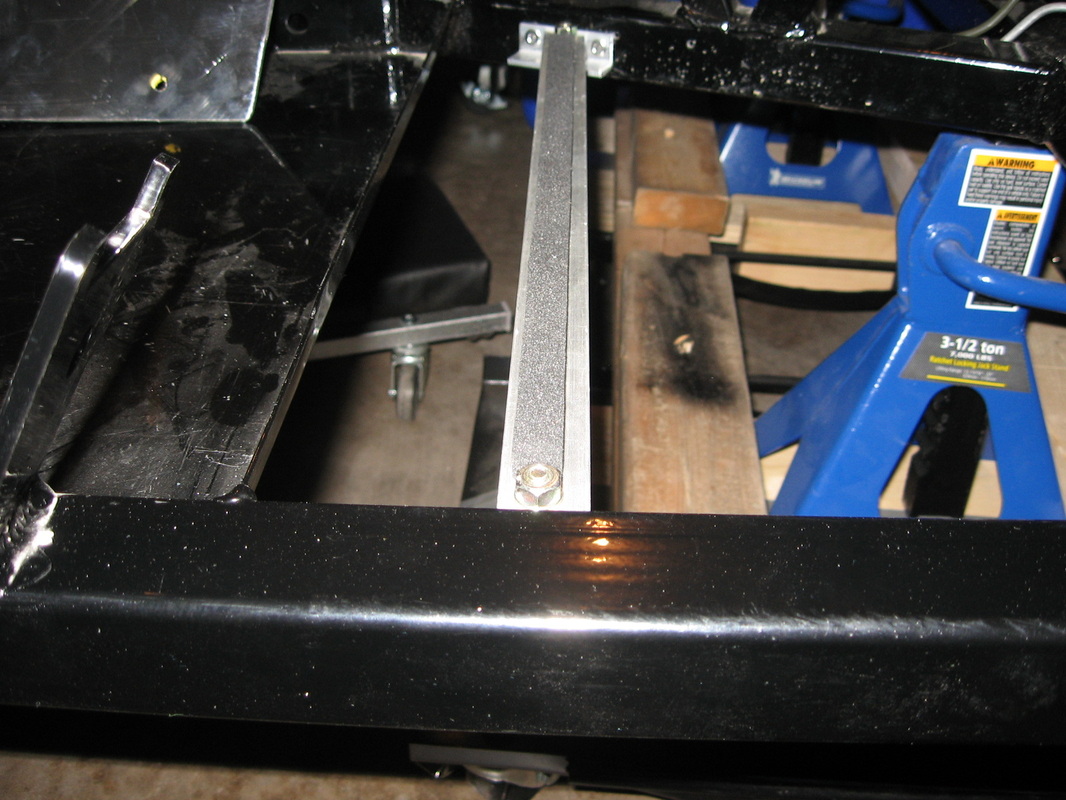
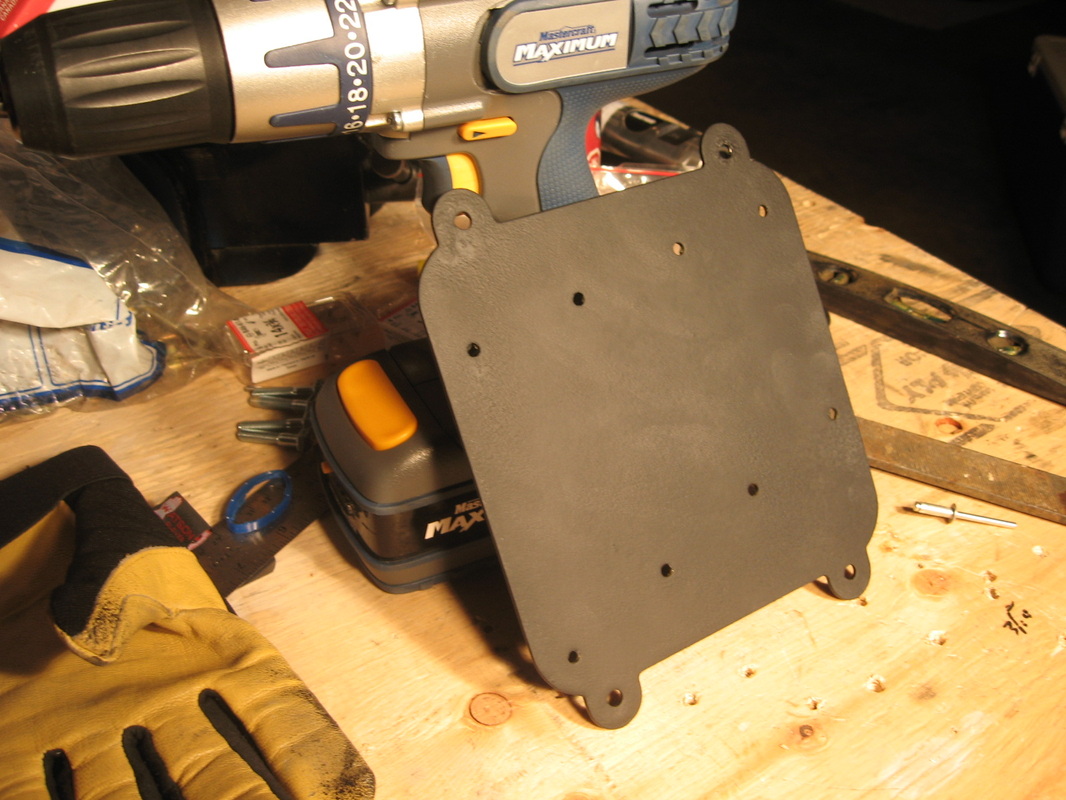
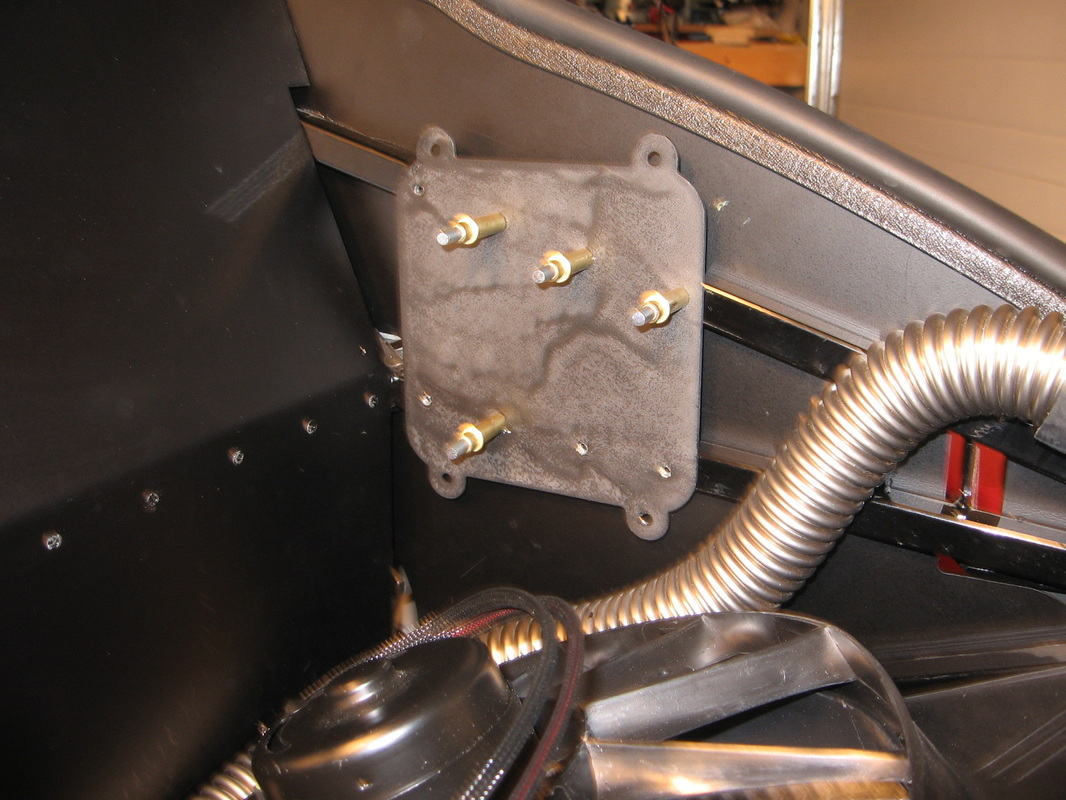
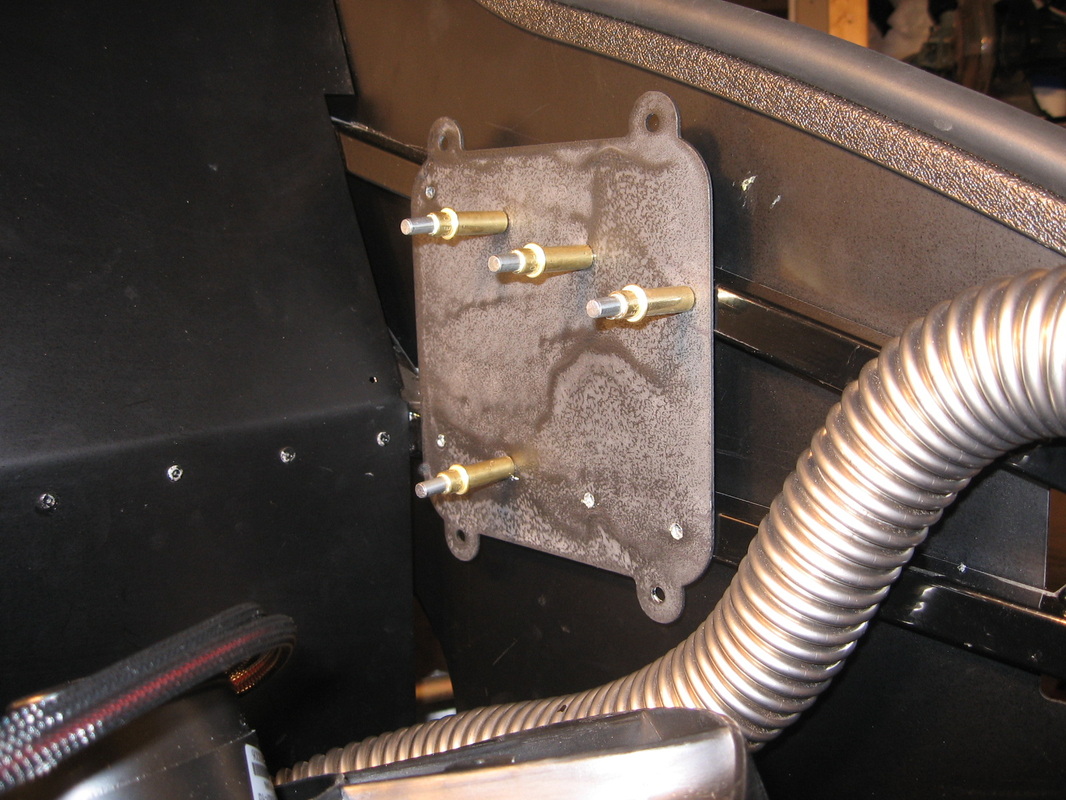
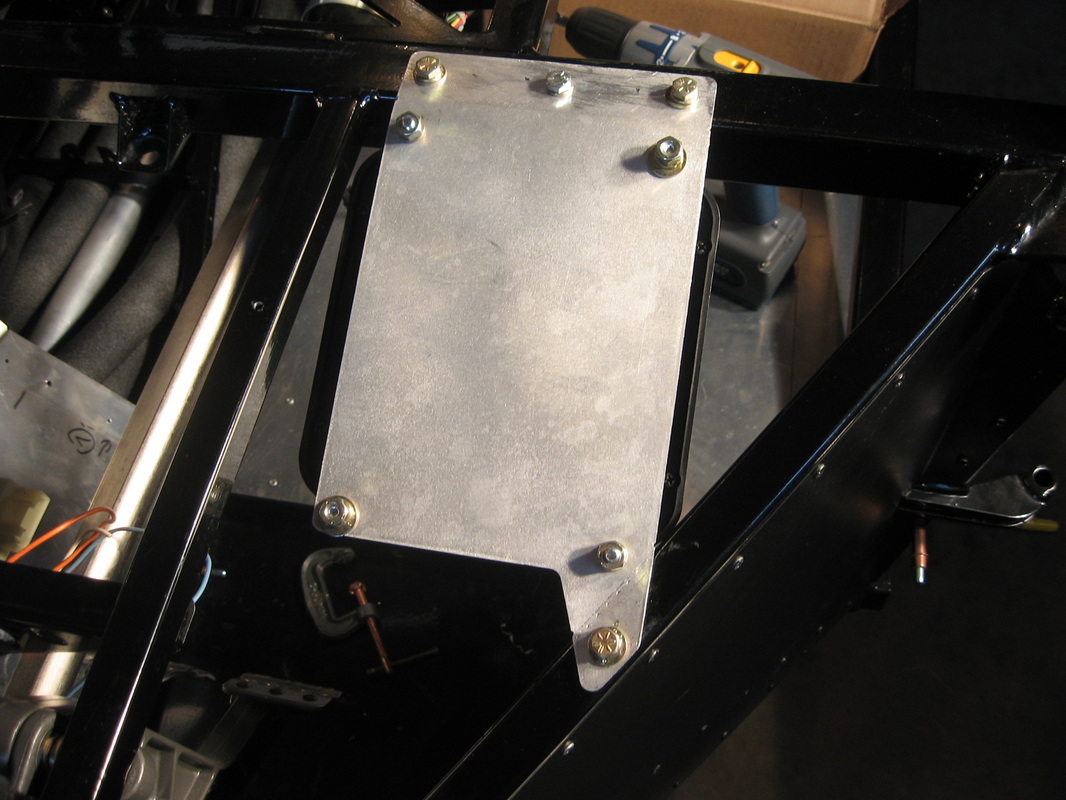
Started with the rear power cell mounting bracket. Sprayed the bracket from VRaptor with EZ liner to give it that black look.


Mar 04, 2012
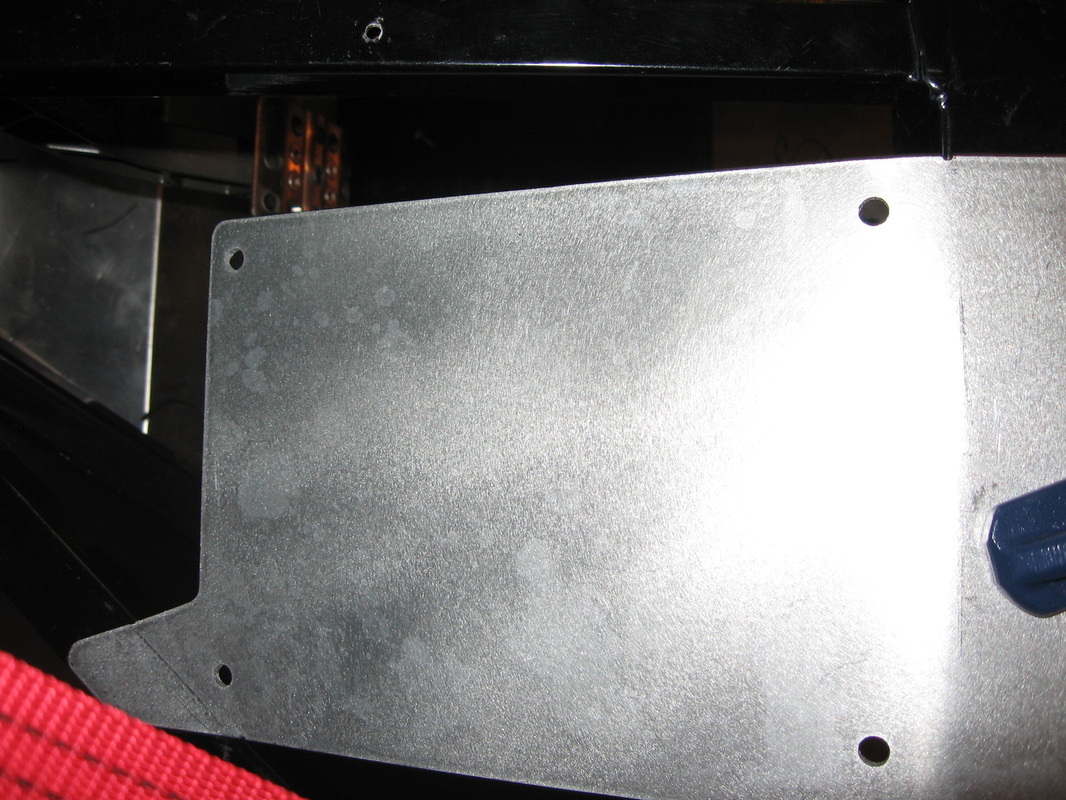
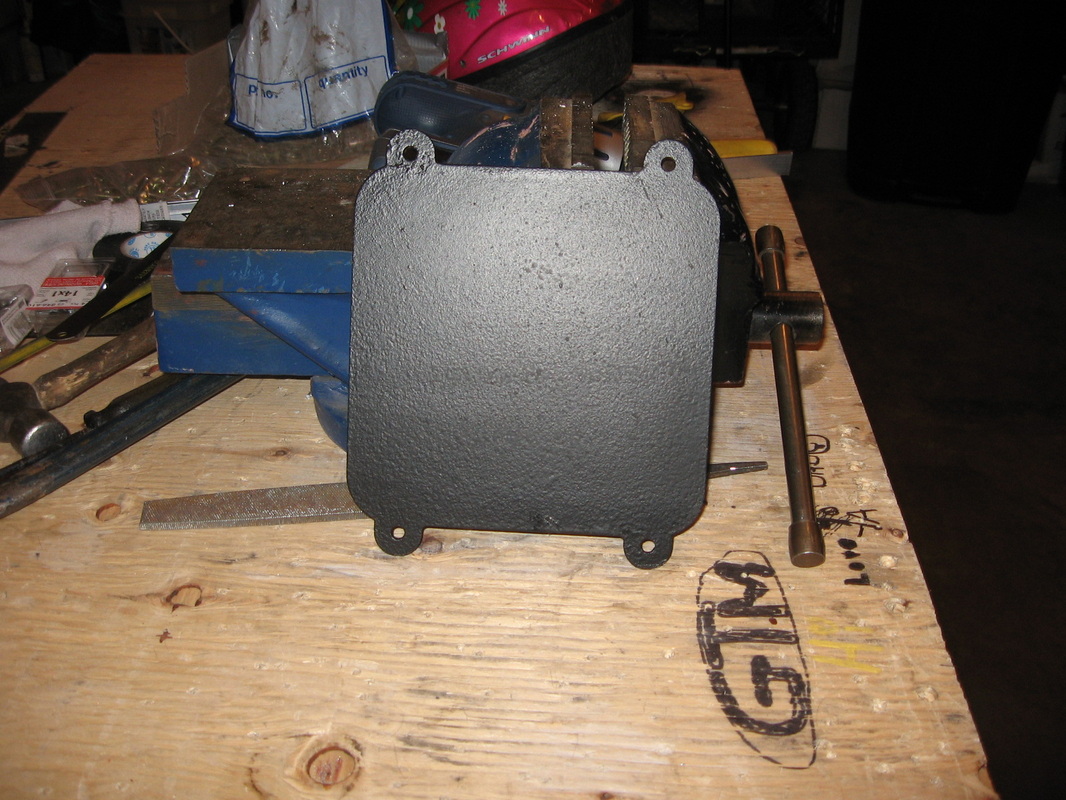
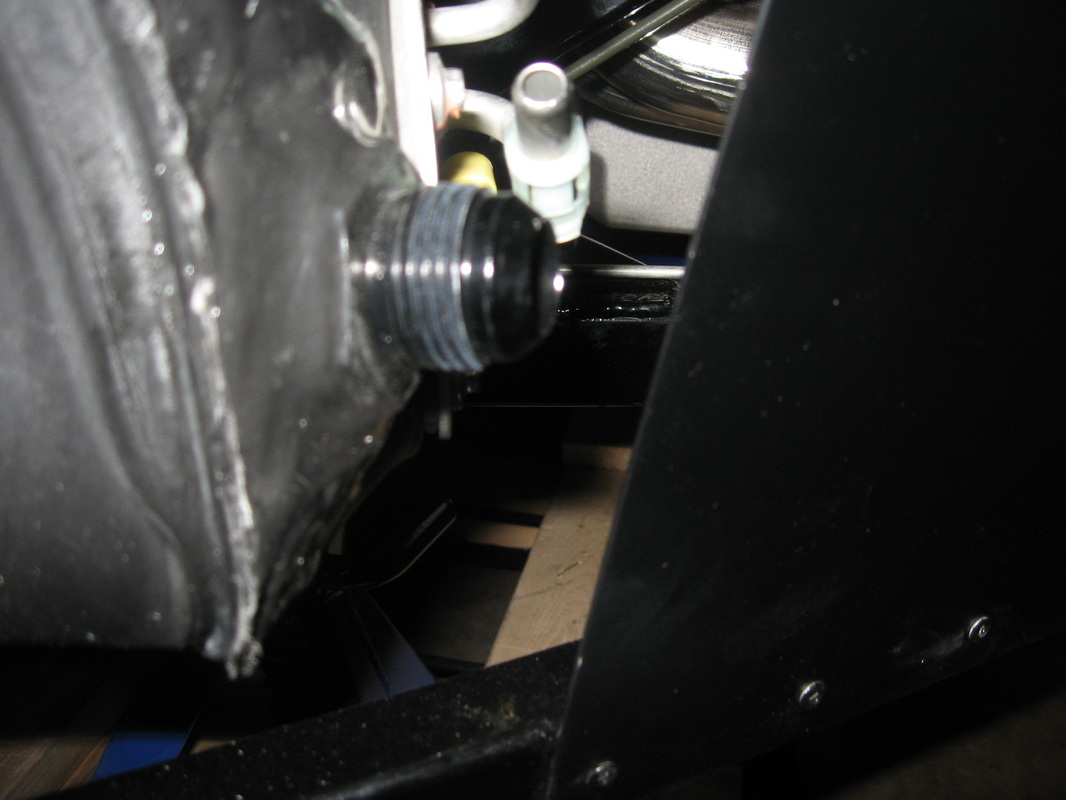
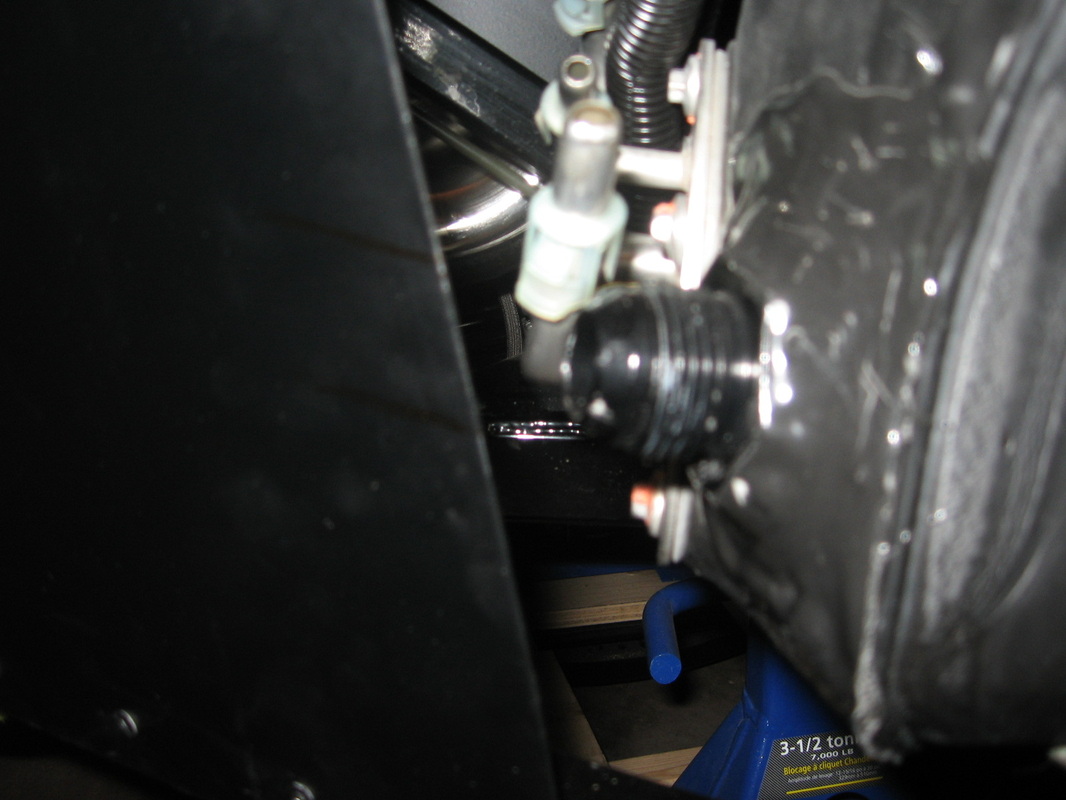
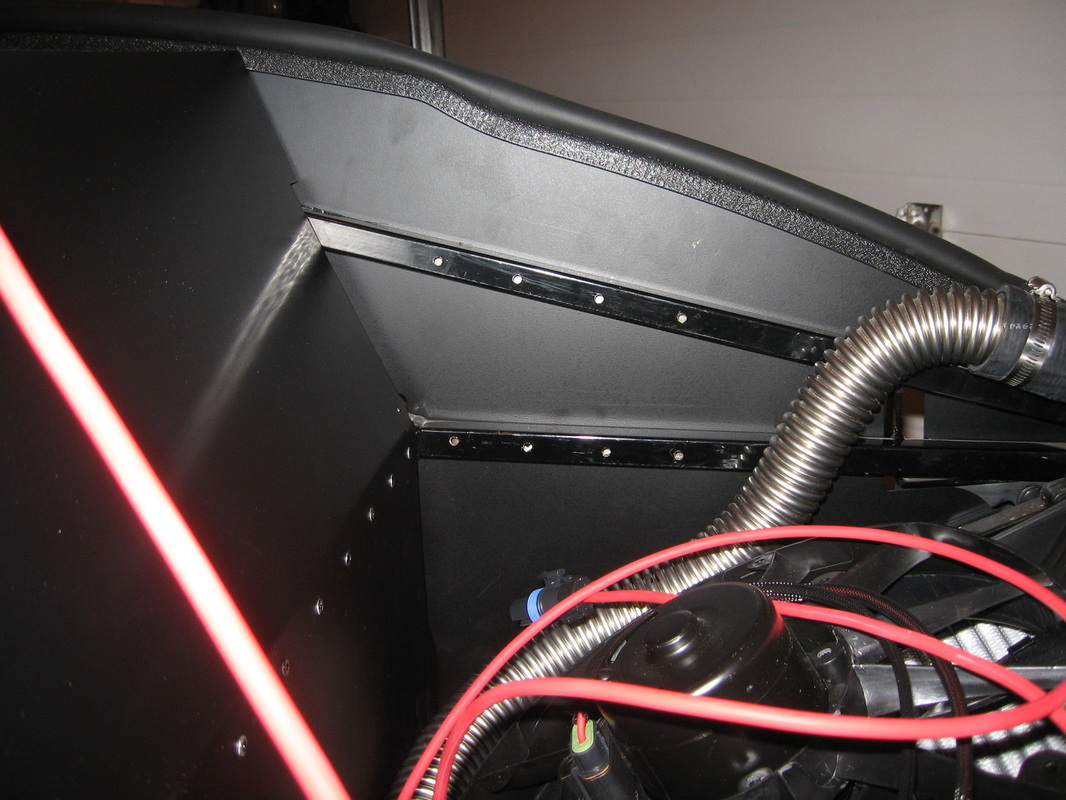
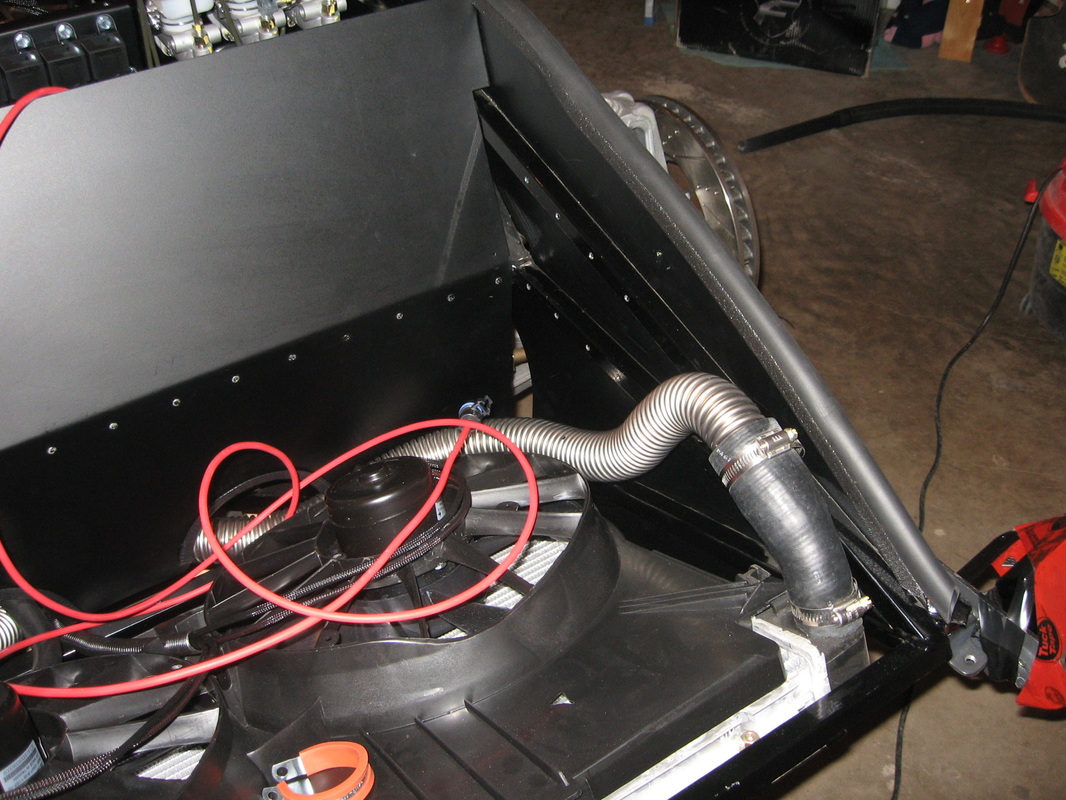
Had to take the rad hose on the drivers side and move it down. This made room so I could put the power cell right on the frame. The piece the power cell is mounted on was from Vrator speedworks. After cleaning up I sprayed with EZ Bedliner.


Mar 03, 2012
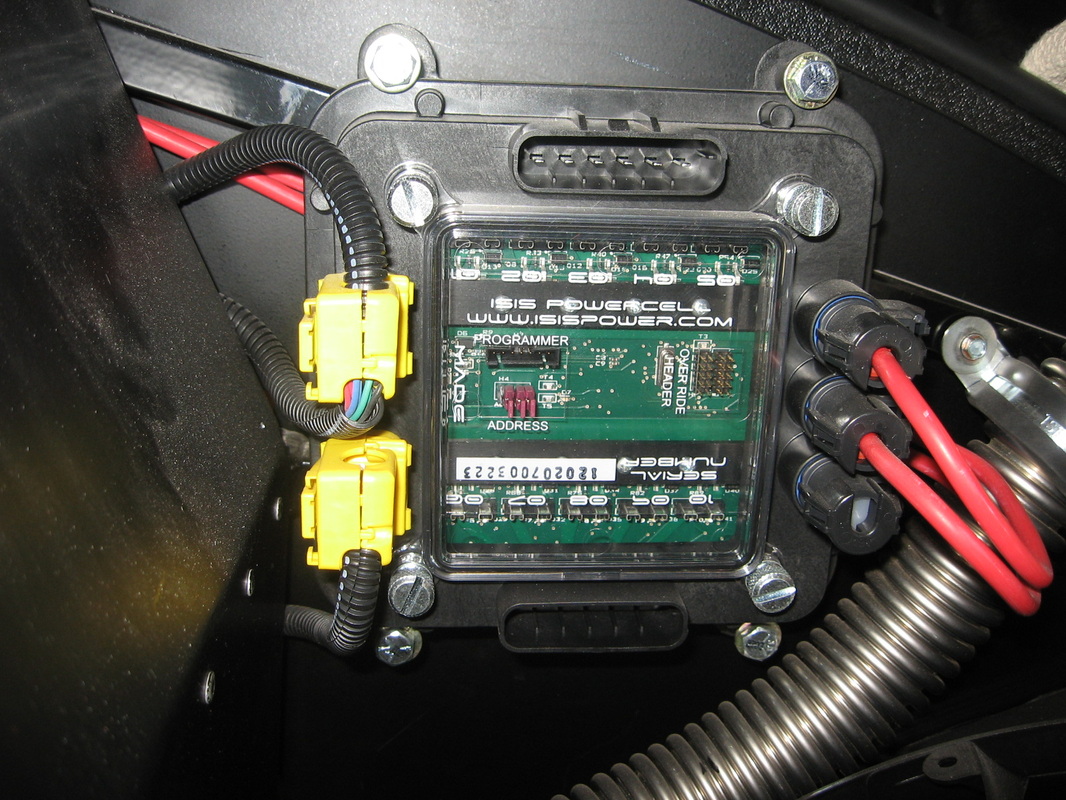
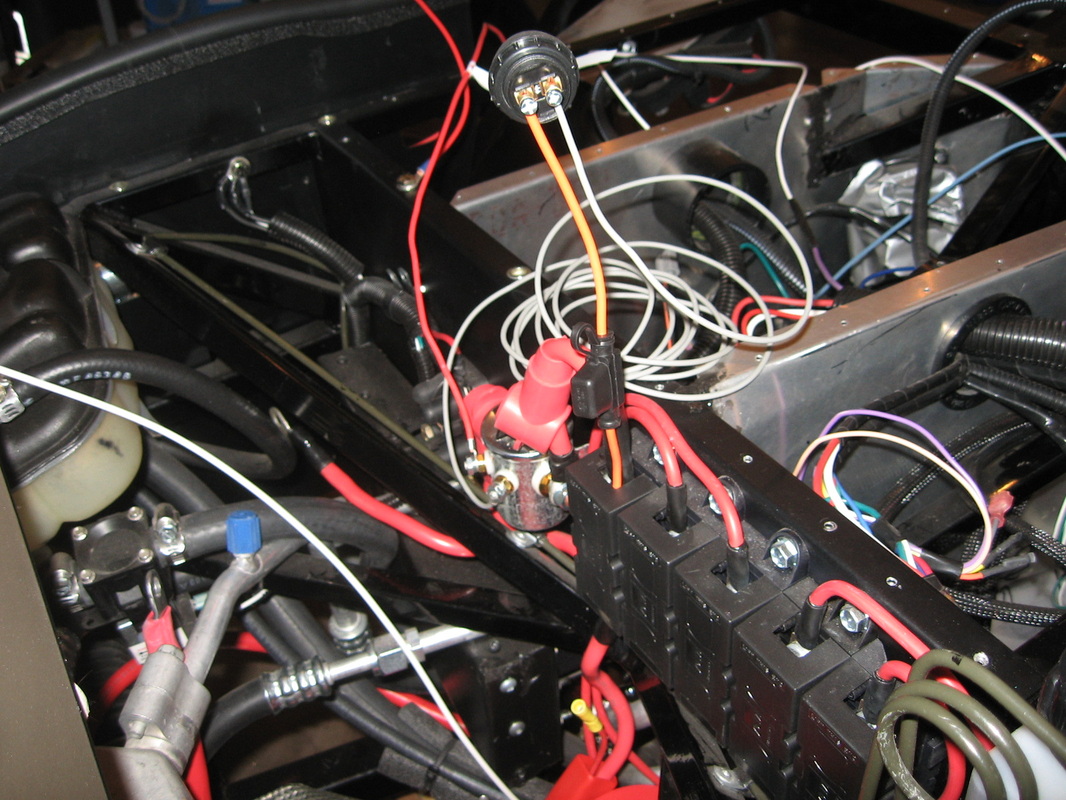
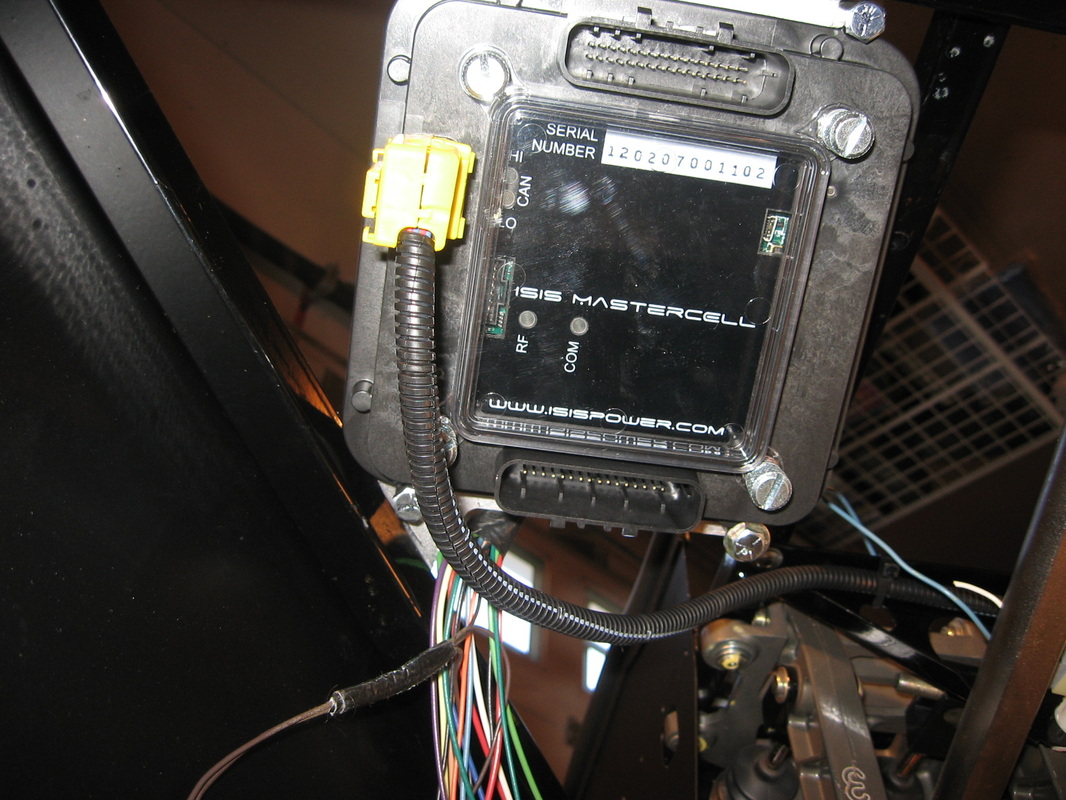
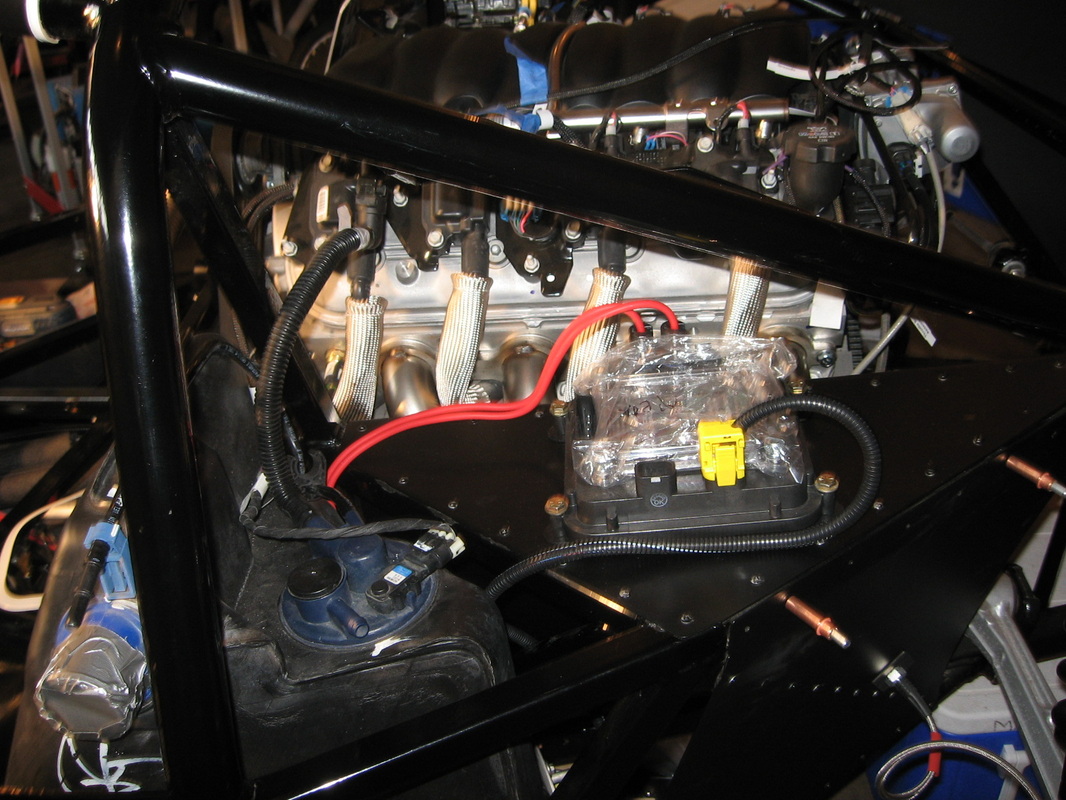
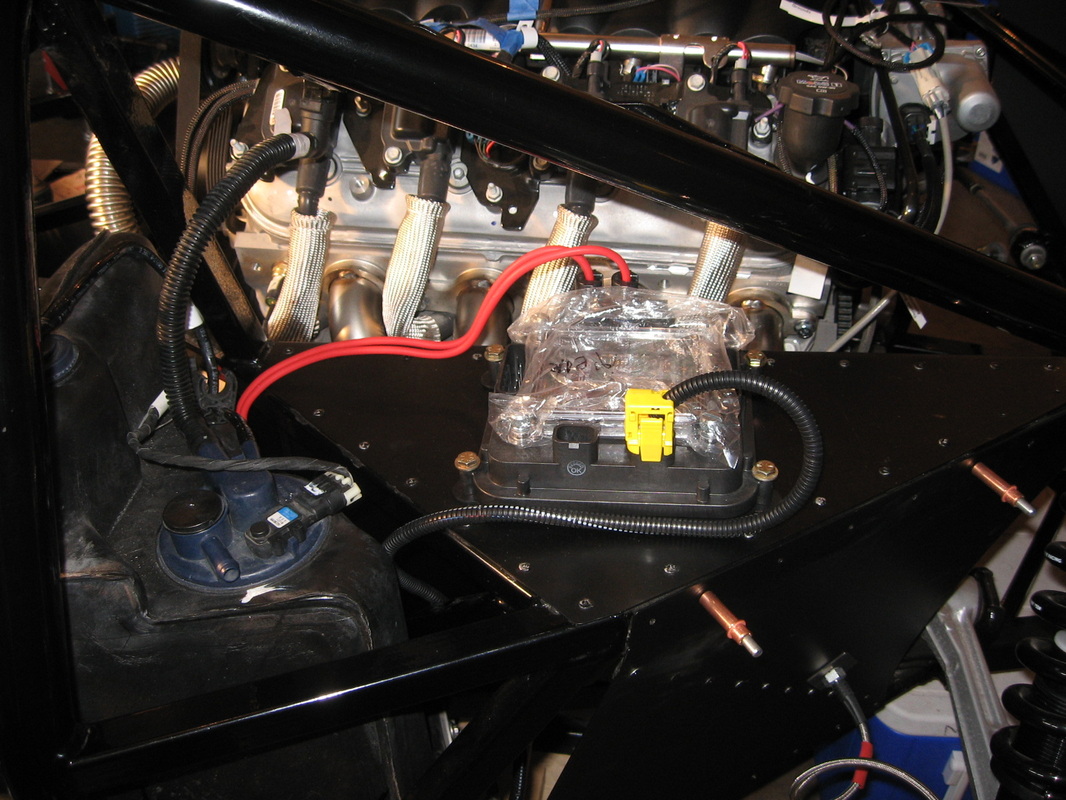
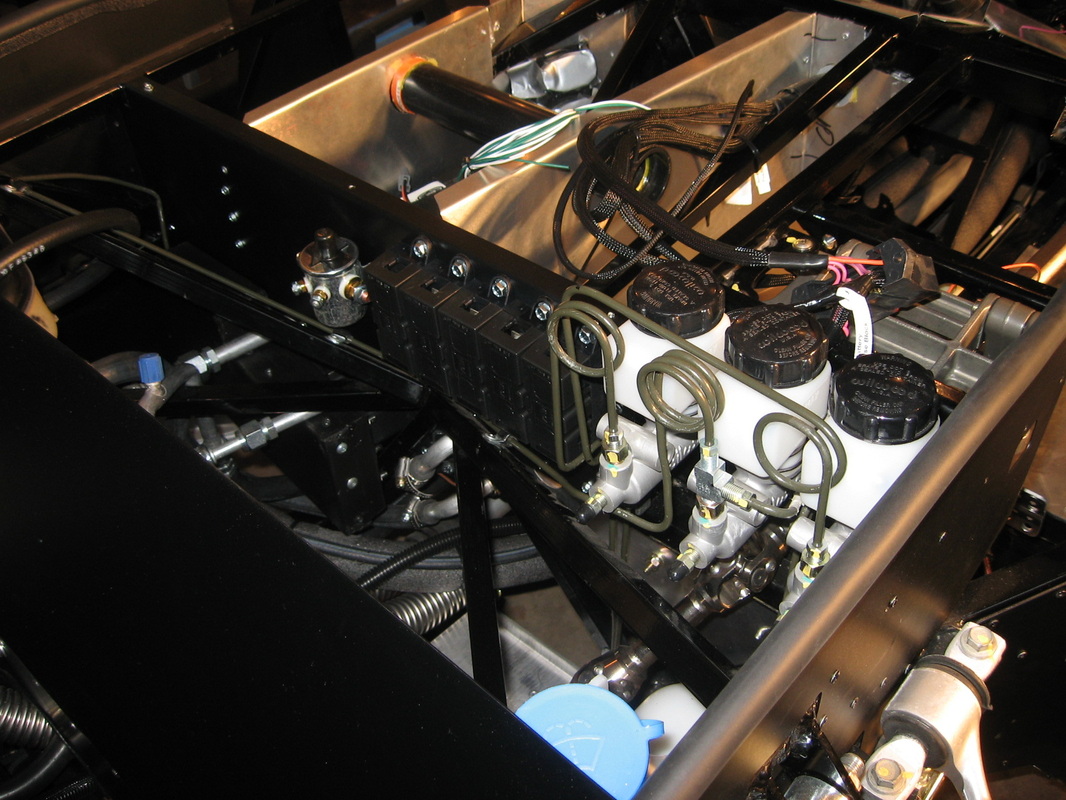
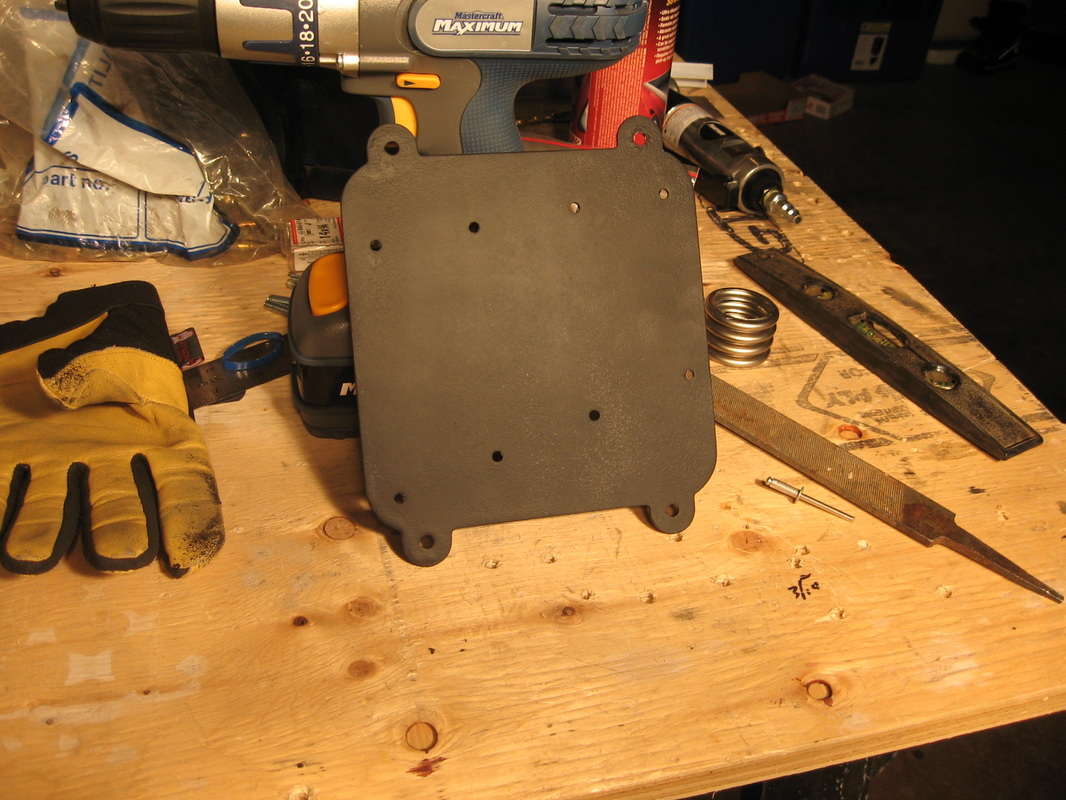
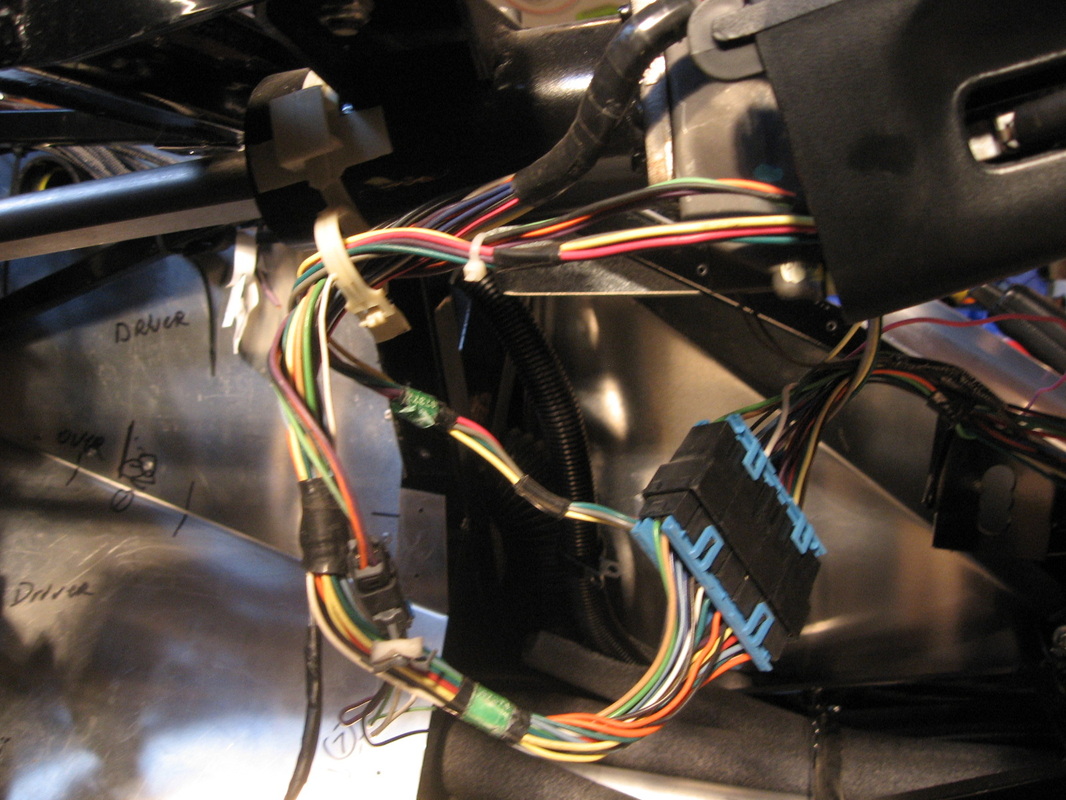
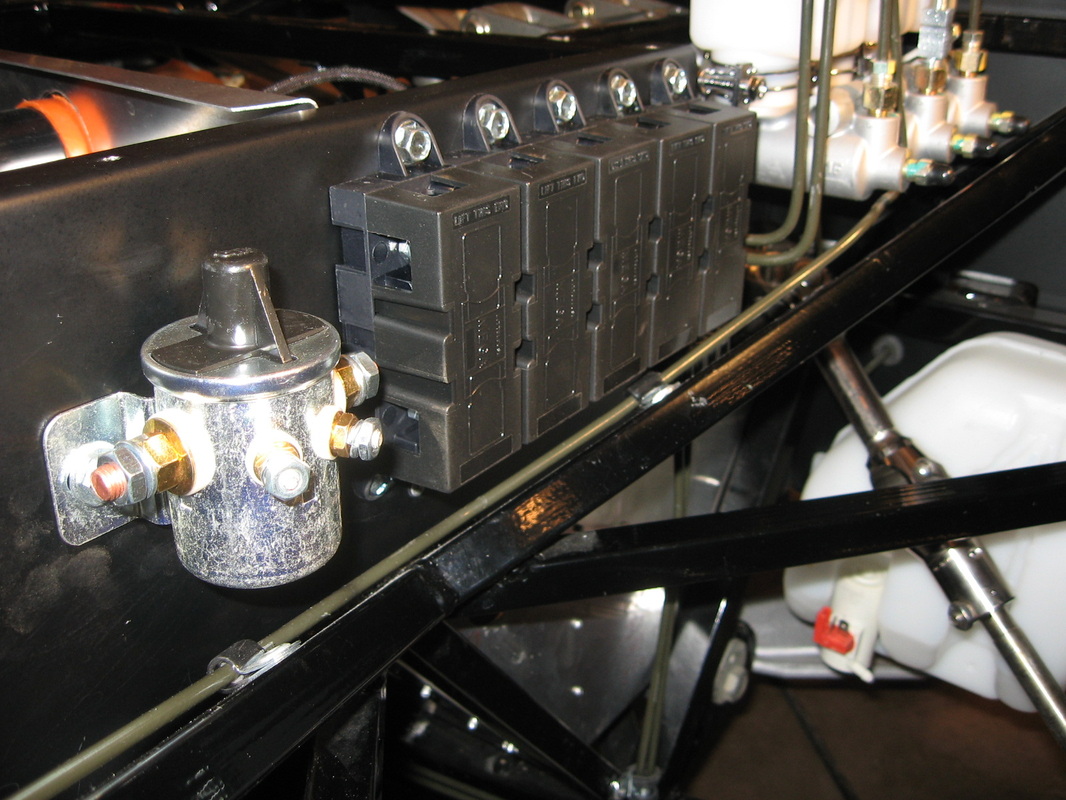
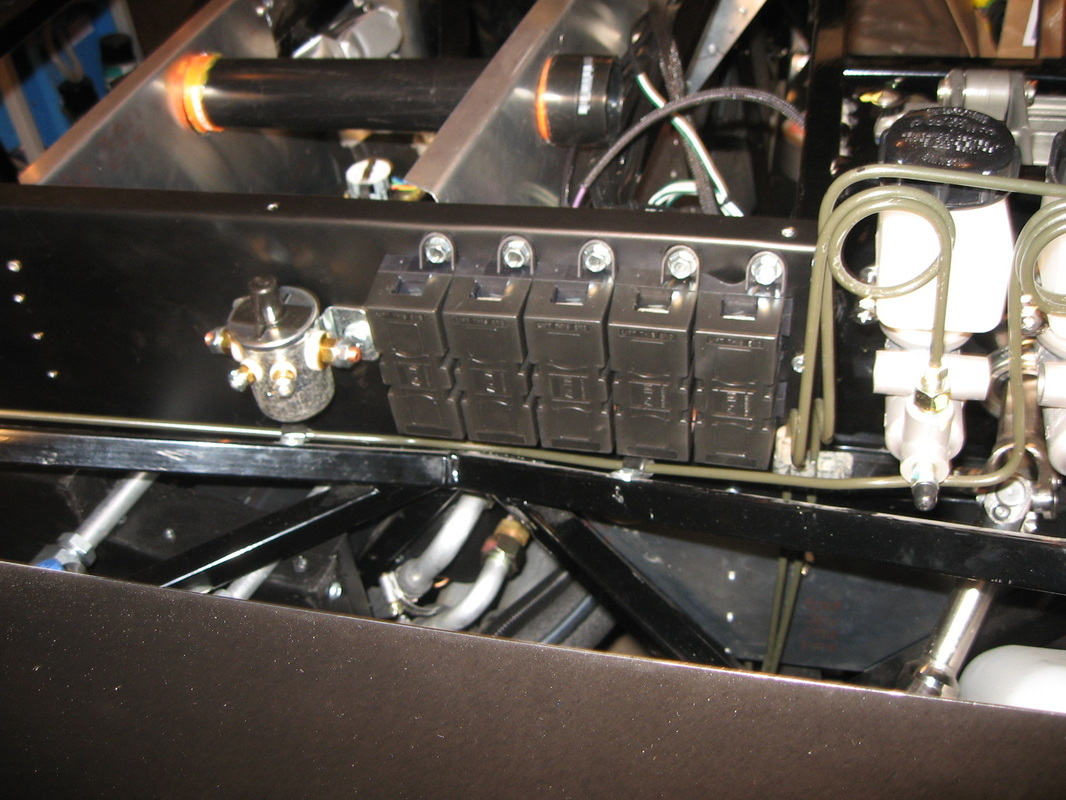
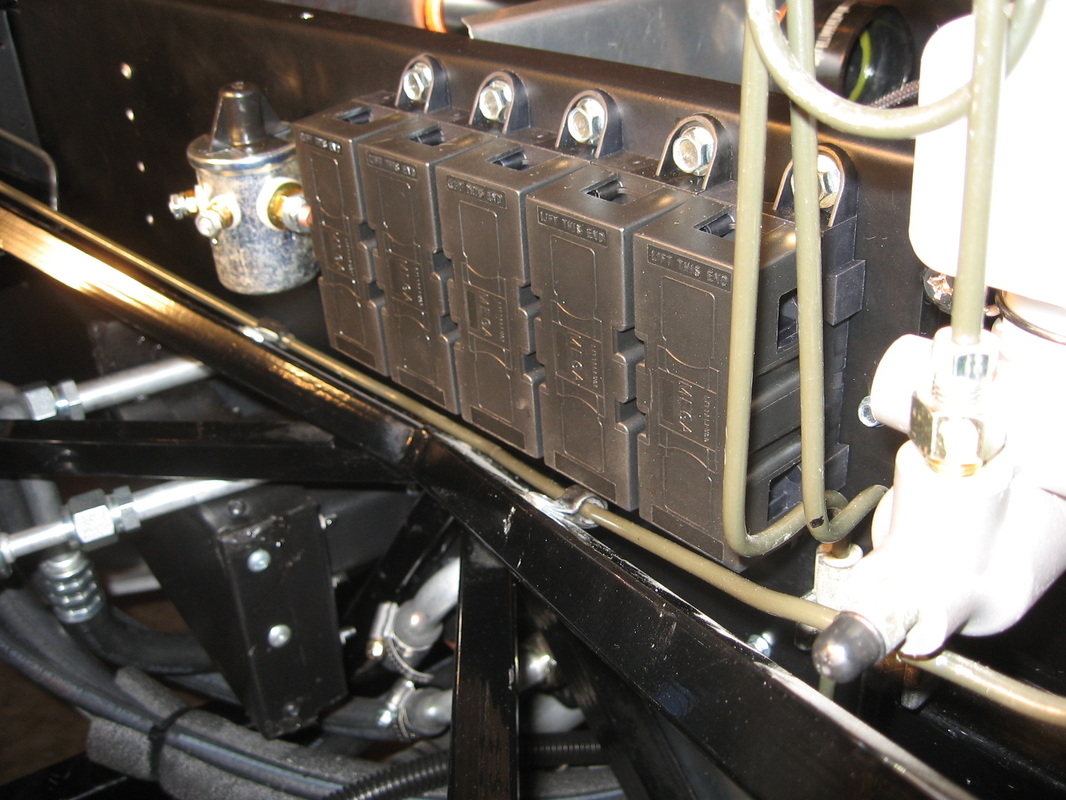
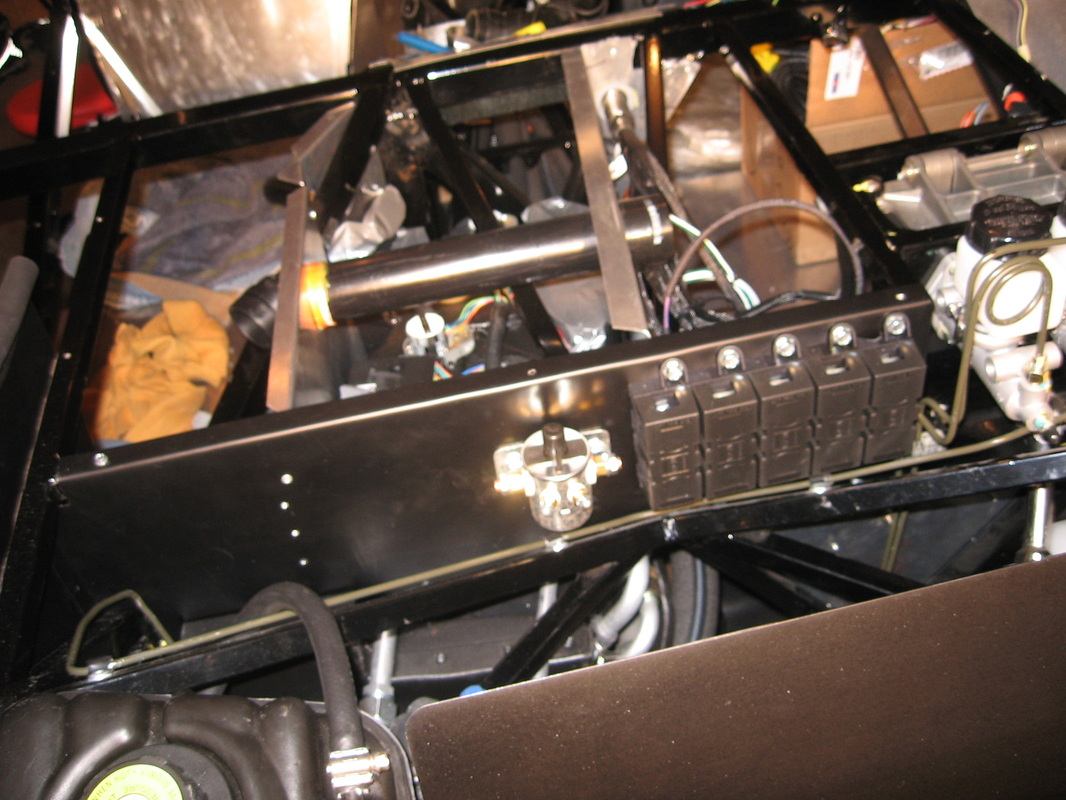
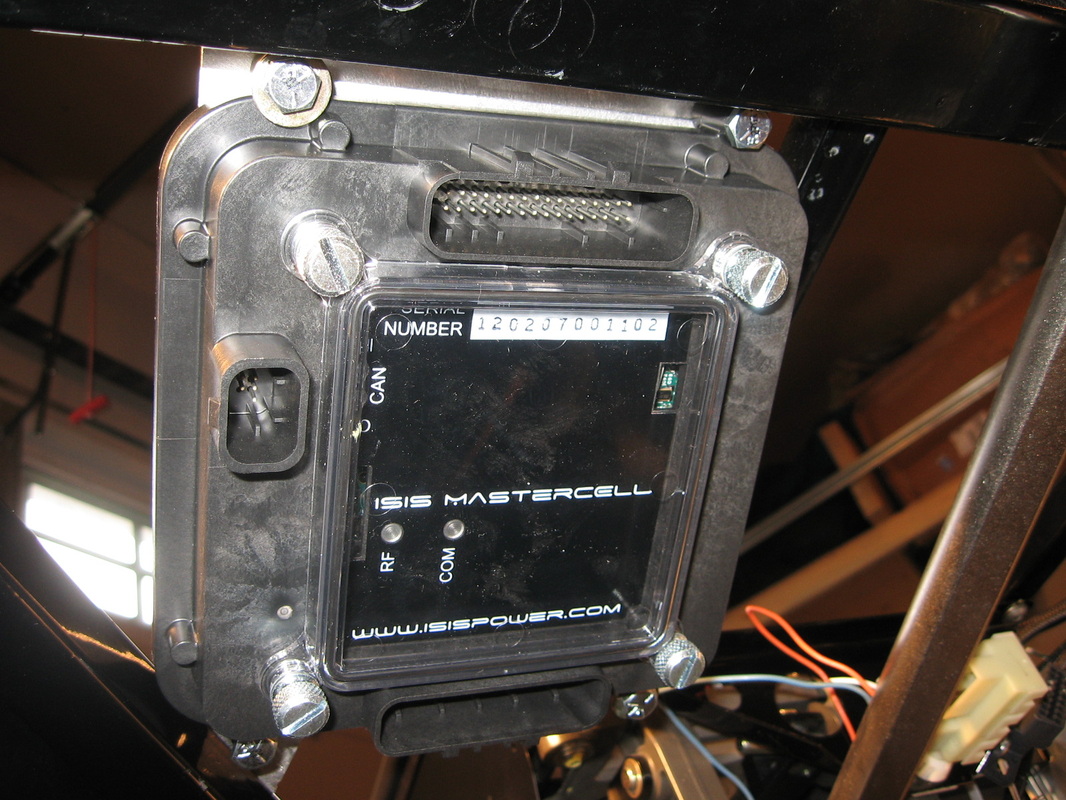
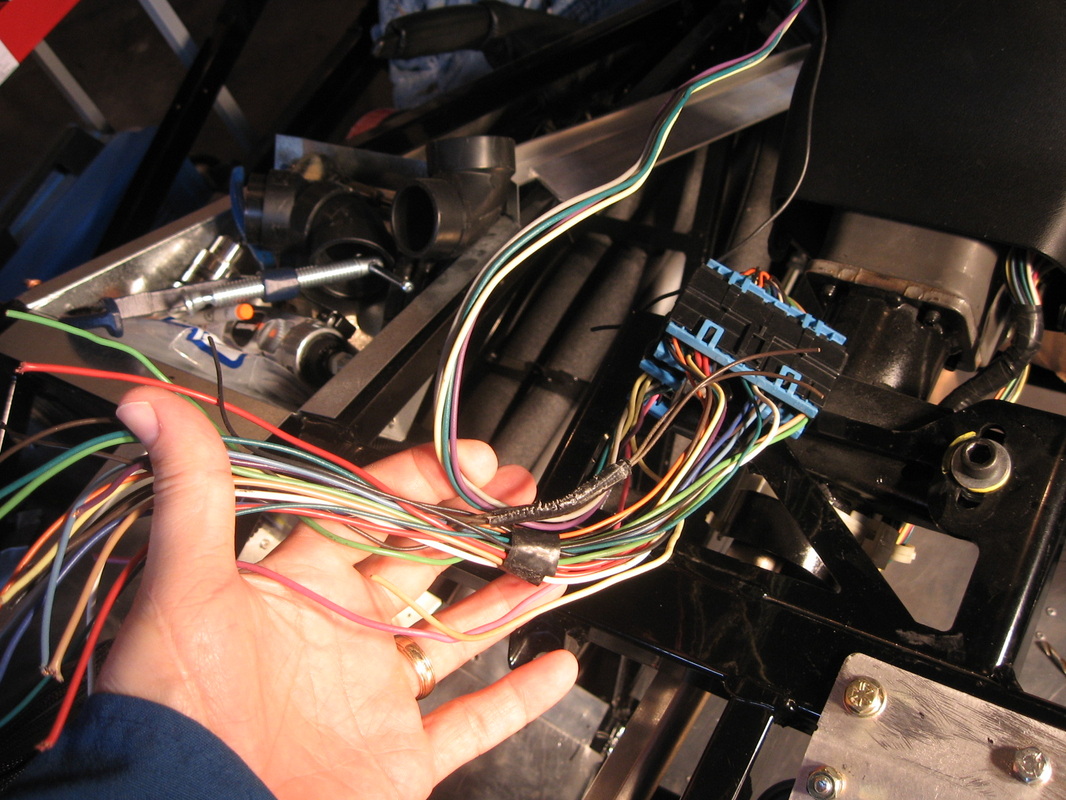
Started with the Mega fuse block install. I wanted it in a place that will be easy to get to. So I went and put it on the front fire wall. The battery is just under the block so a short cable to run. The main master cell was installed over the drivers foot box. This is the brains for the ISIS system. All the wires in my hand are the inputs that will be mated to the plug that will plug in the master cell.


Jan 2012
The ISIS compter control for the car arrived. This system will replace all the cars wiring harness. It has a touch screen for all the cars control.
Oct 01, 2011
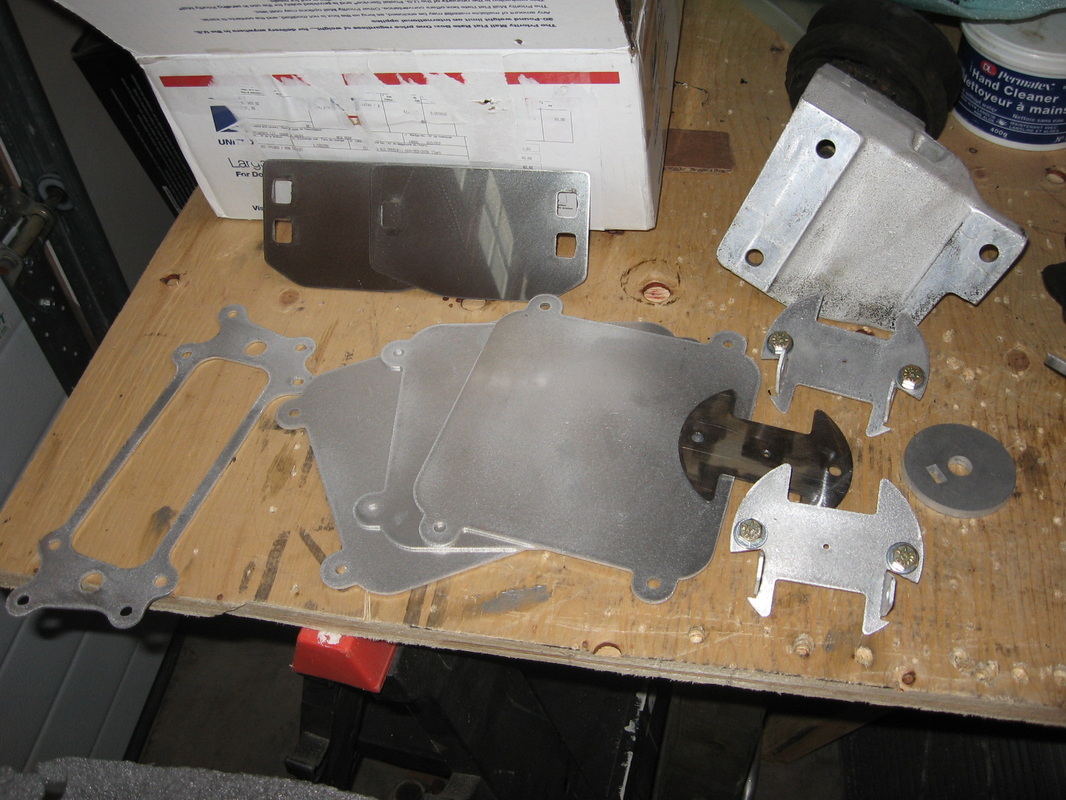
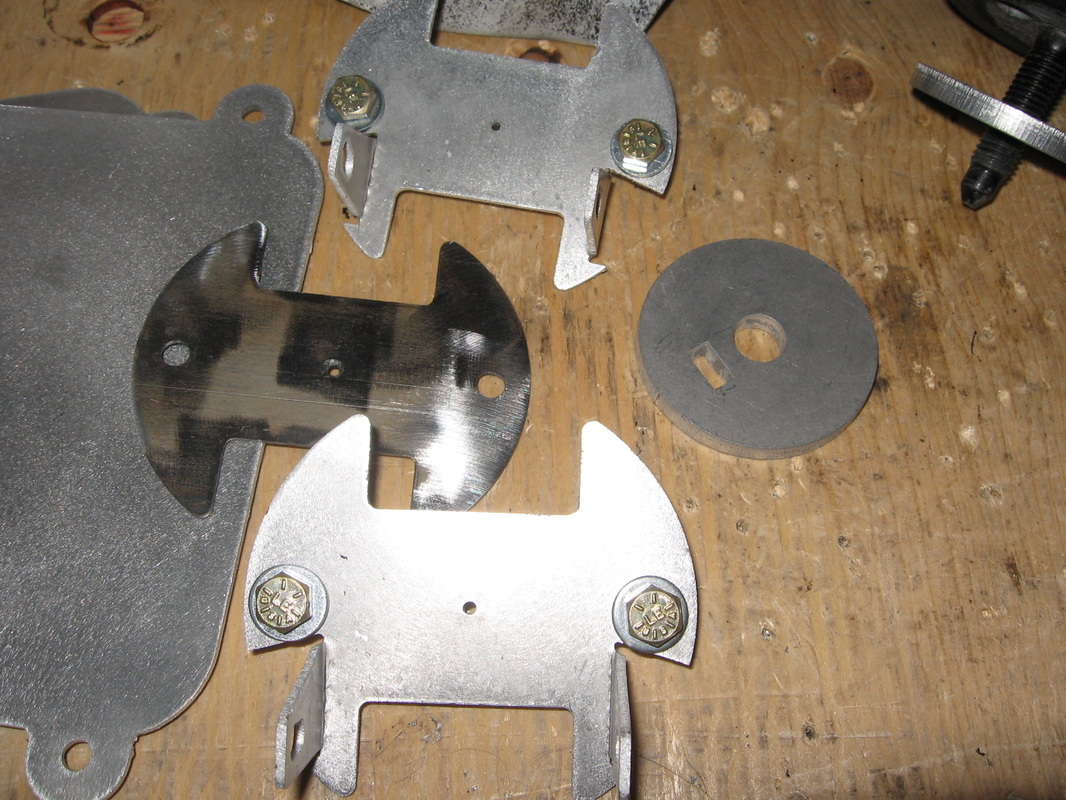
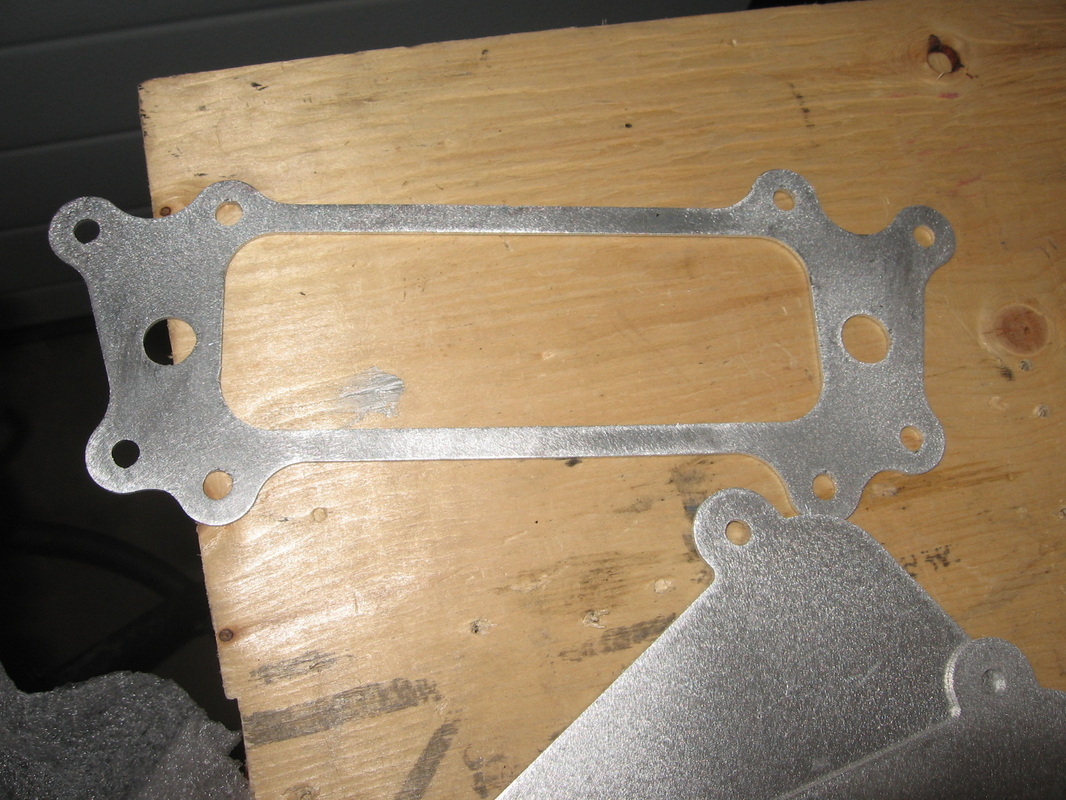
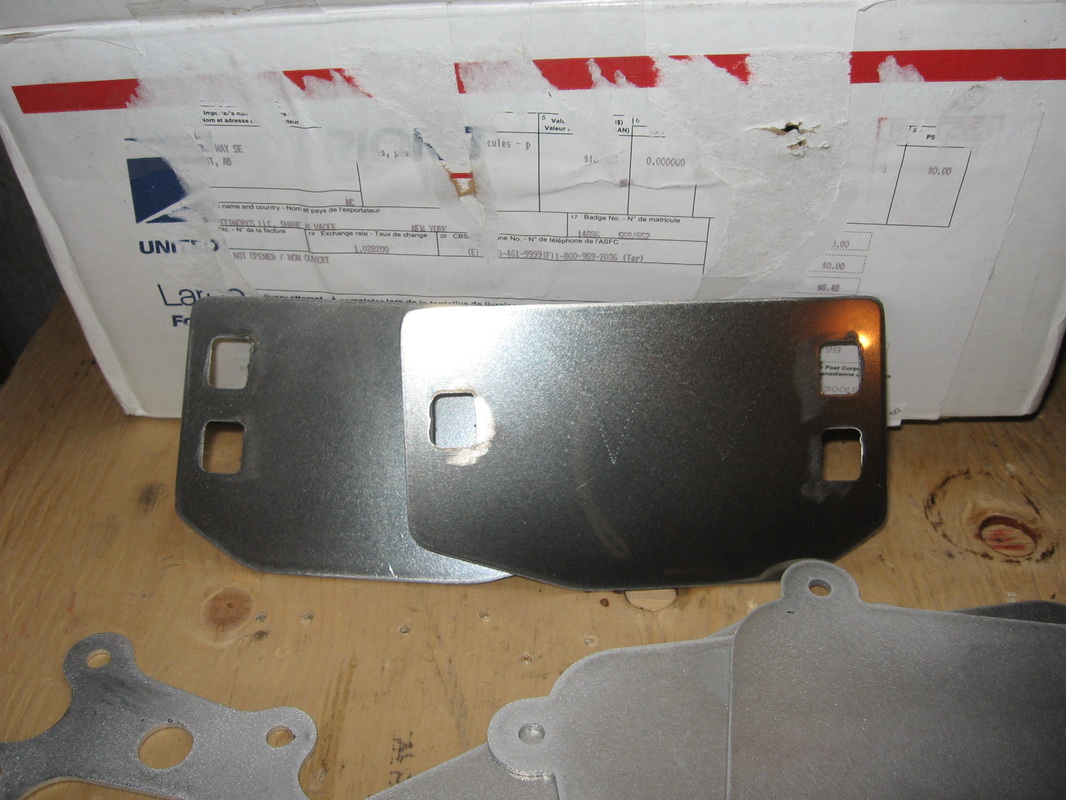
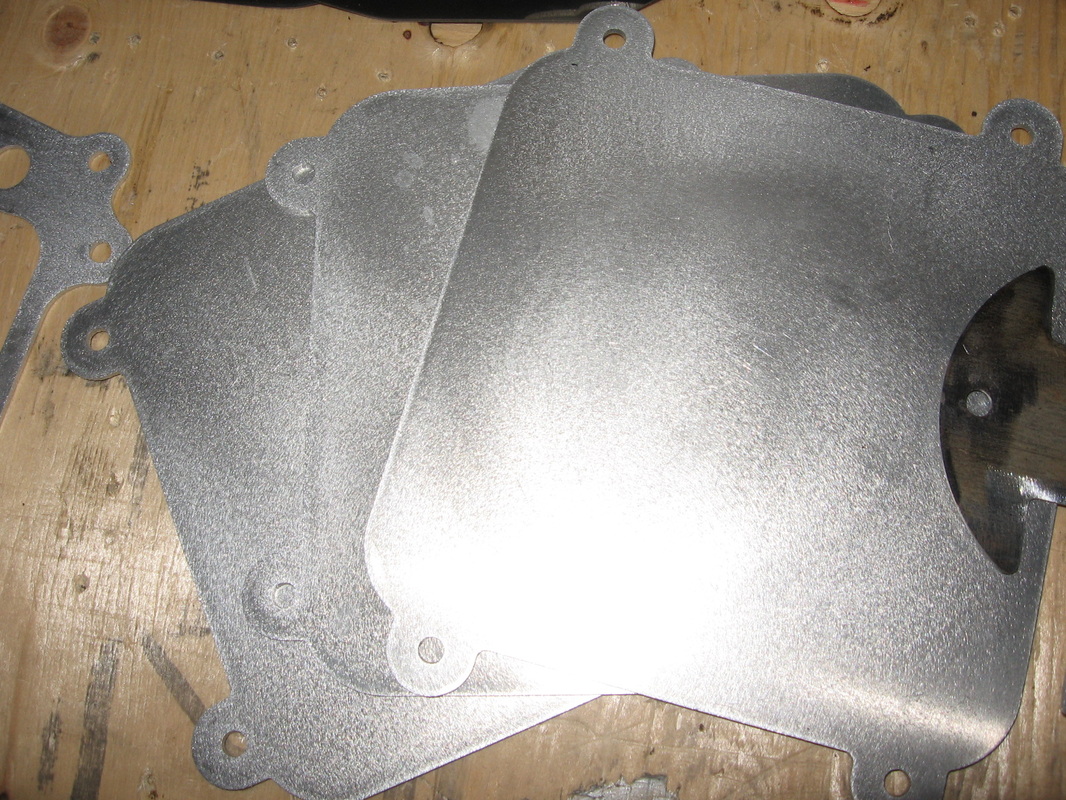
I received the ISIS 3 cell mounting pannels, fog light brackets, Hood striker and one extra mounting plate for the ISIS. Very nice work Shane. (VRaptor SpeedWorks)