April 16-17, 2012
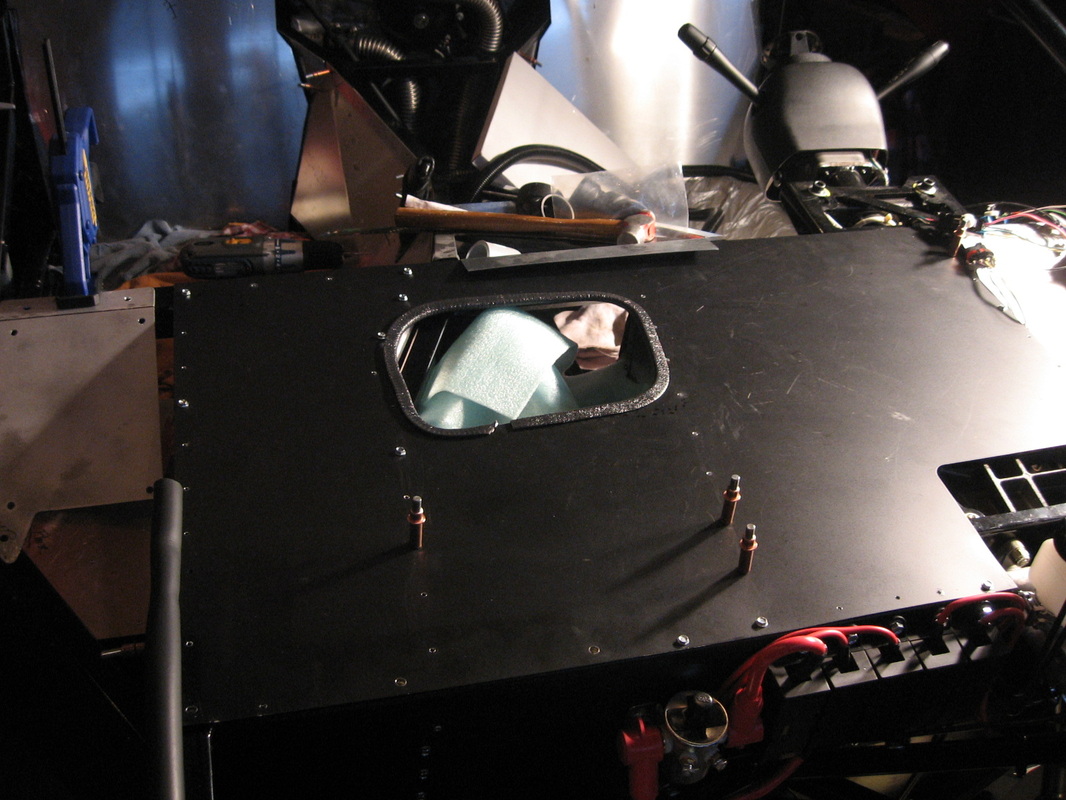
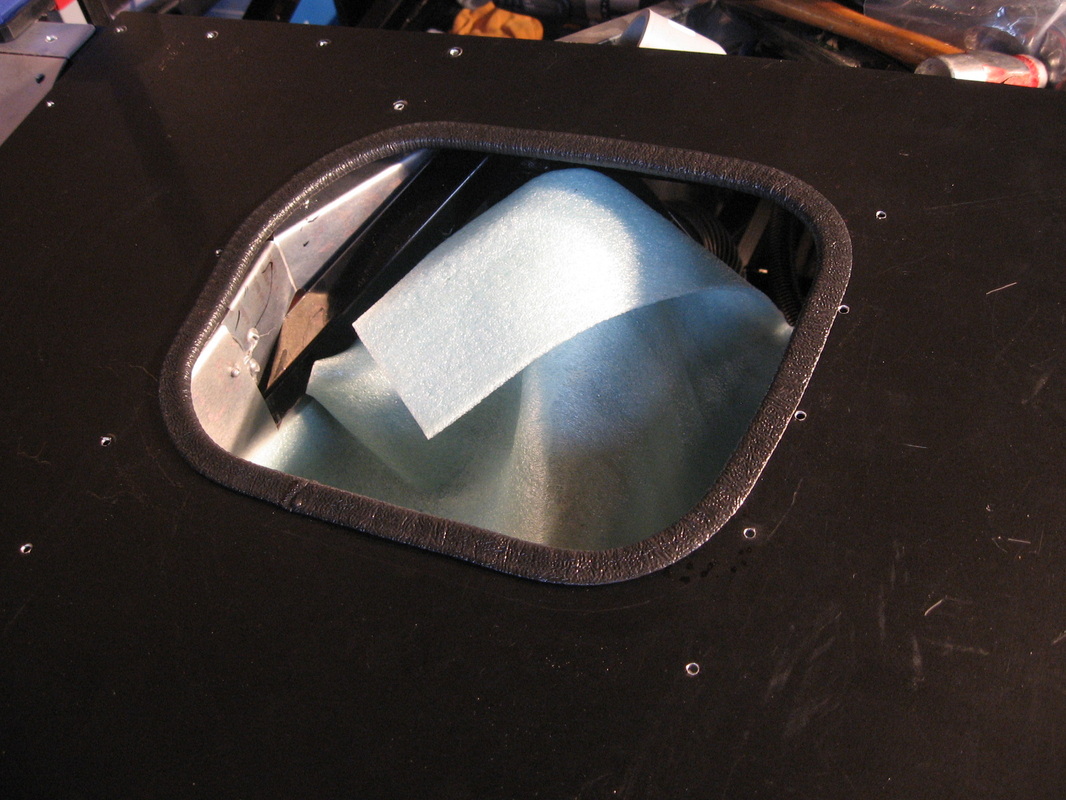
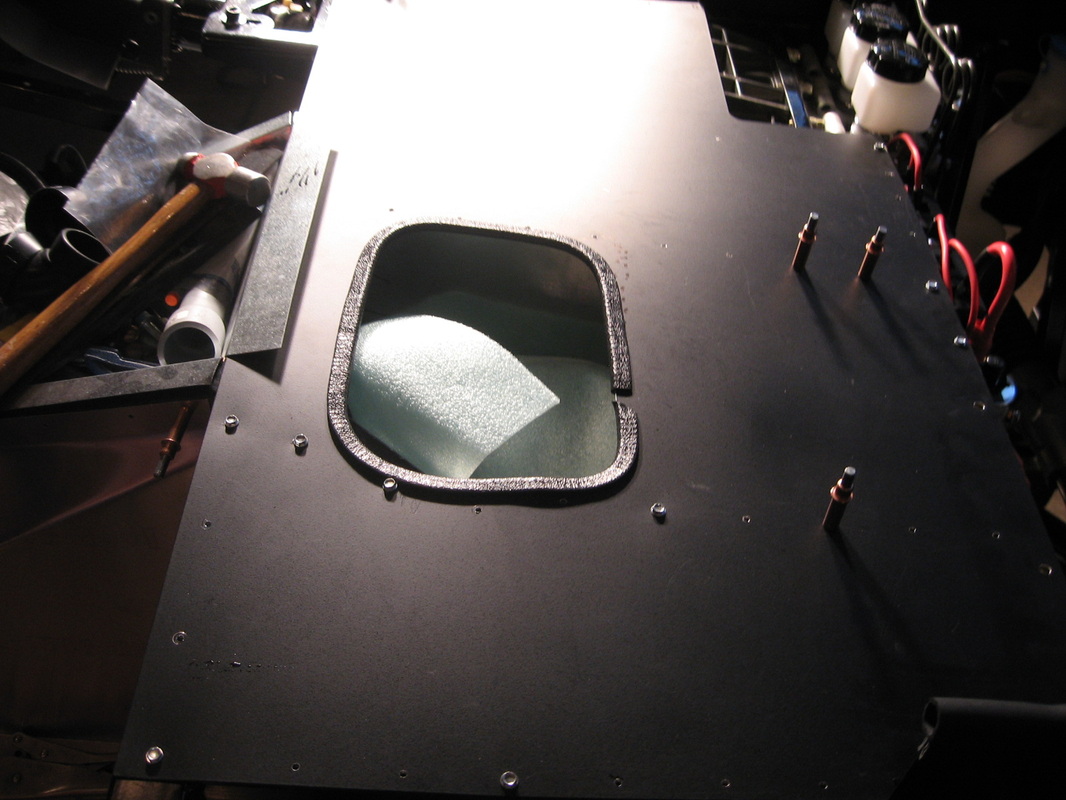
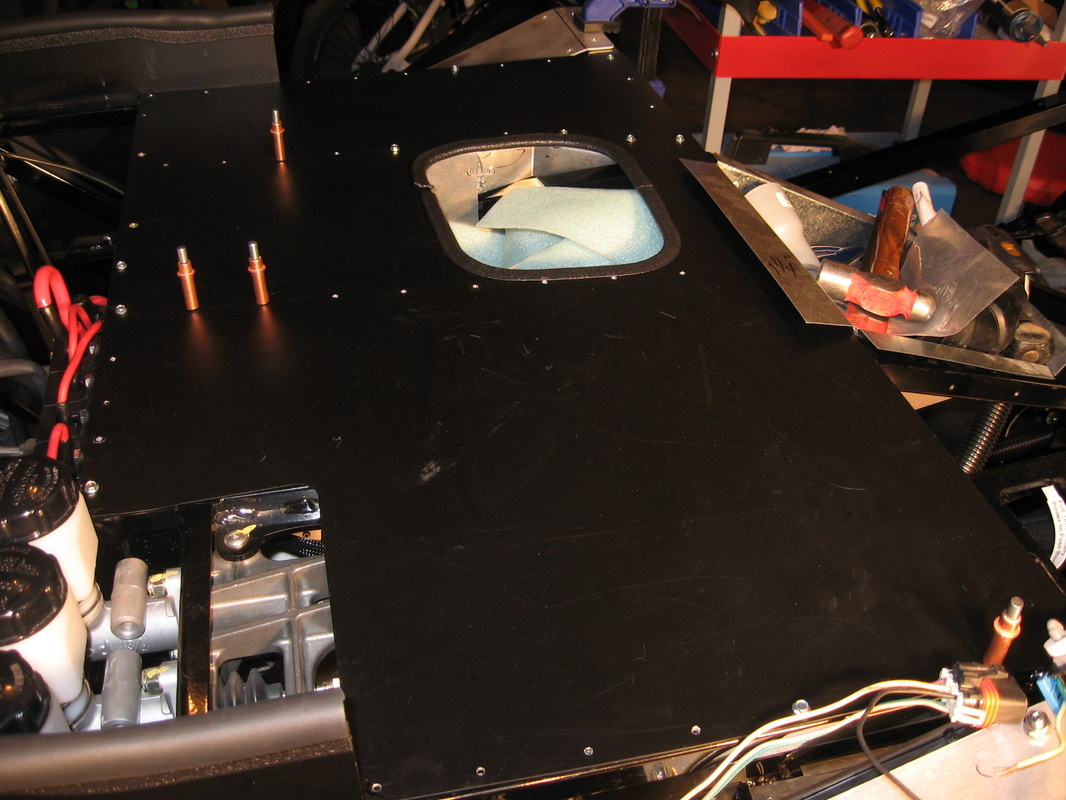
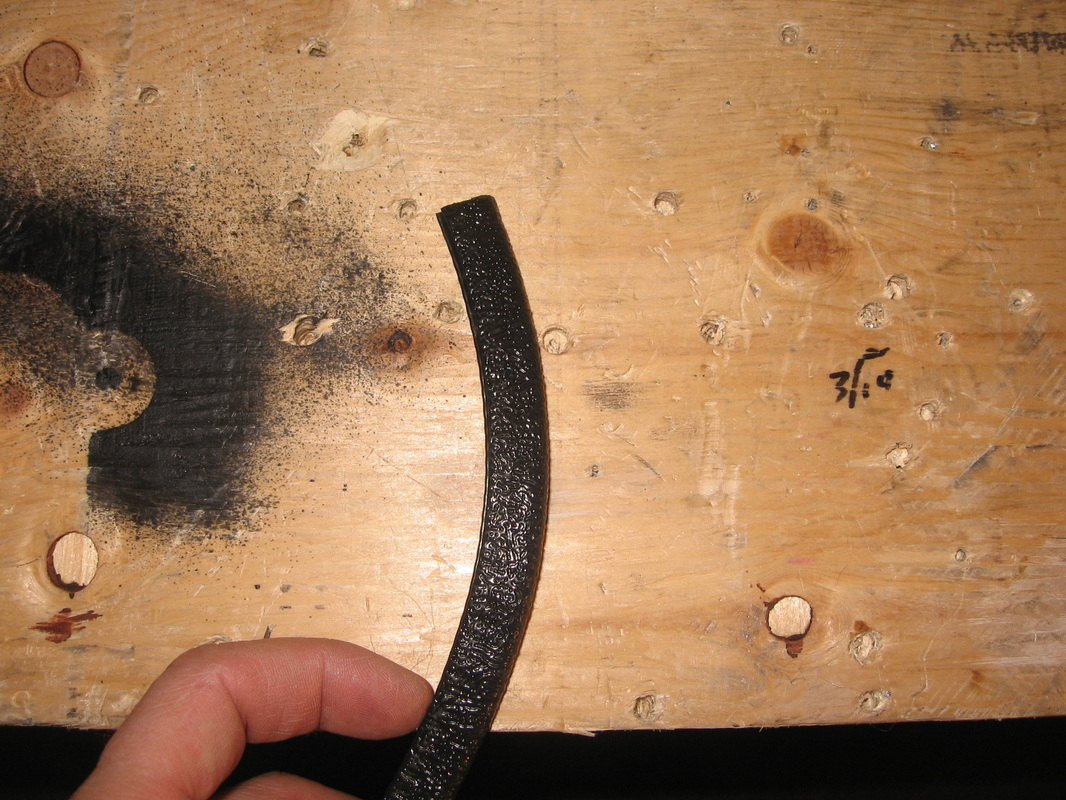
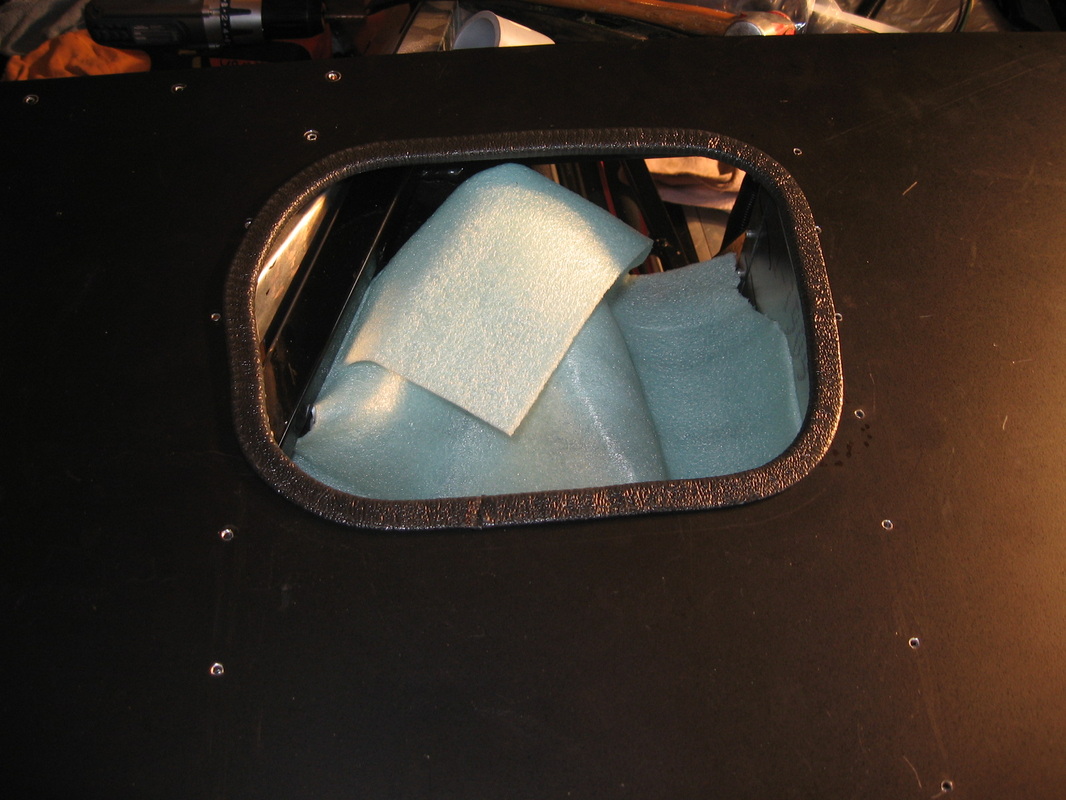
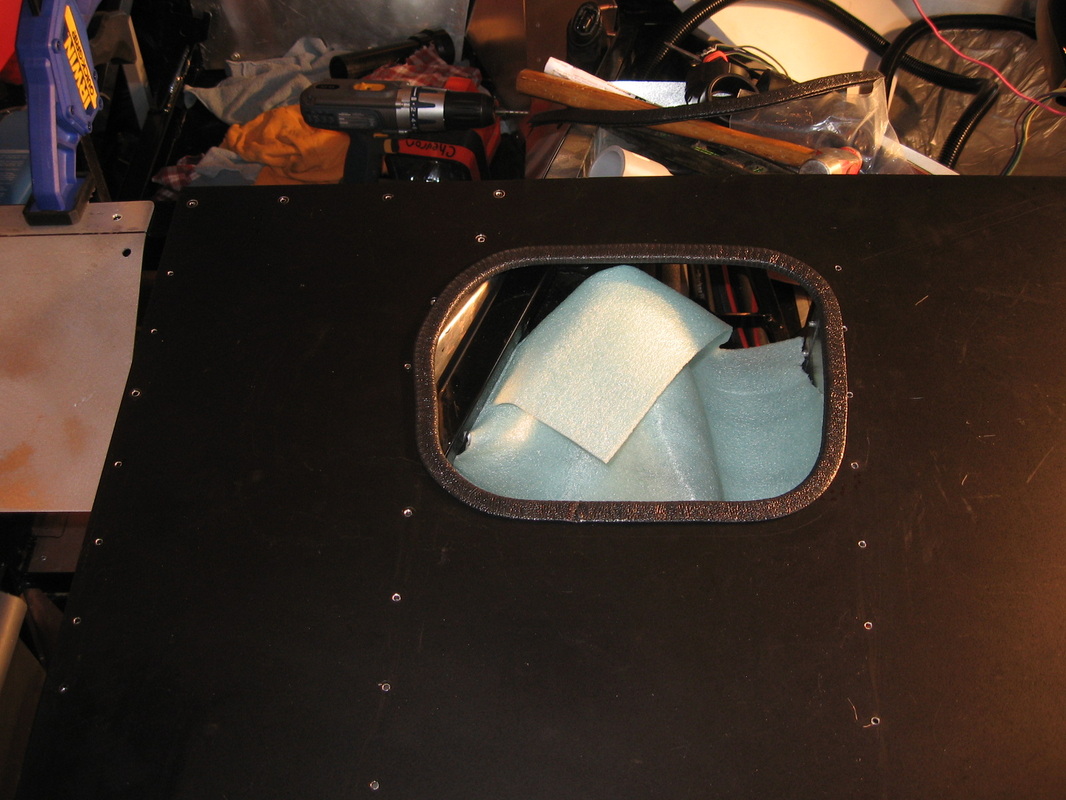
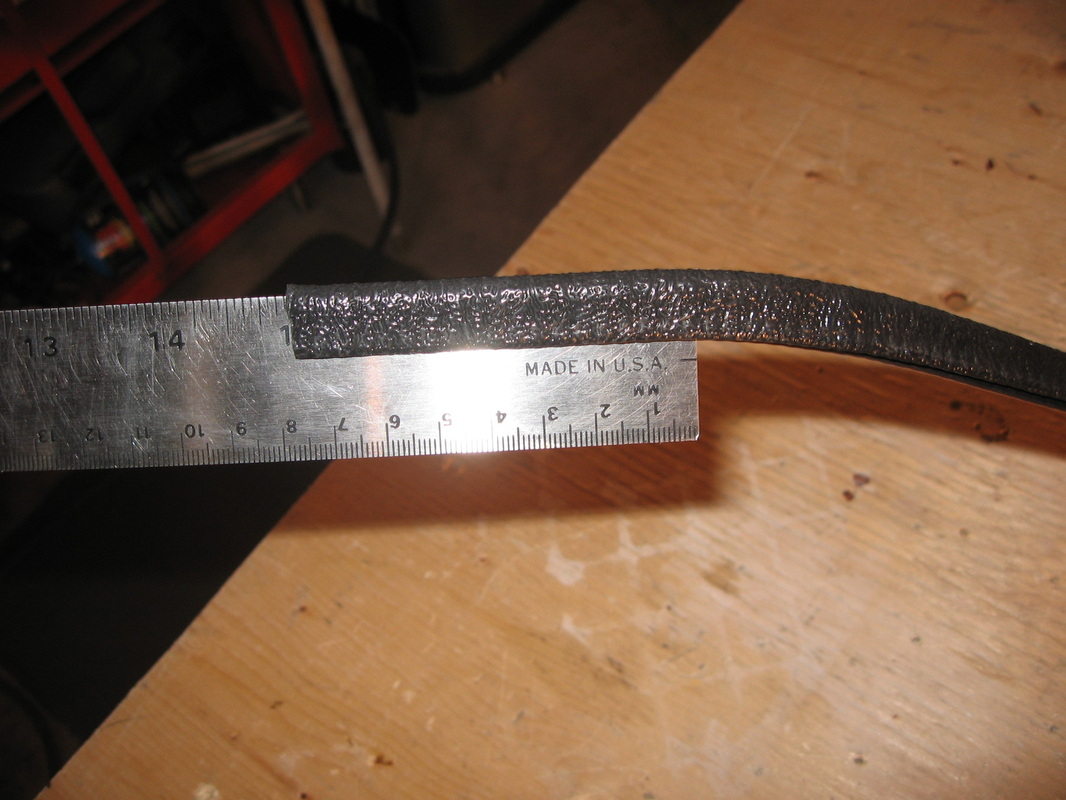
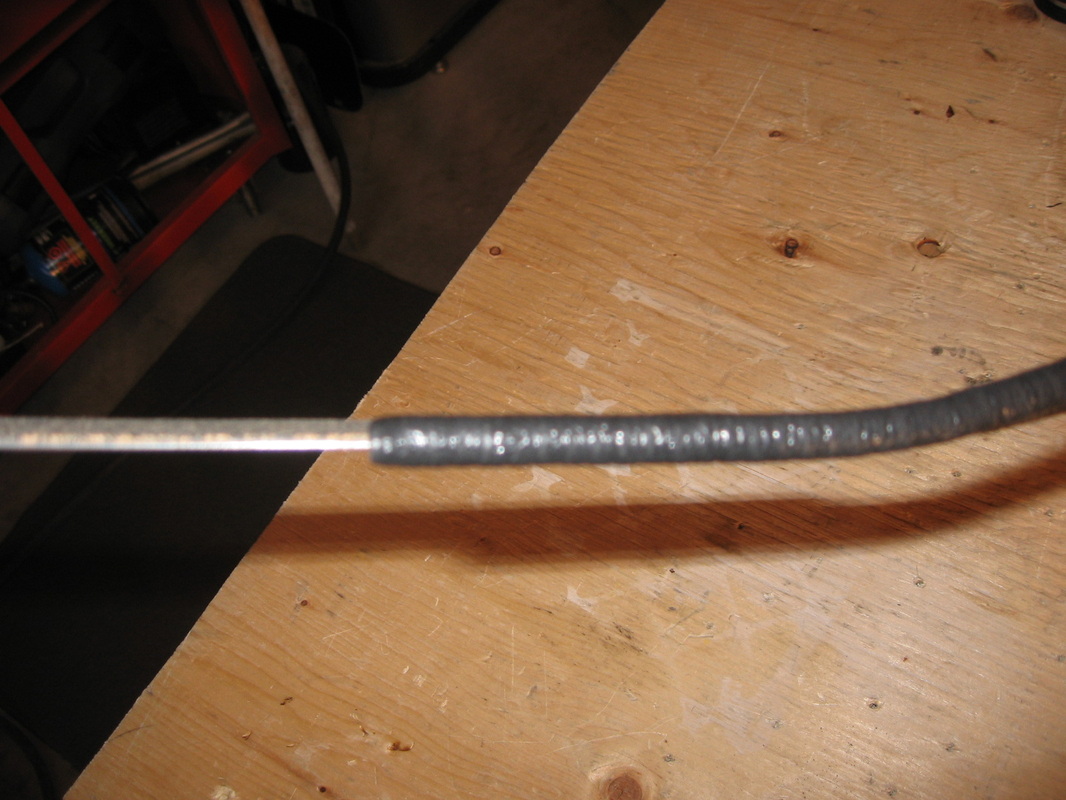
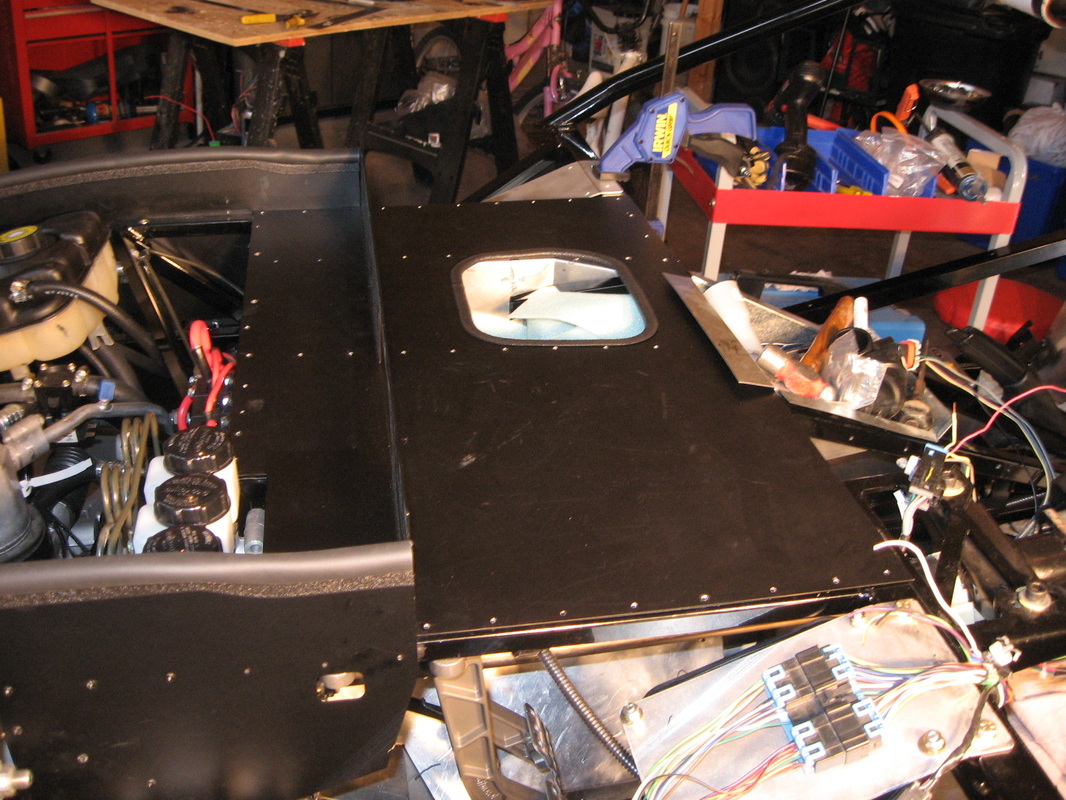
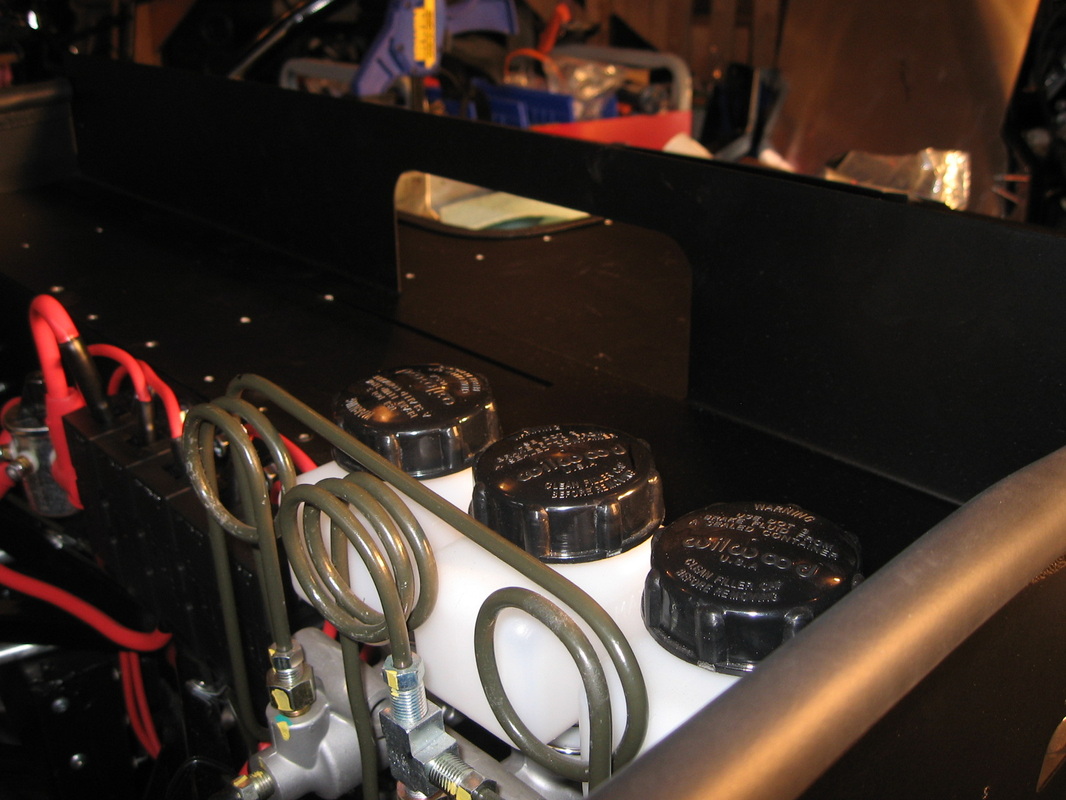
I was not to sure where to cut this top cover. I researched some other build sites and this is what I came up with. Missed a few rivets, put those in too. Finished up with the top cover cut out . The edging that I used was called tractor seat edge. Worked out good makes a nice finish.


Nov 12 - 13, 2011
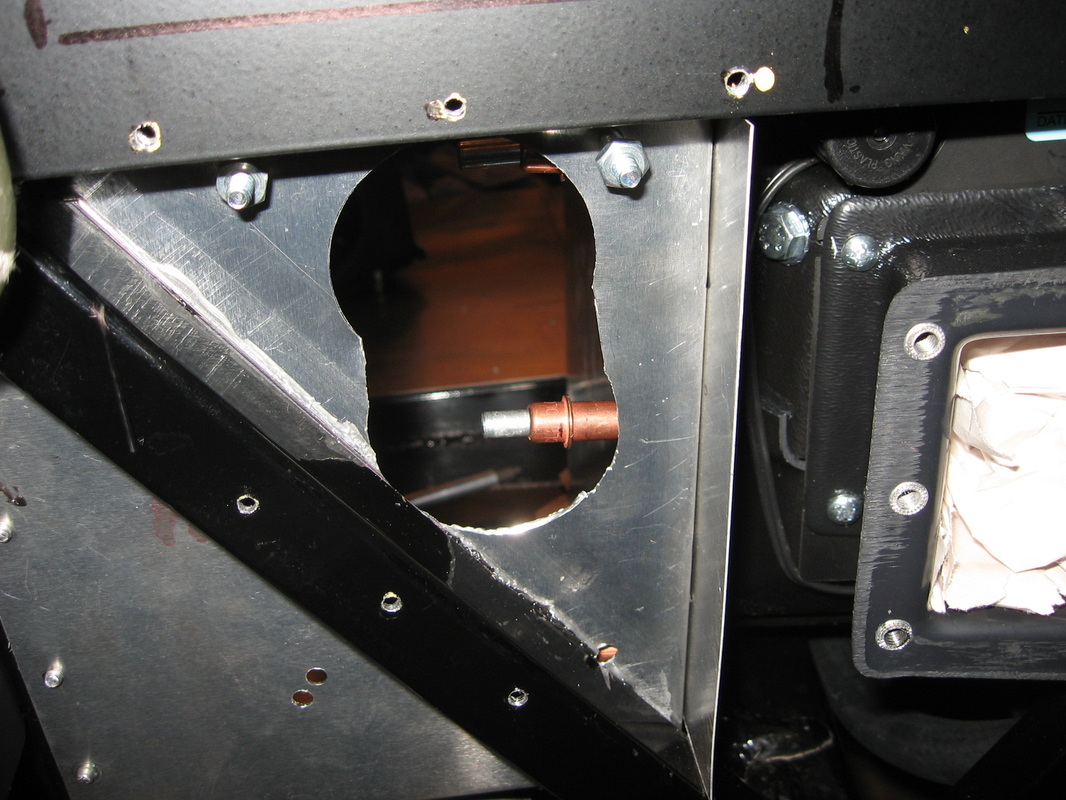
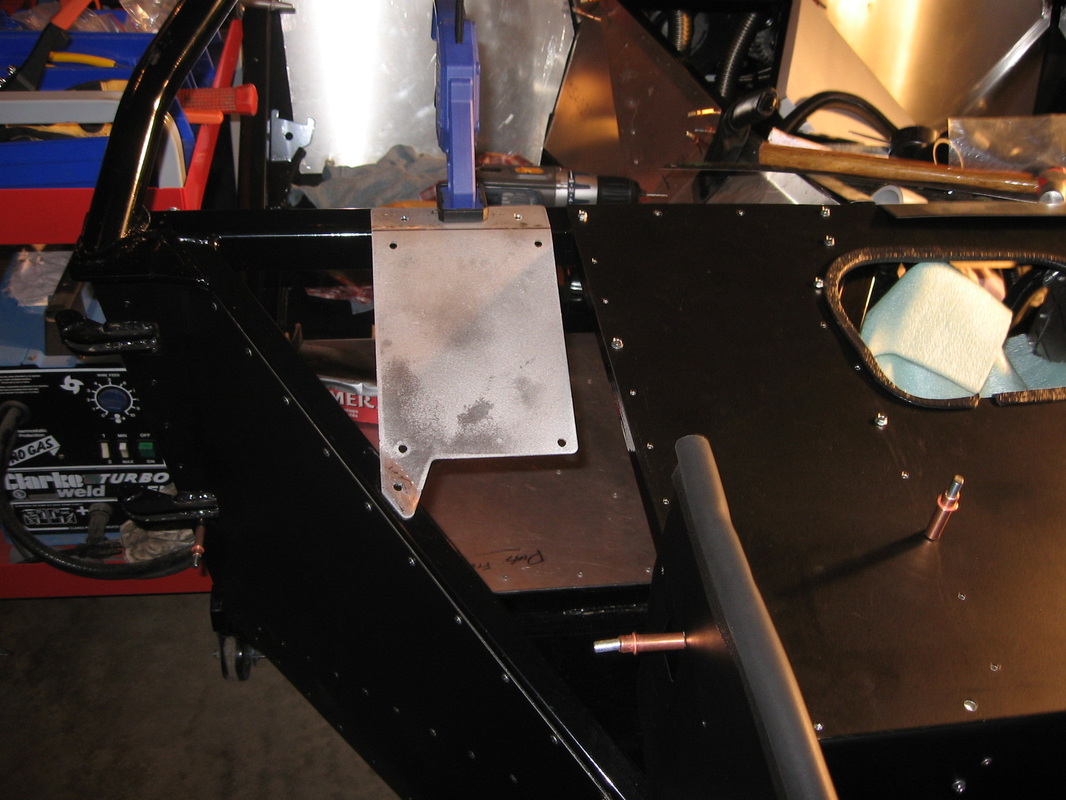
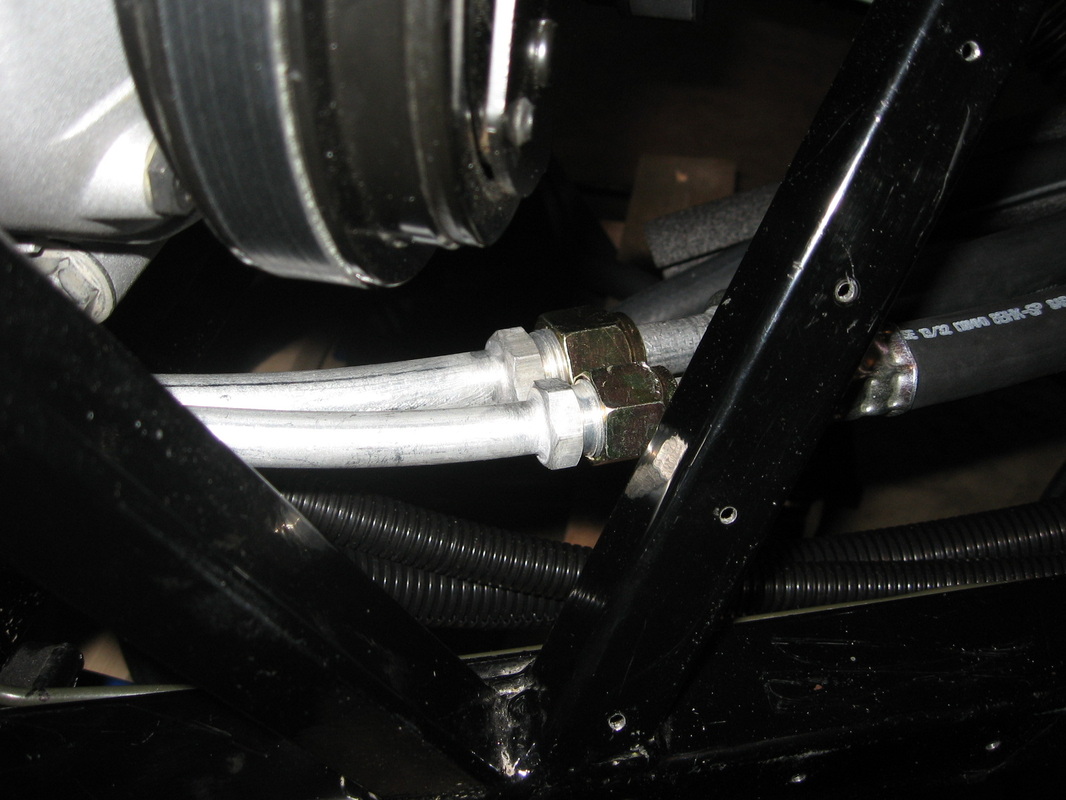
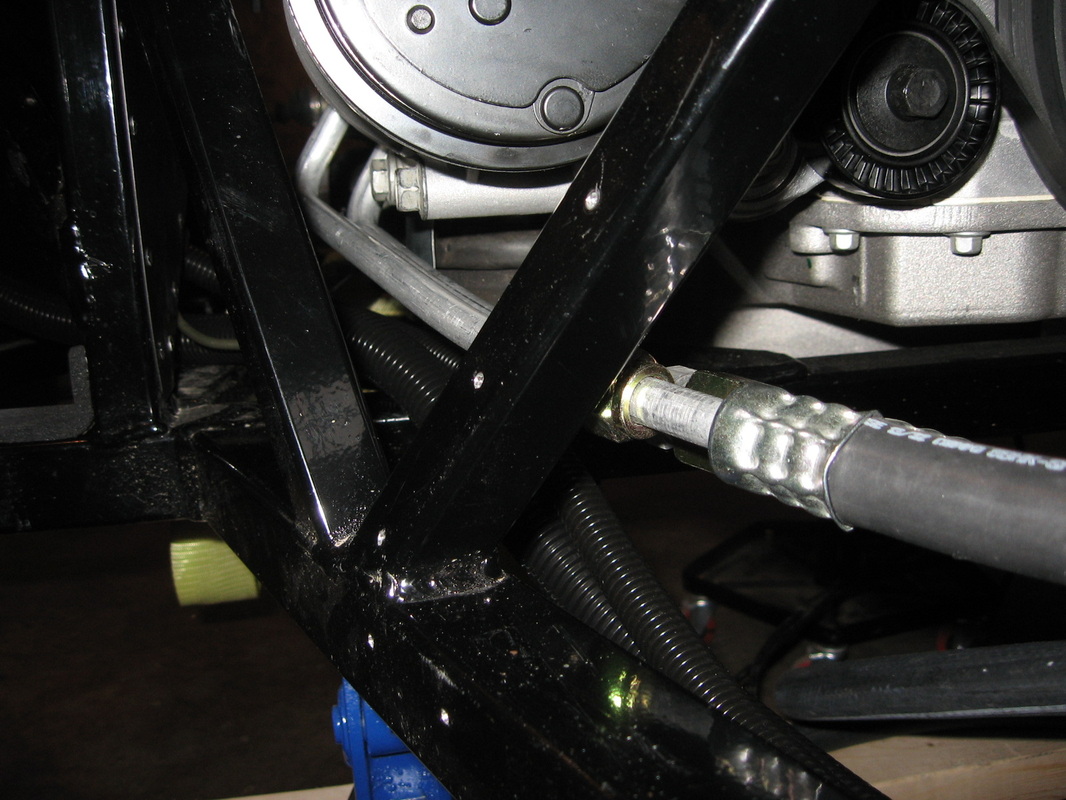
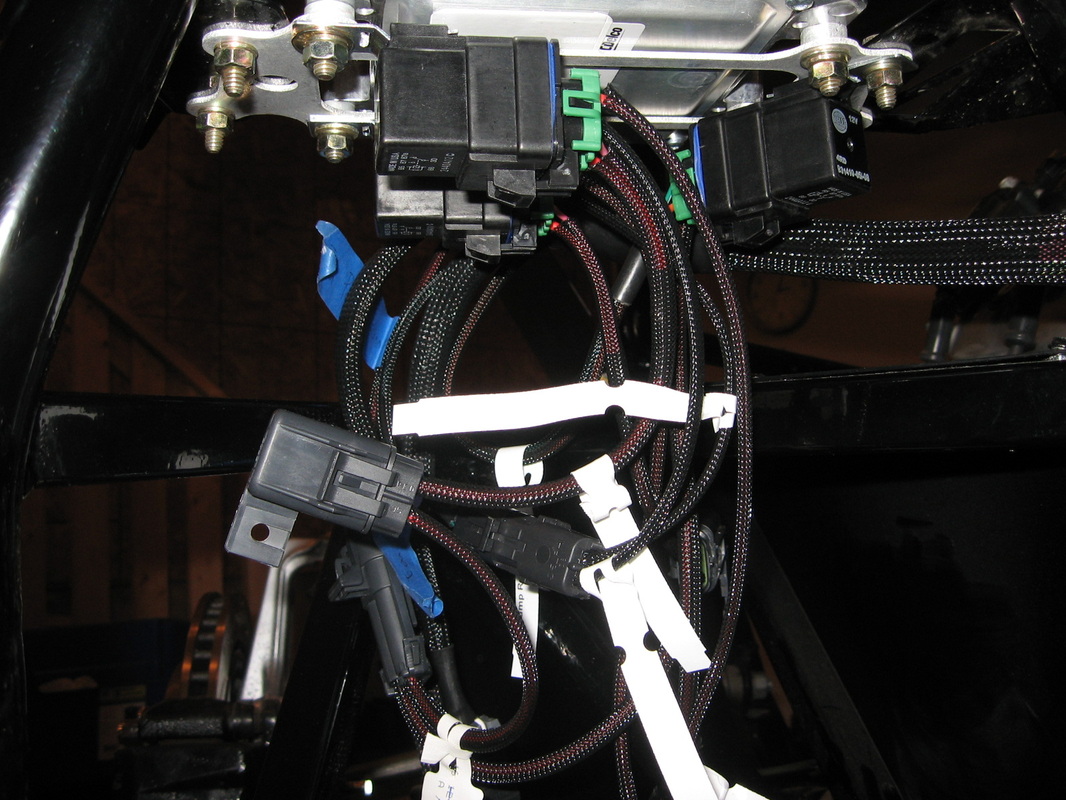
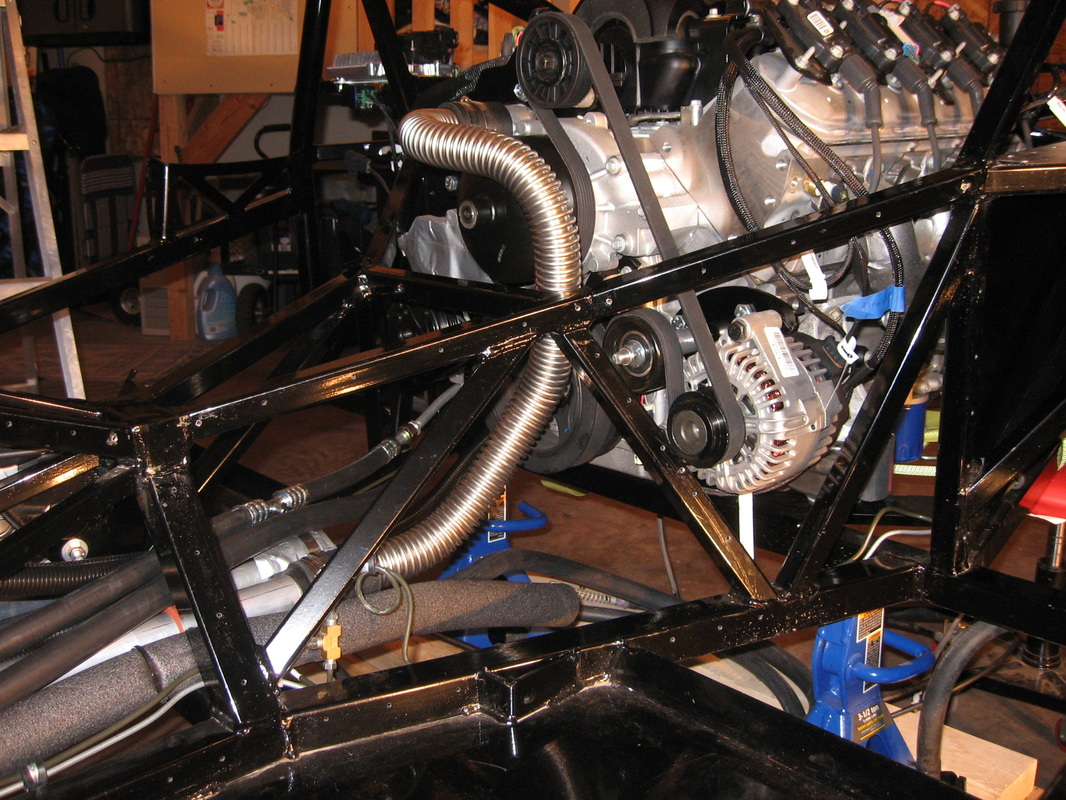
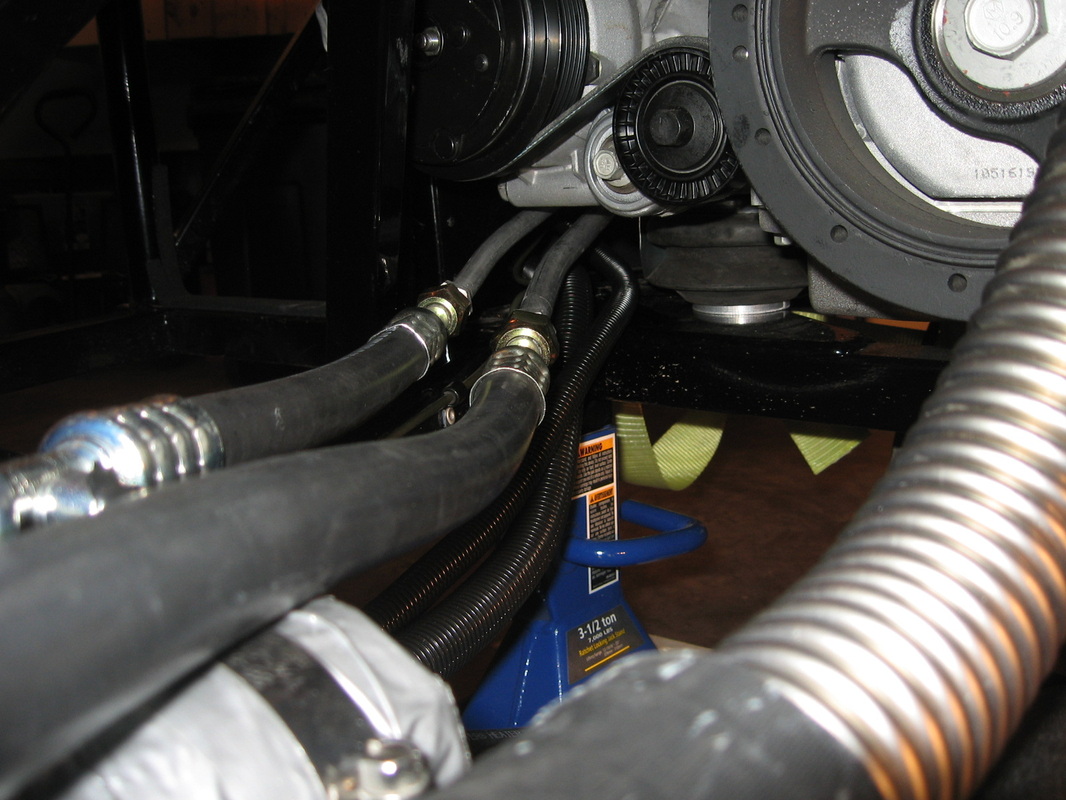
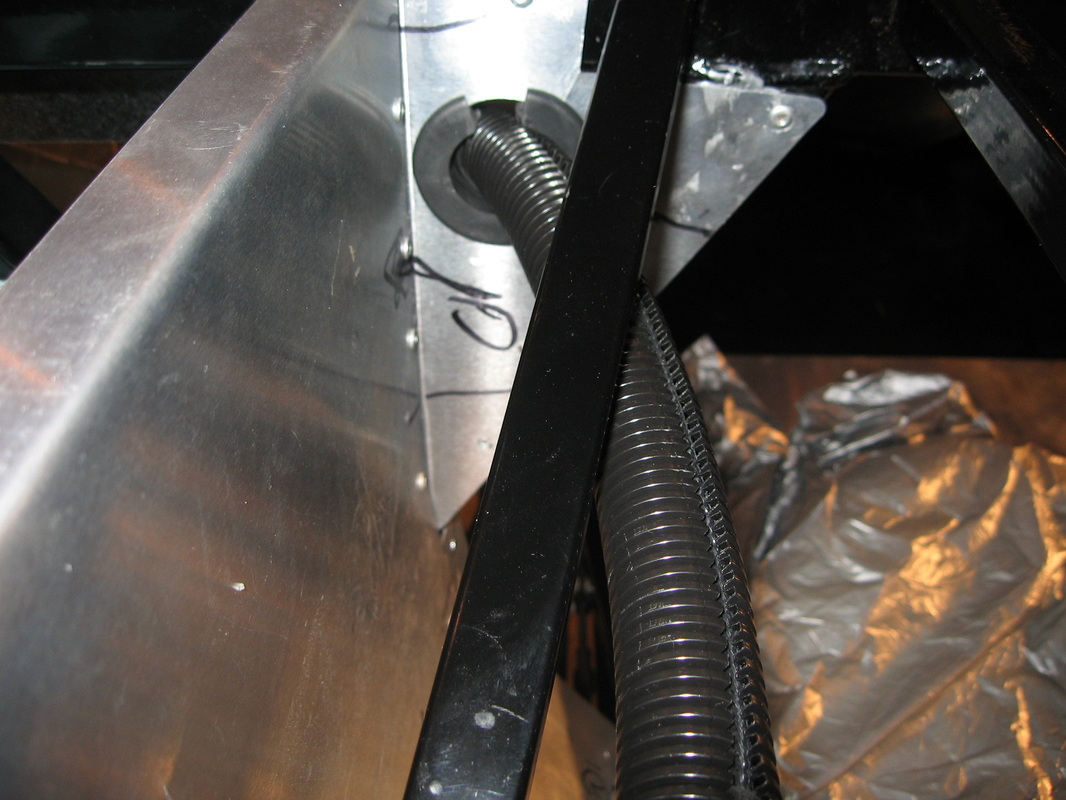
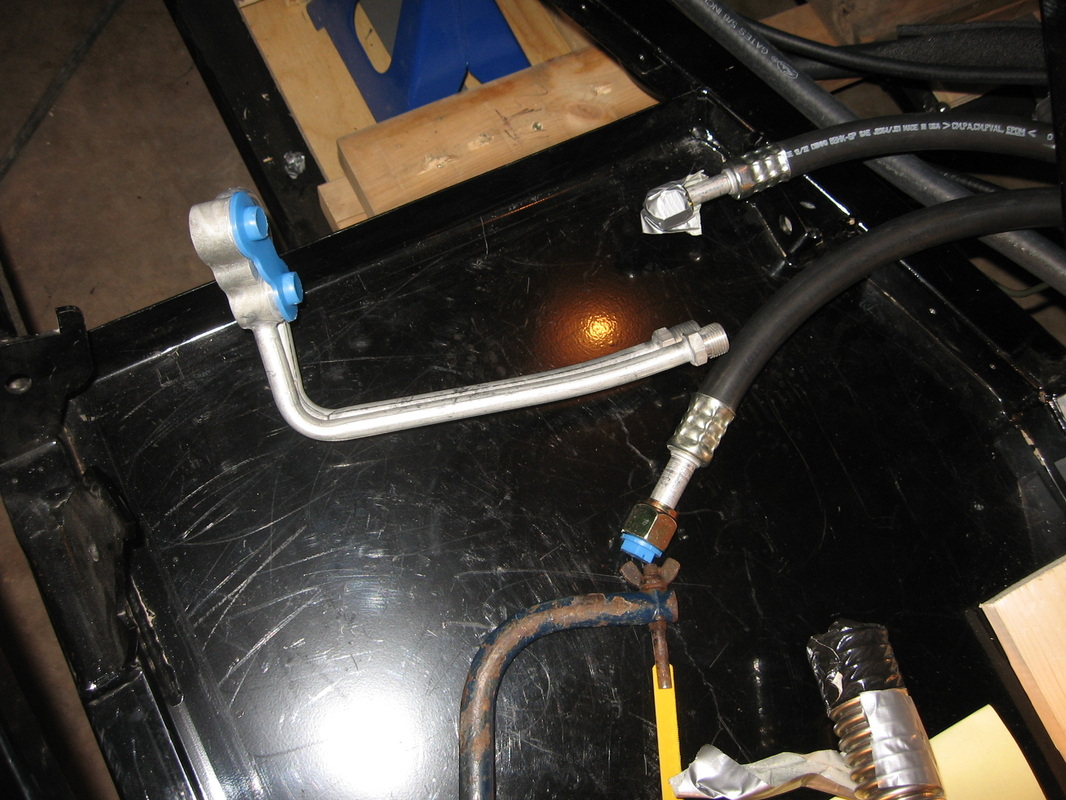
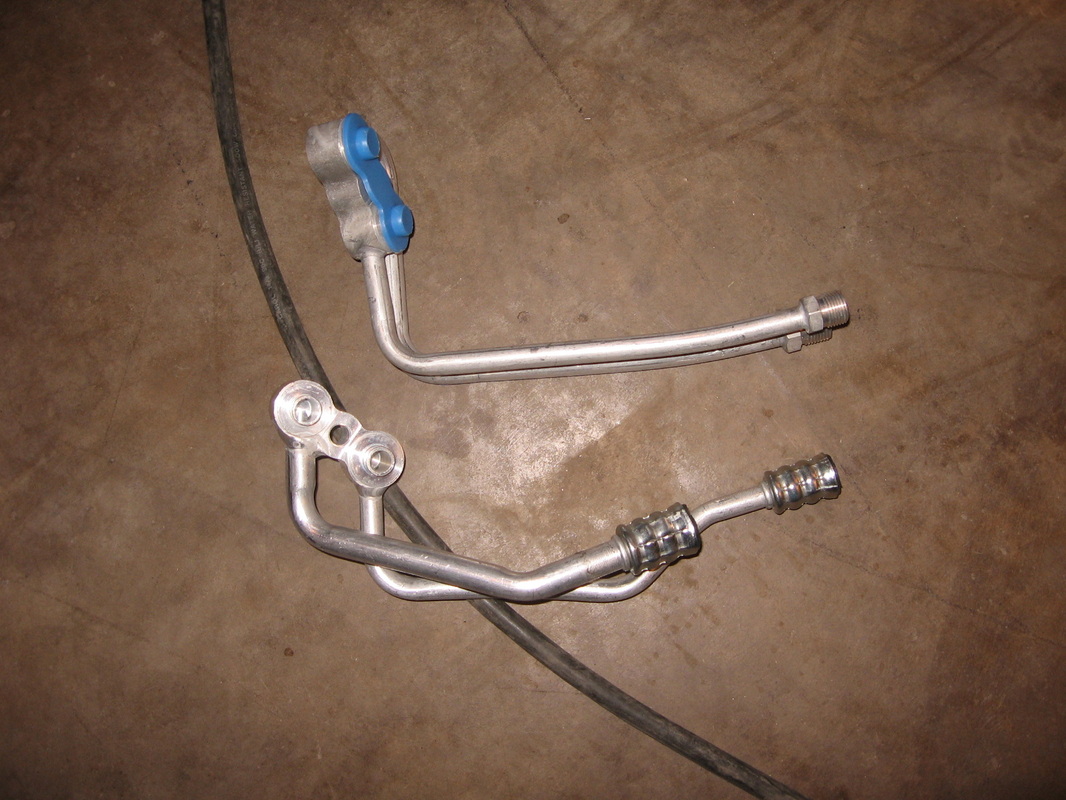
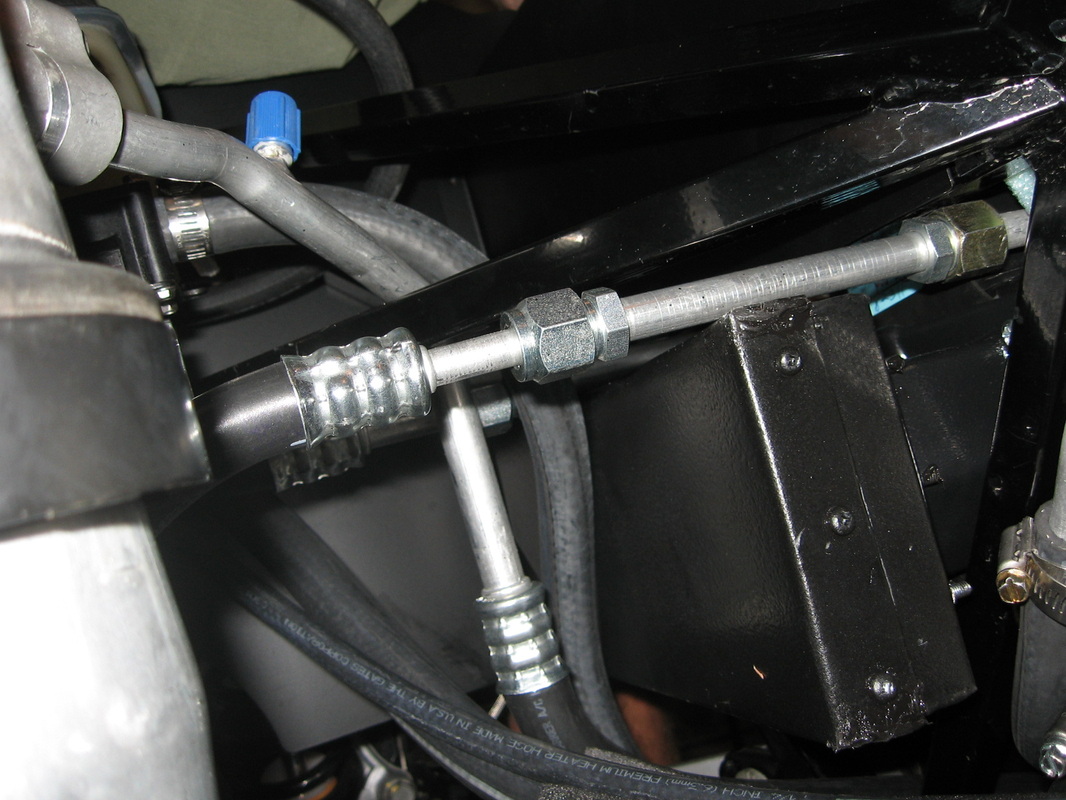
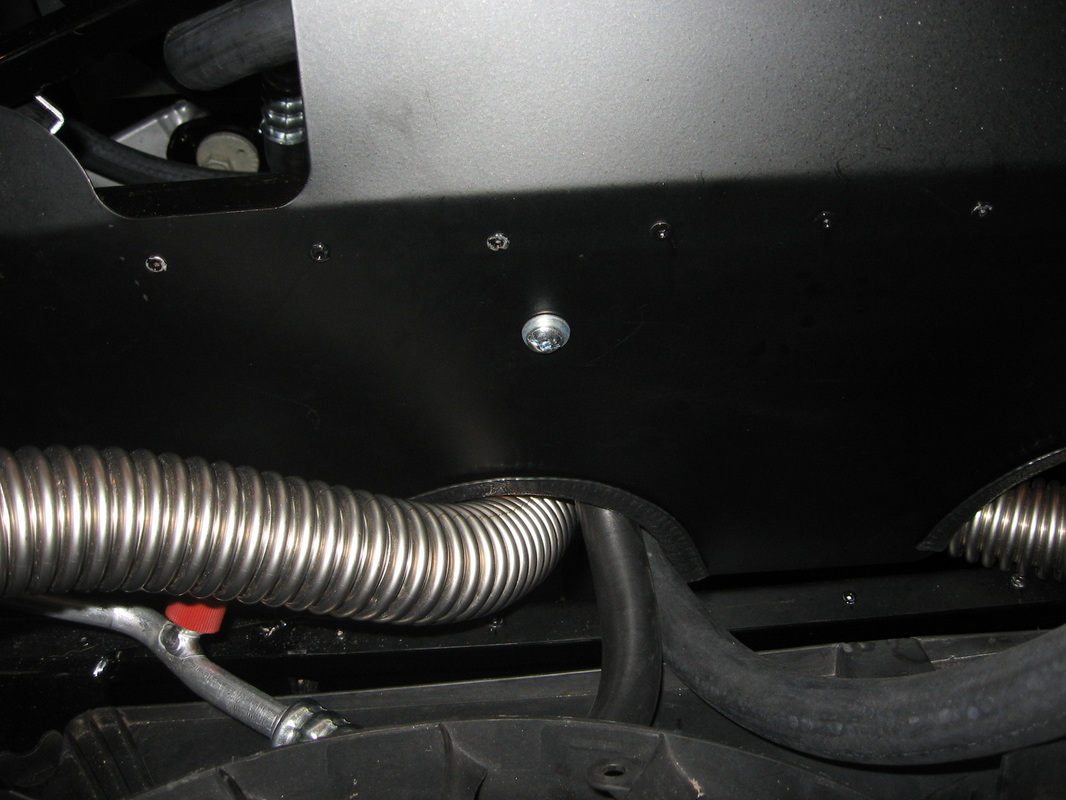
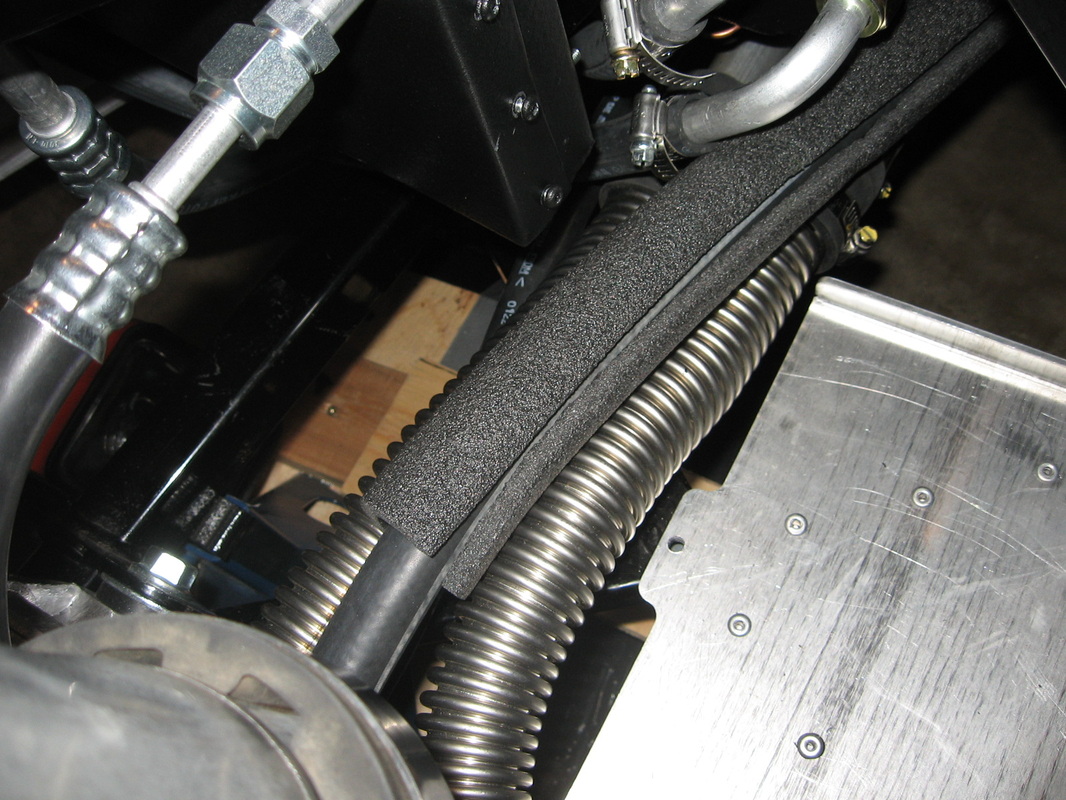
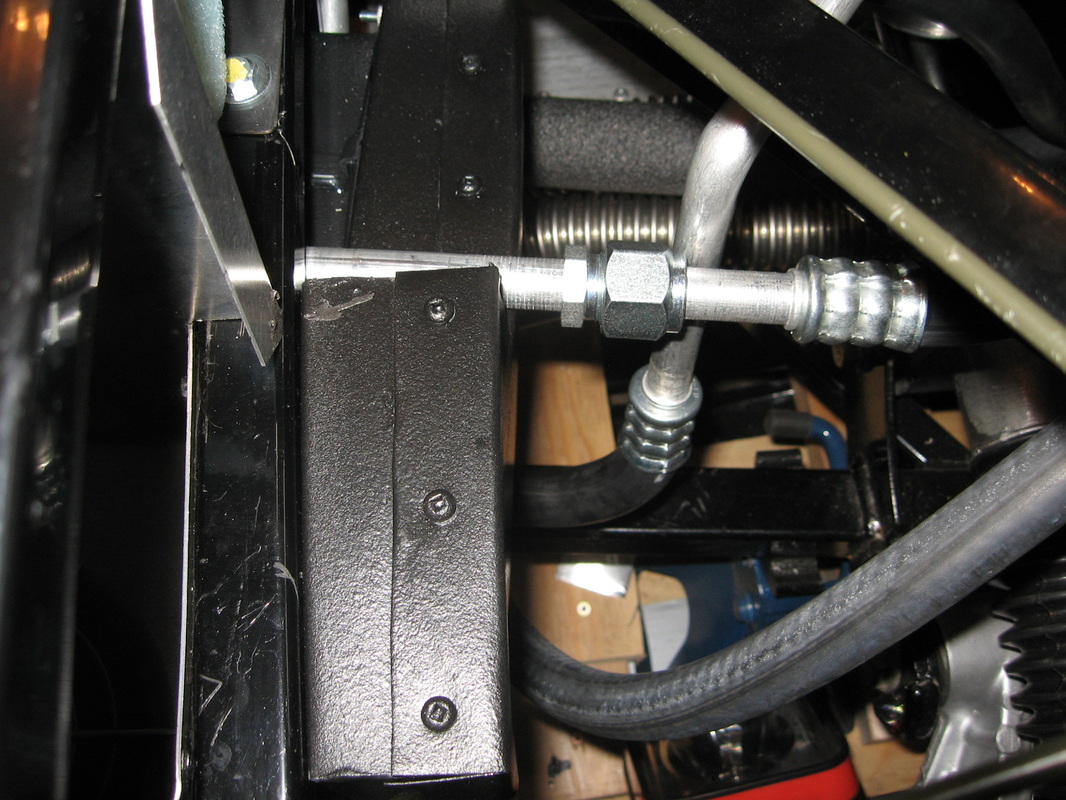
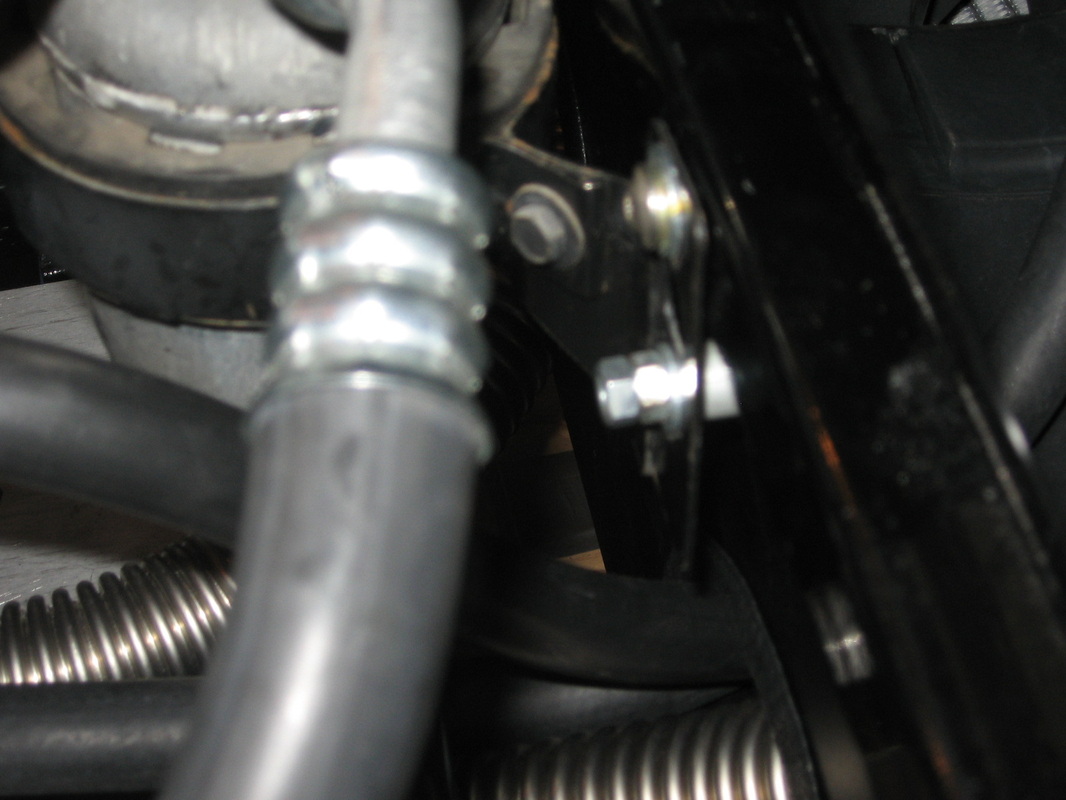
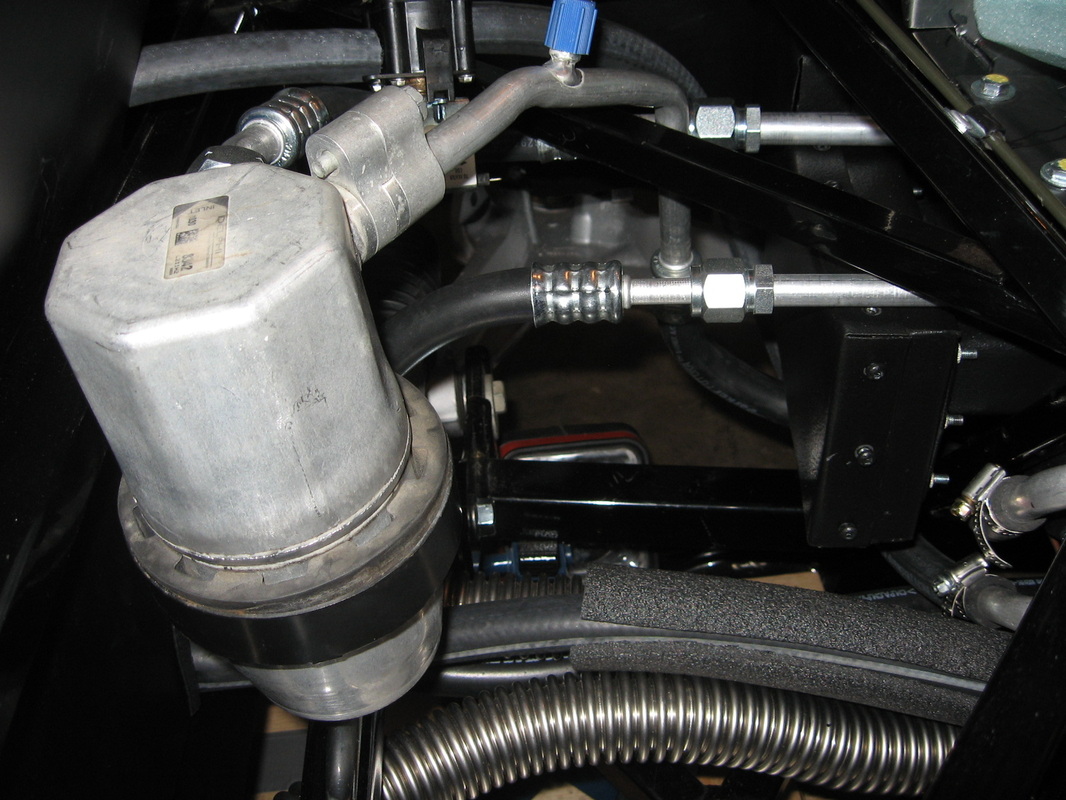
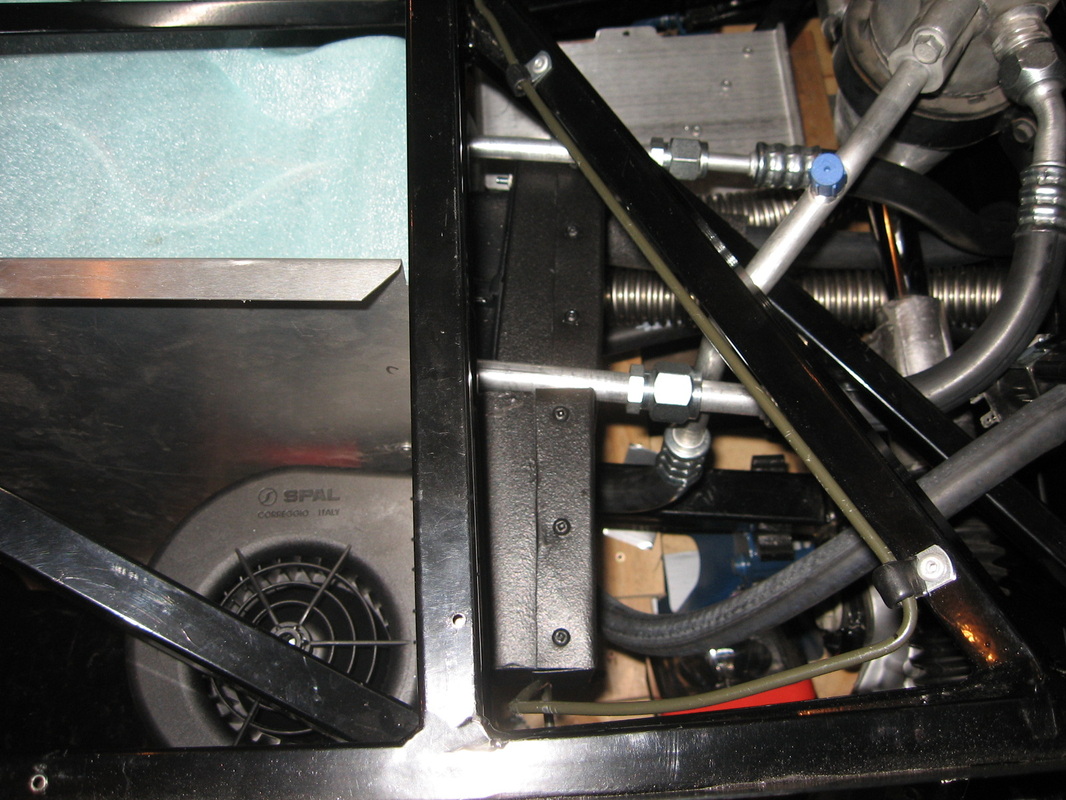
Today I finished off the A/C hoses. The part that bolts to the back of the AC was kind of a pain but in the end I did get it completed. I also had to see where the engine harness went through the frame so it wouldn`t be in the same area as the AC lines. Having the lines cut and using the piece that the local shop had sure made it easy. There is no pulling on the lines and I have alot of slack in the line so a can place them where I want in the tunnel.
Oct 31, 2011
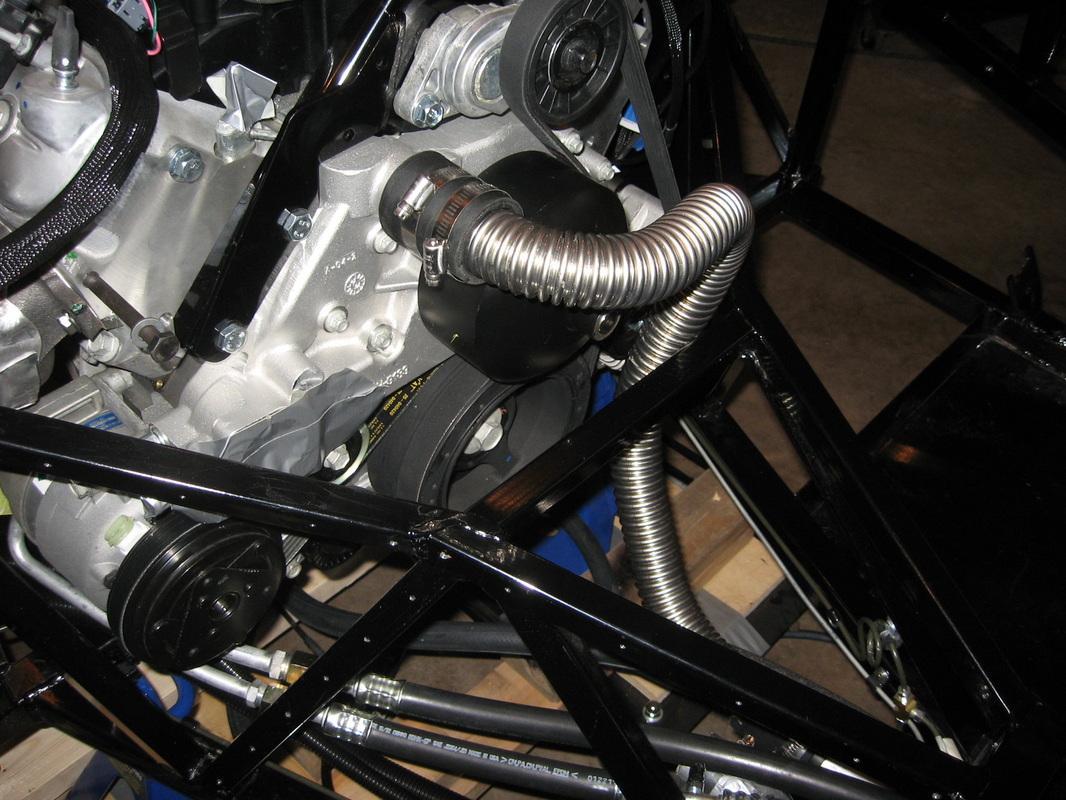
After having the A/C unit in I just did not like the hoses being pulled so I had them extended. The local A/C shop crimped the ends on for me. They are a perfect fit so I can place them any where in the tunnel. With the new piece the lines point in the right direction no kinks this is the way to go.
Oct 26, 2011
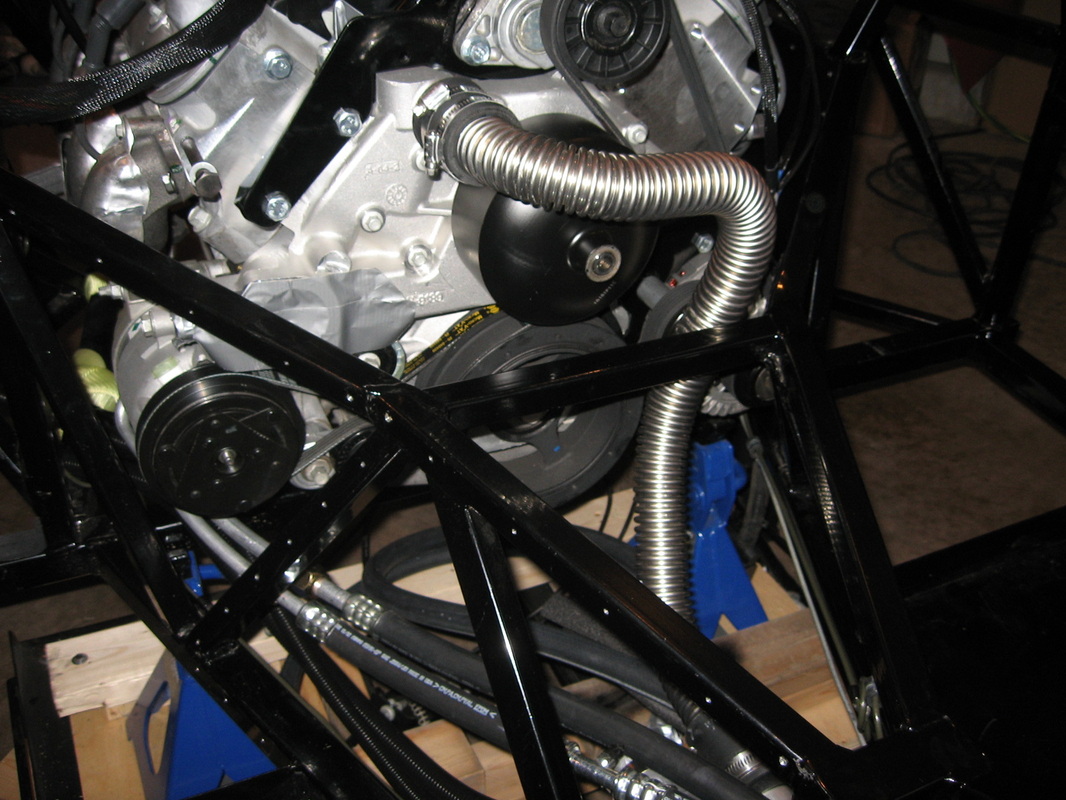
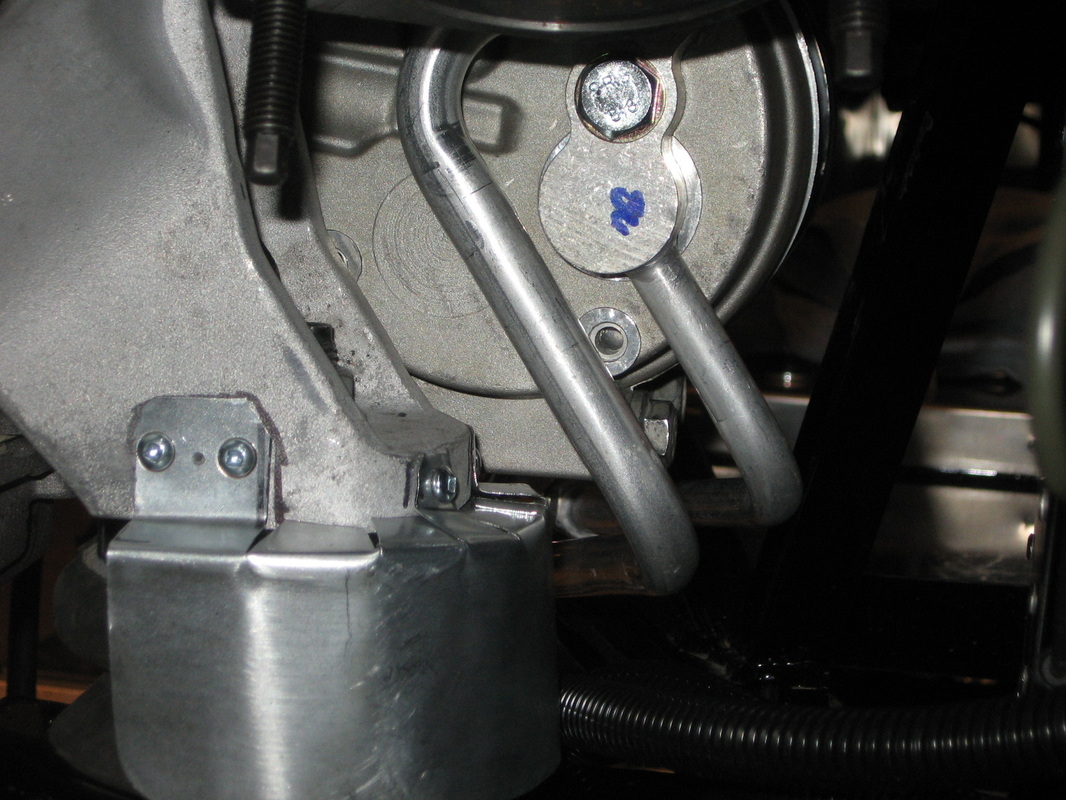
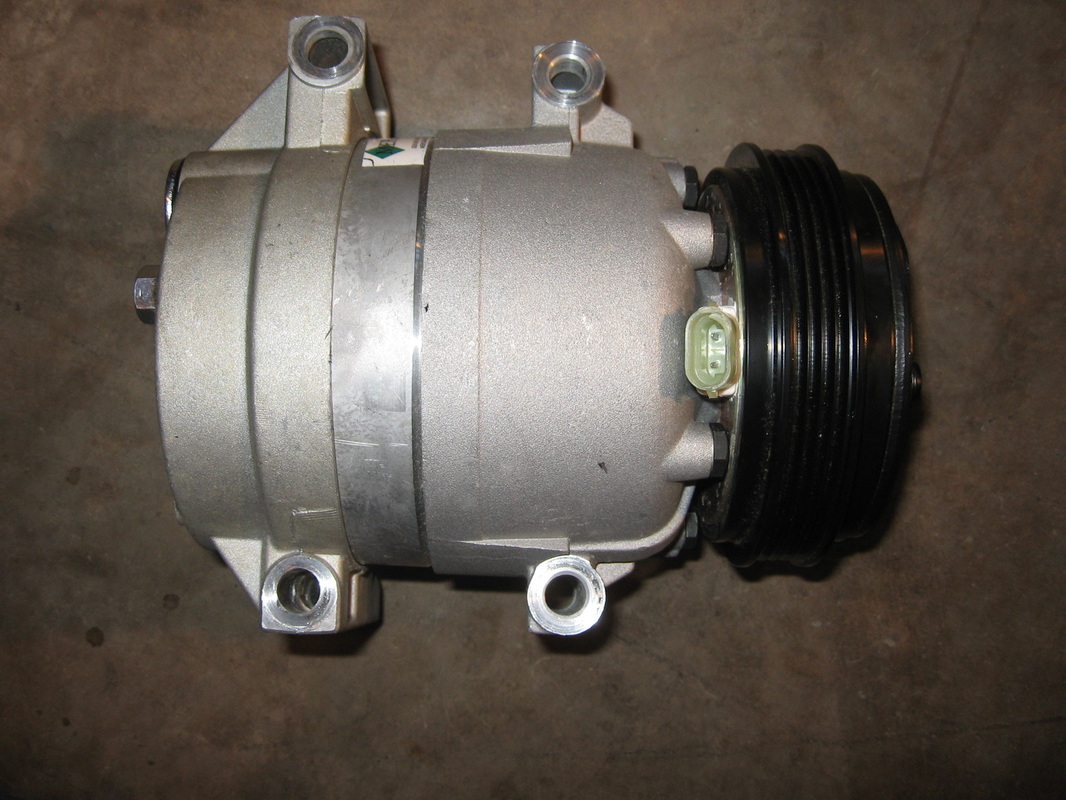
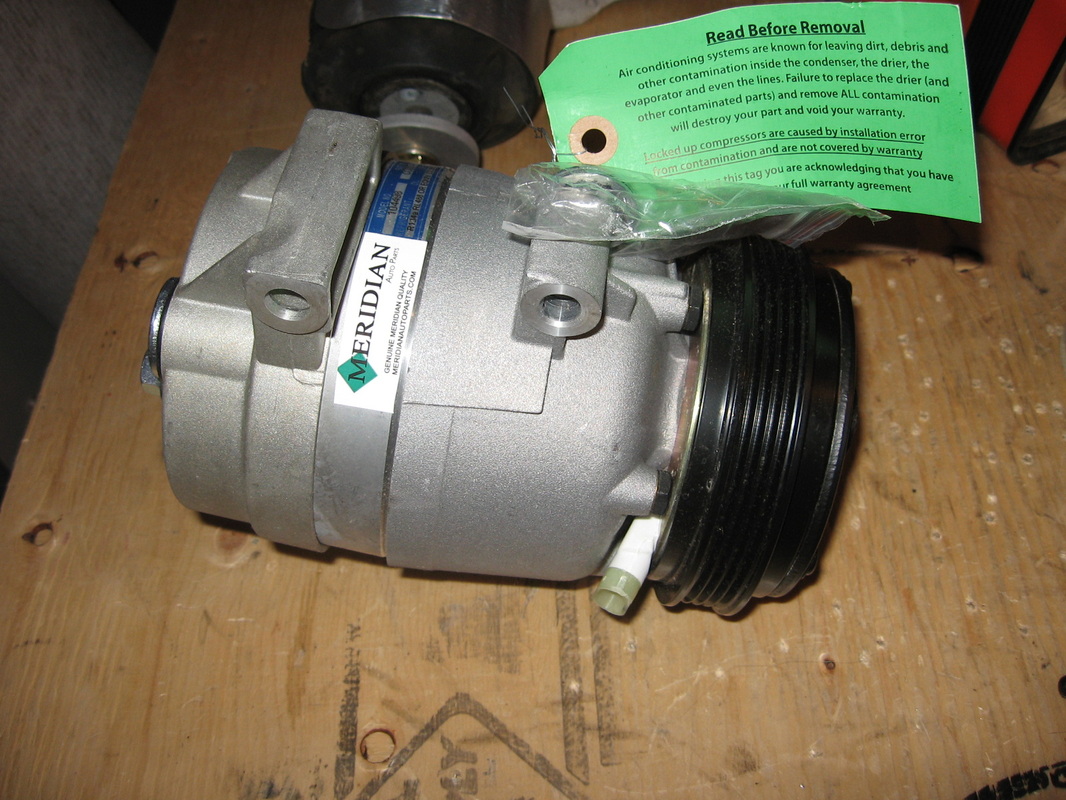
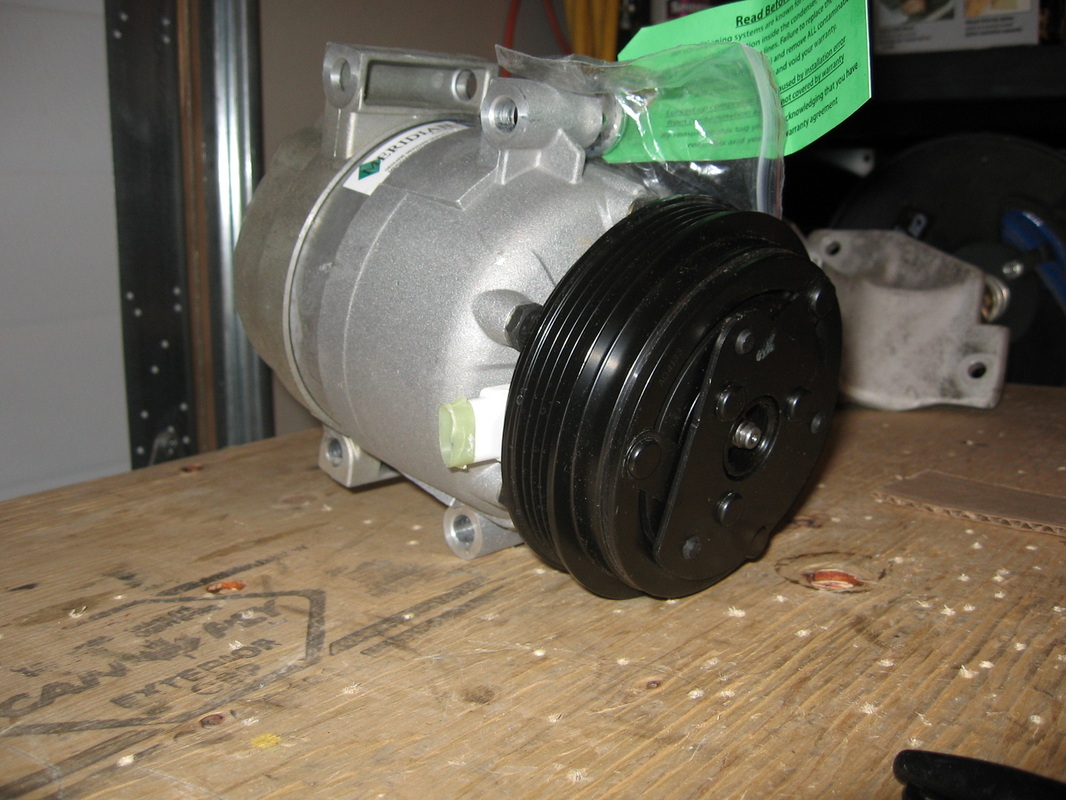
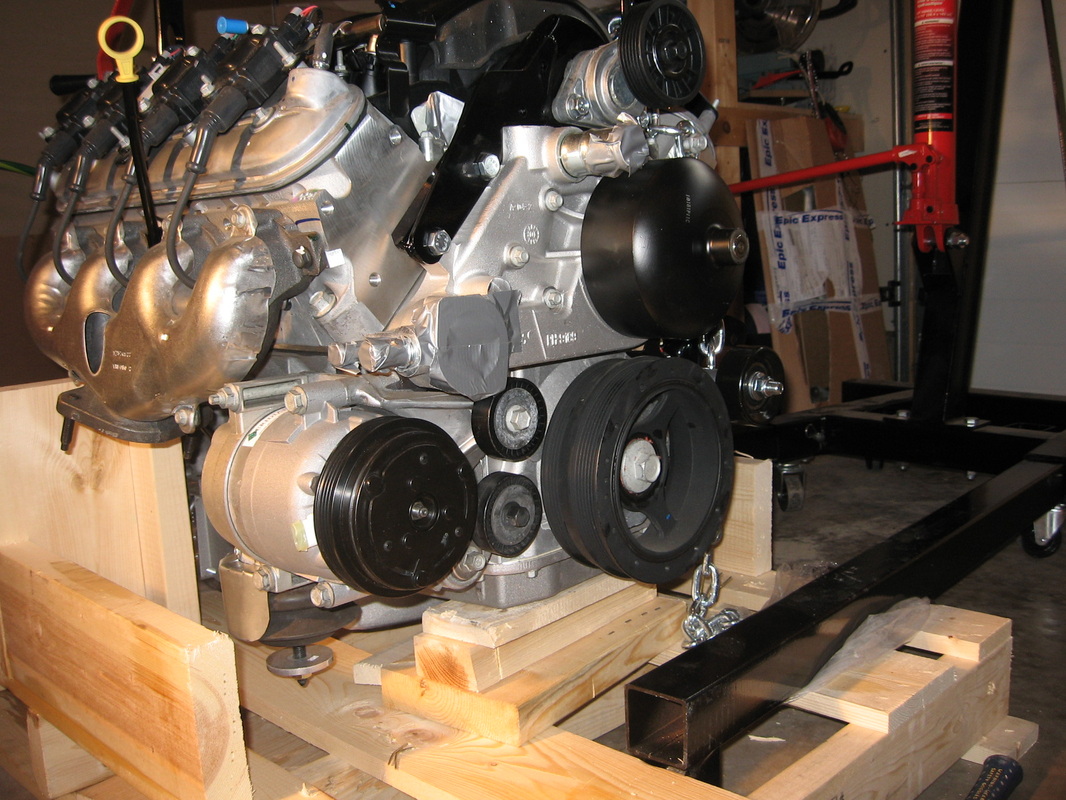
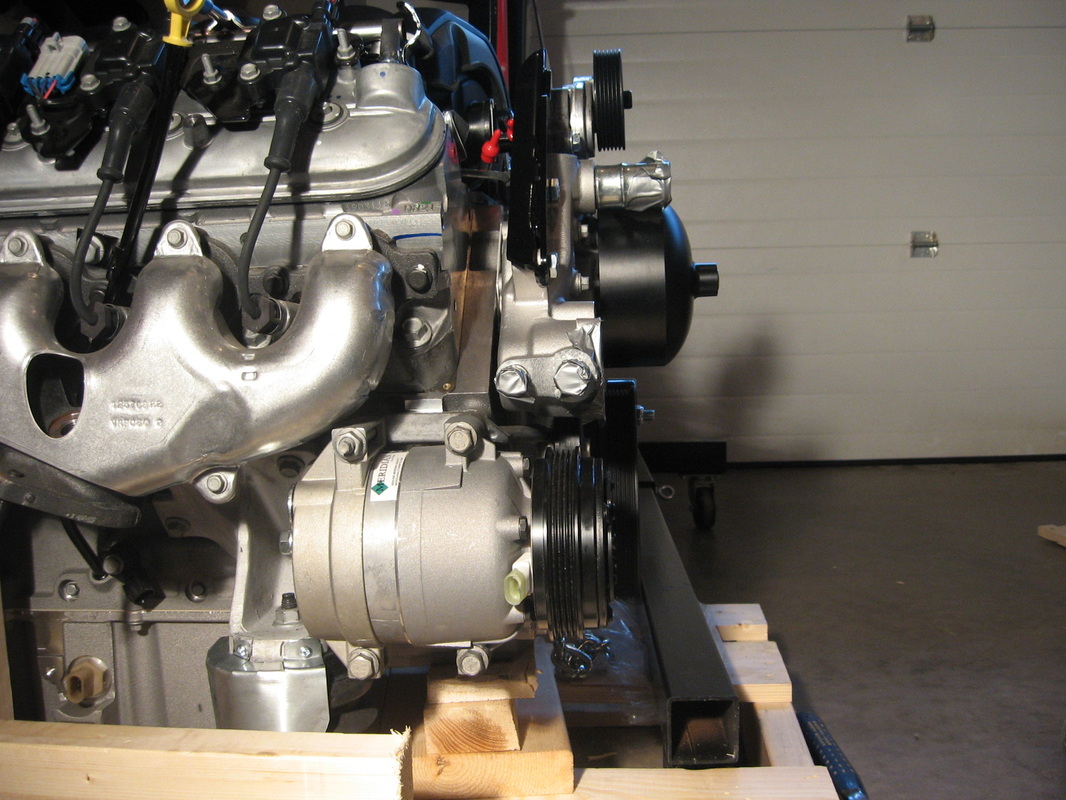
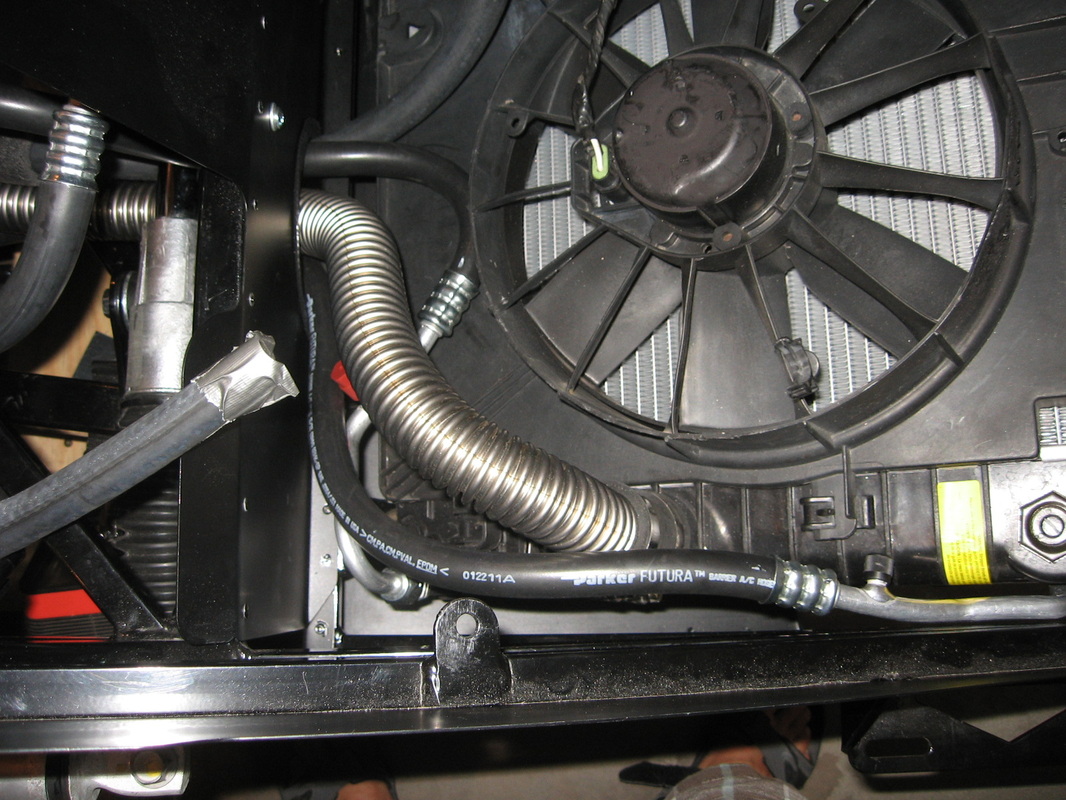
A/C unit arrived from Discount A/C, it is a Merridian Compressor and it fit perfect along with the A/C bracket from the C5 donor kit. The belt that I had would not fit so I will have to go and get the right one. When all was on the pulleys all lined up.
Sept 17, 2011
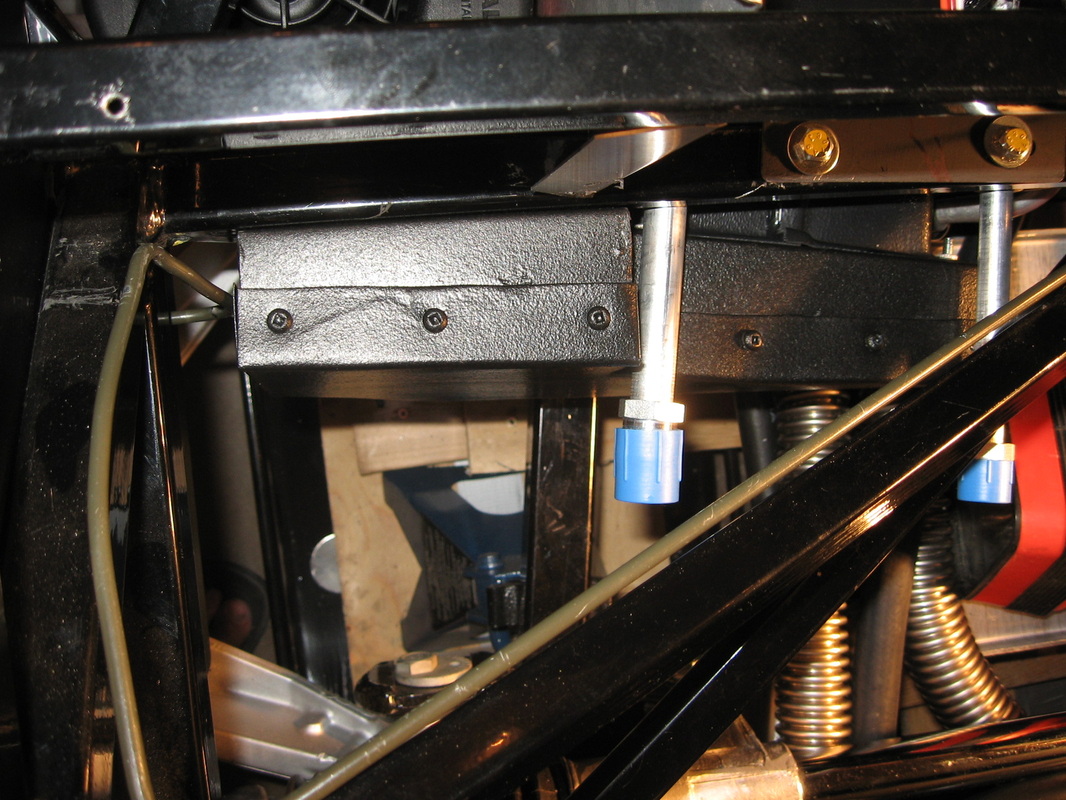
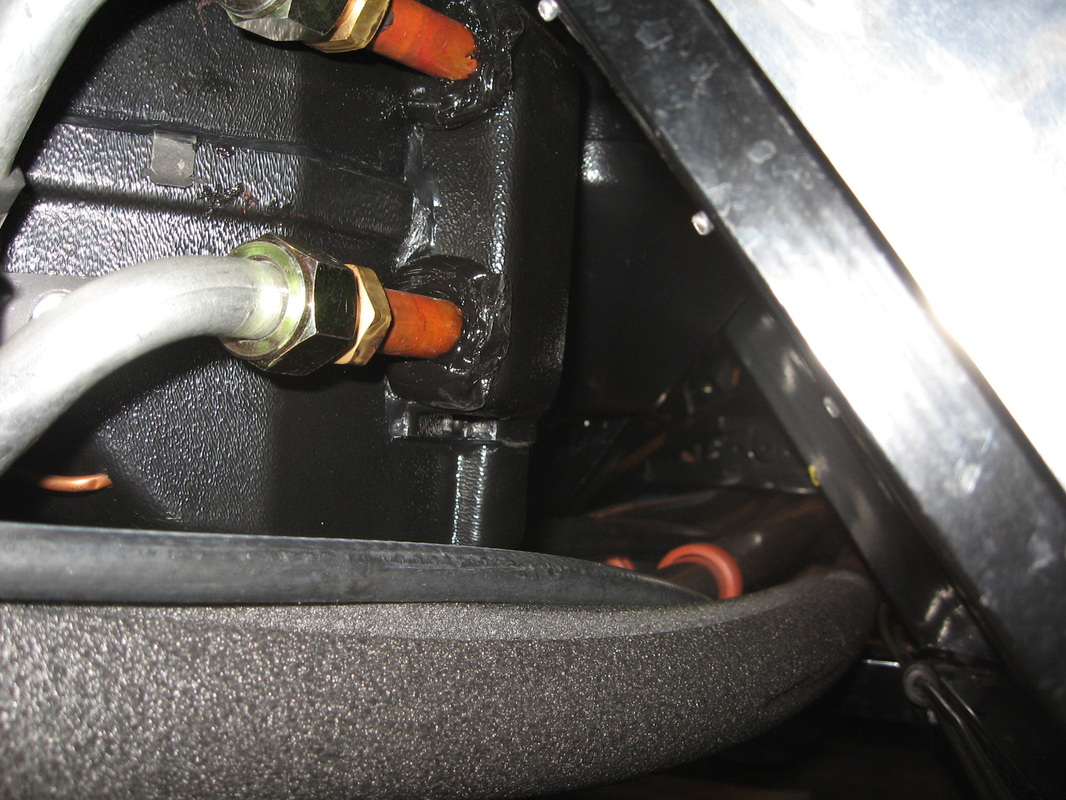
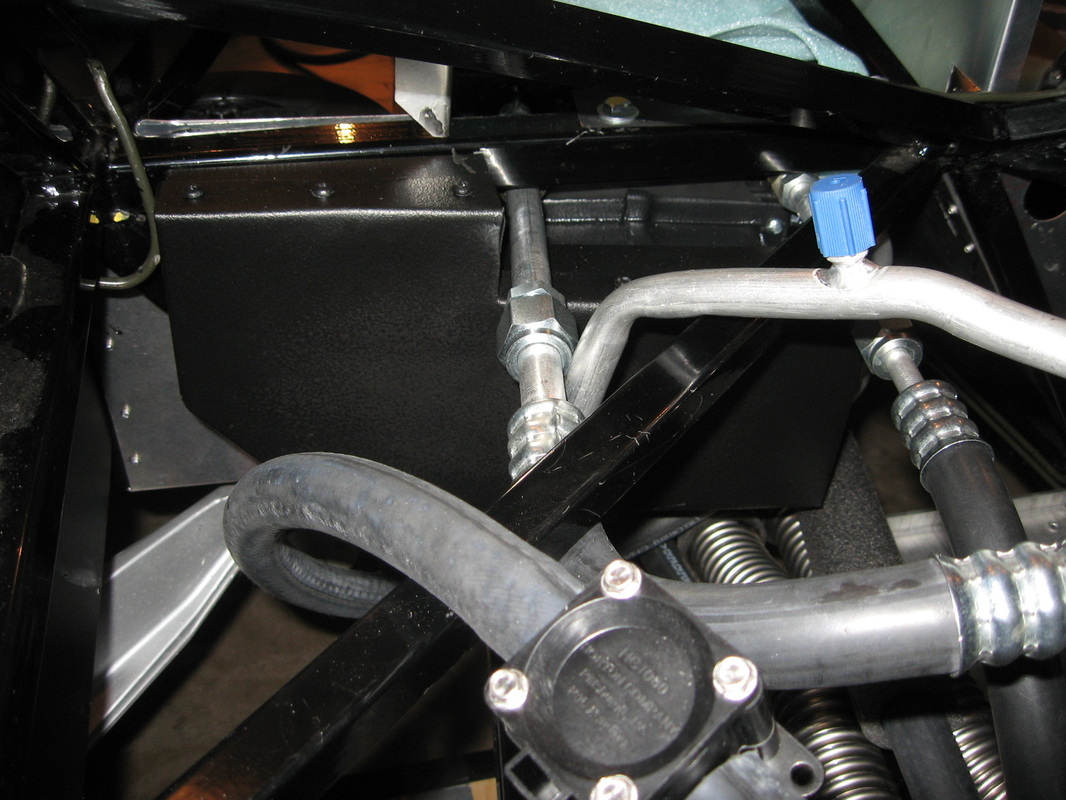
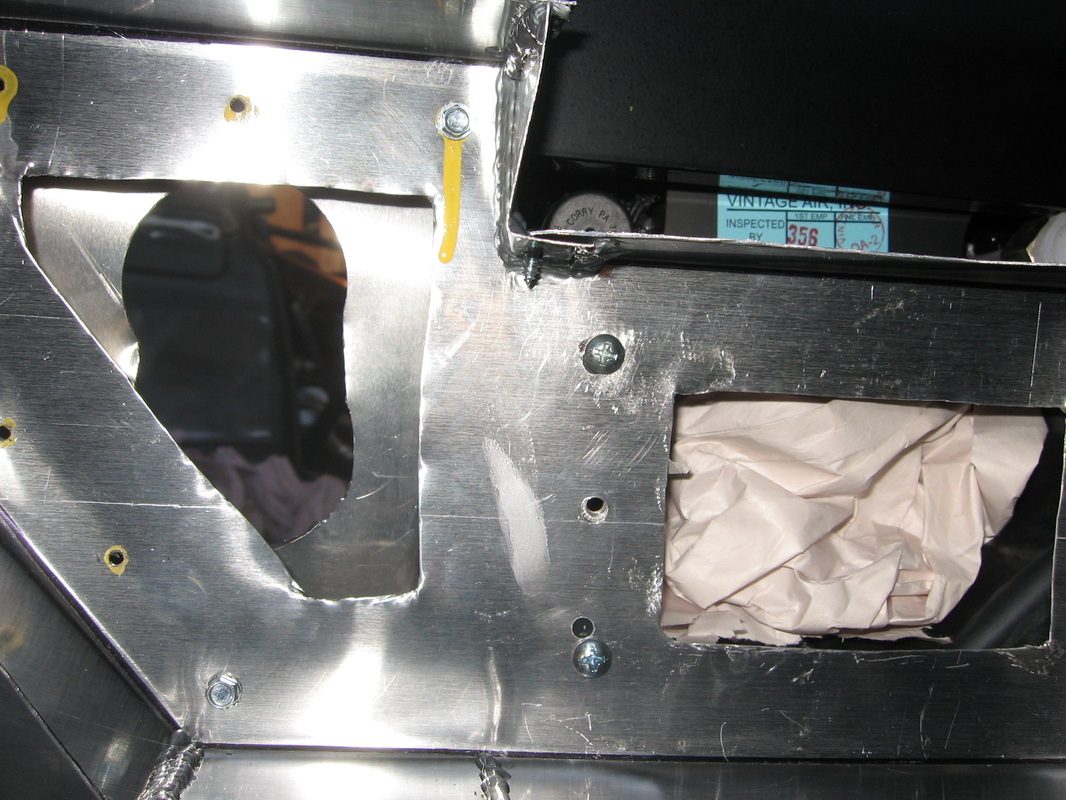
We have to run the lines over again. A small set back but want that OEM look. When its right, dam it time for BEER and PIZZA! Yahoo.
Sep 16, 2011
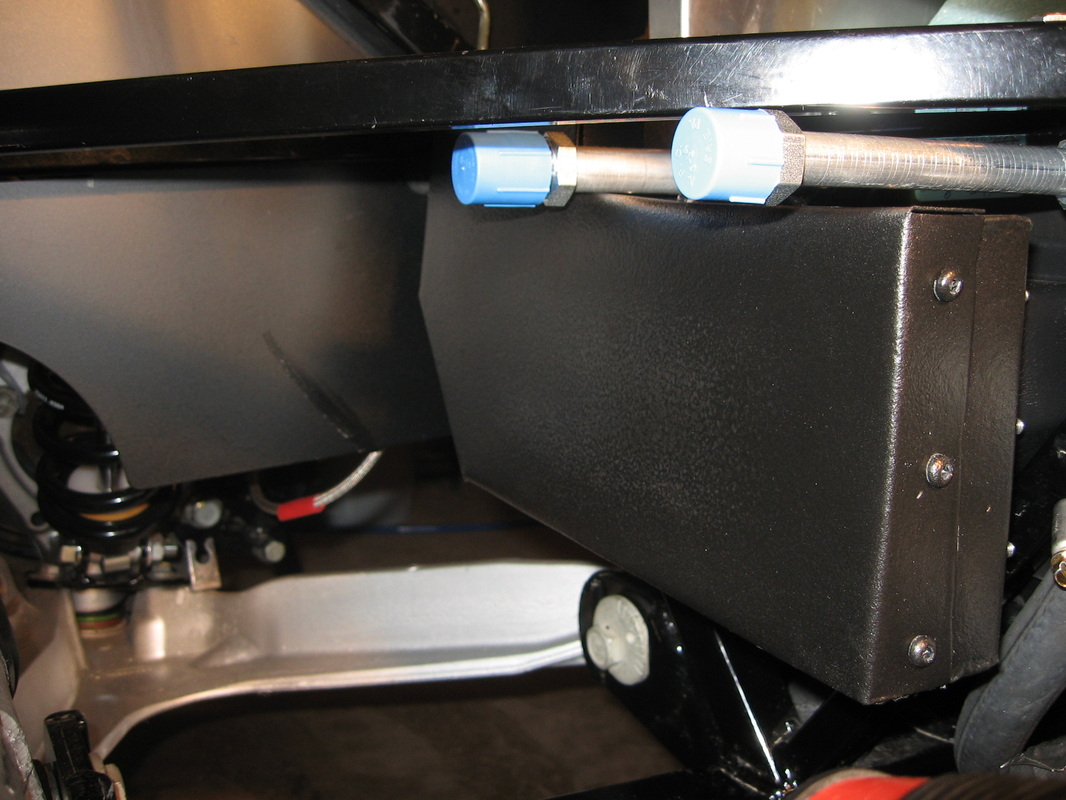
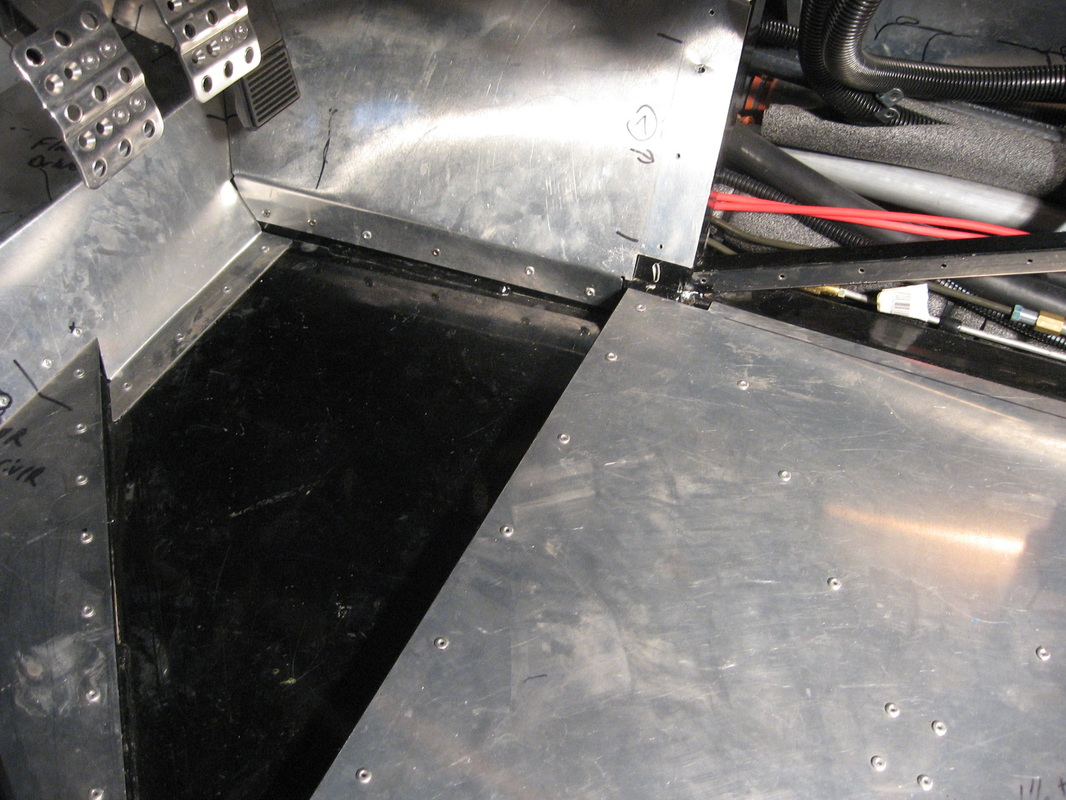
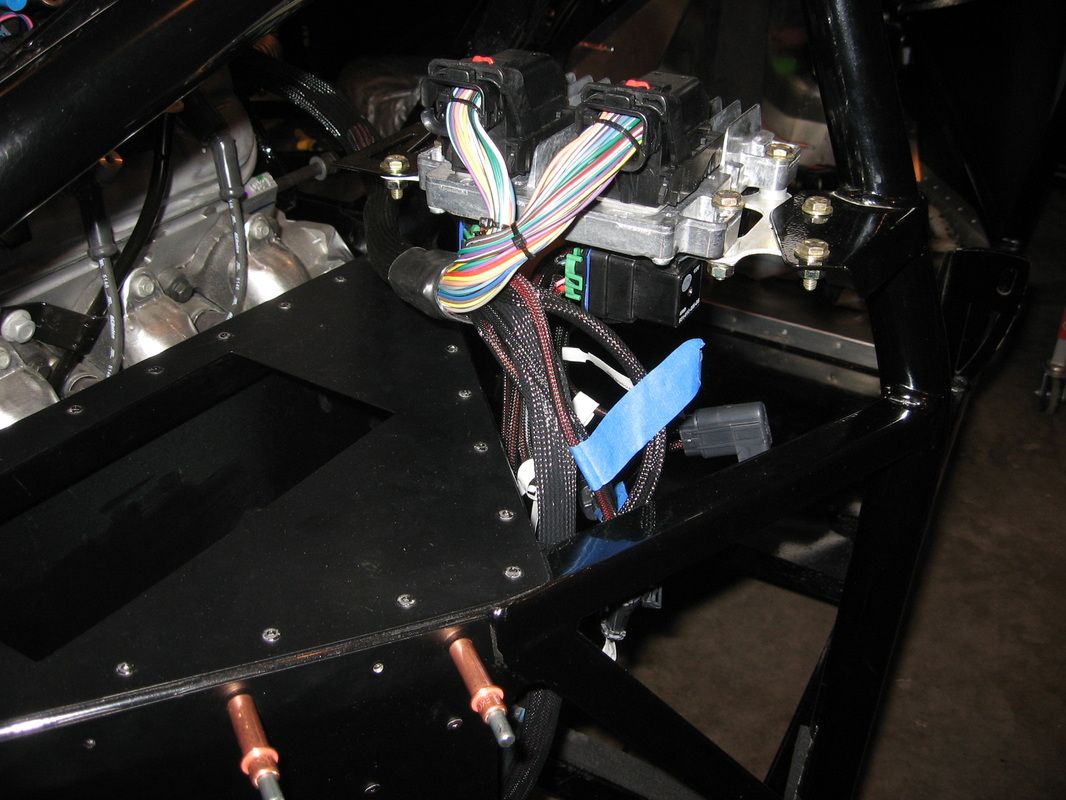
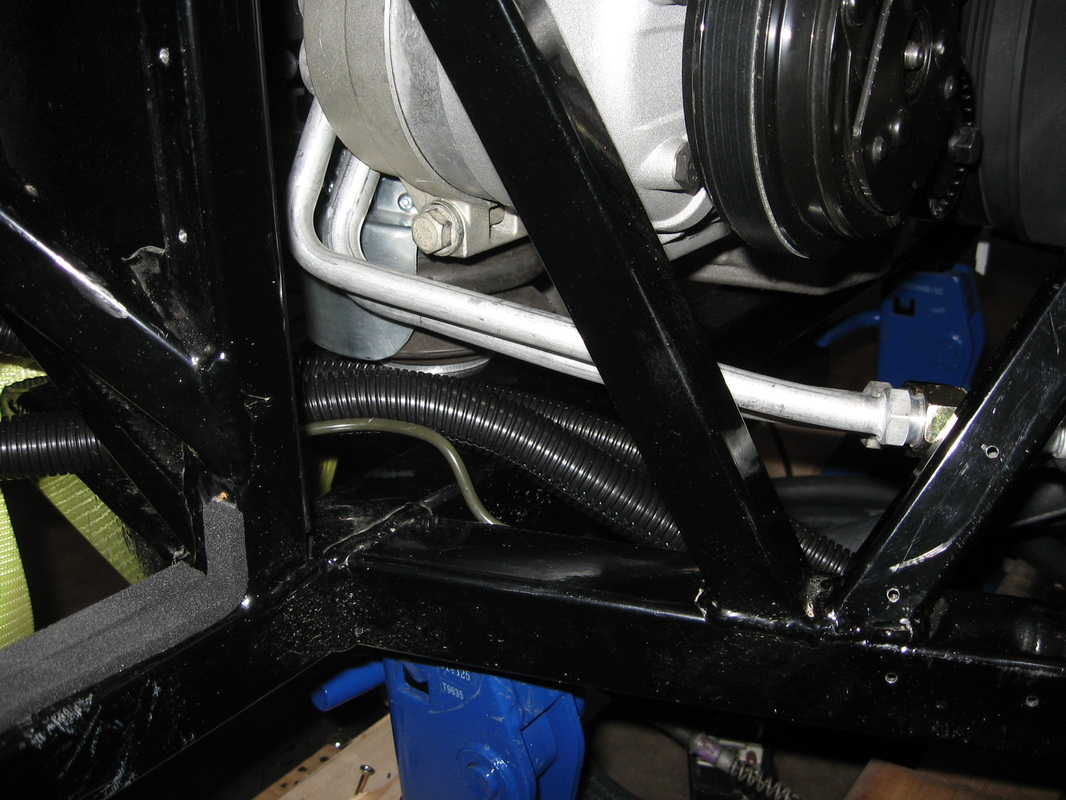
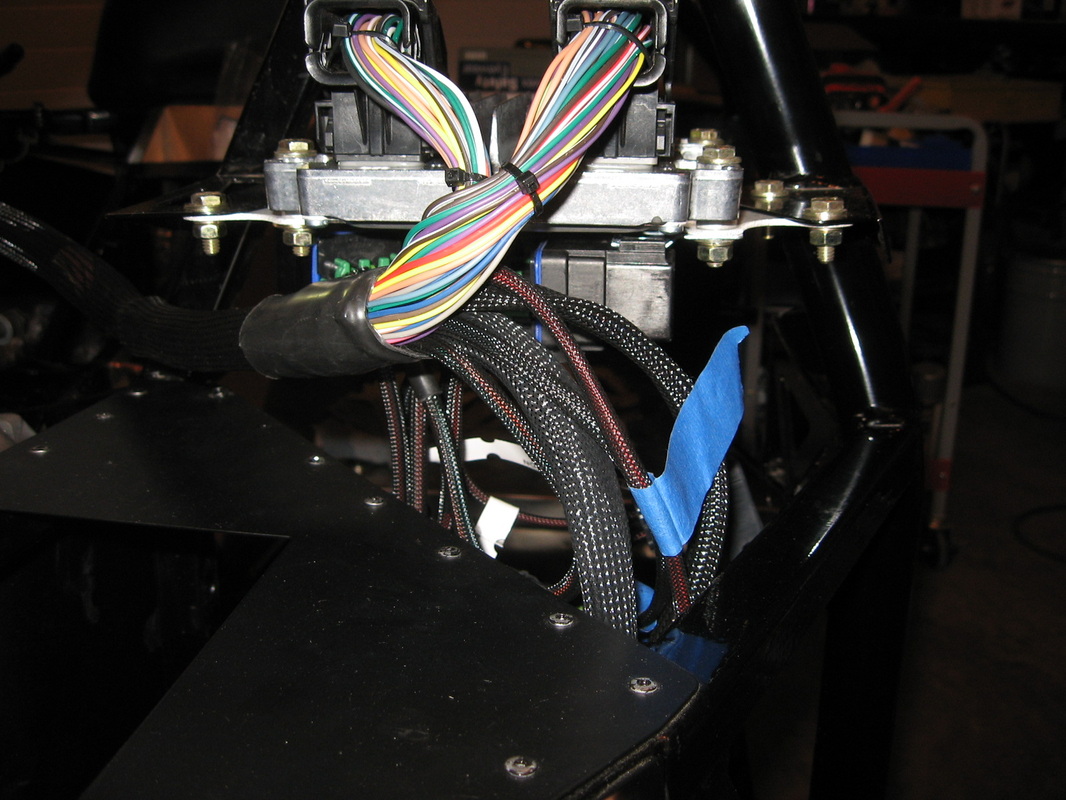
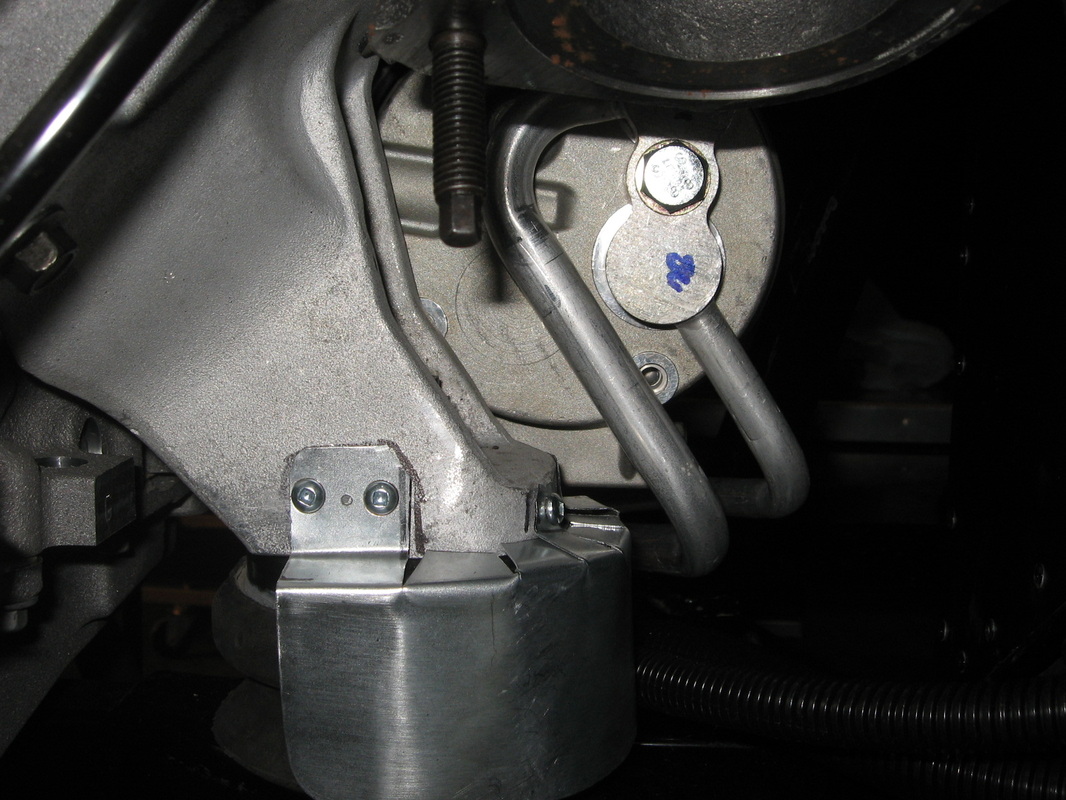
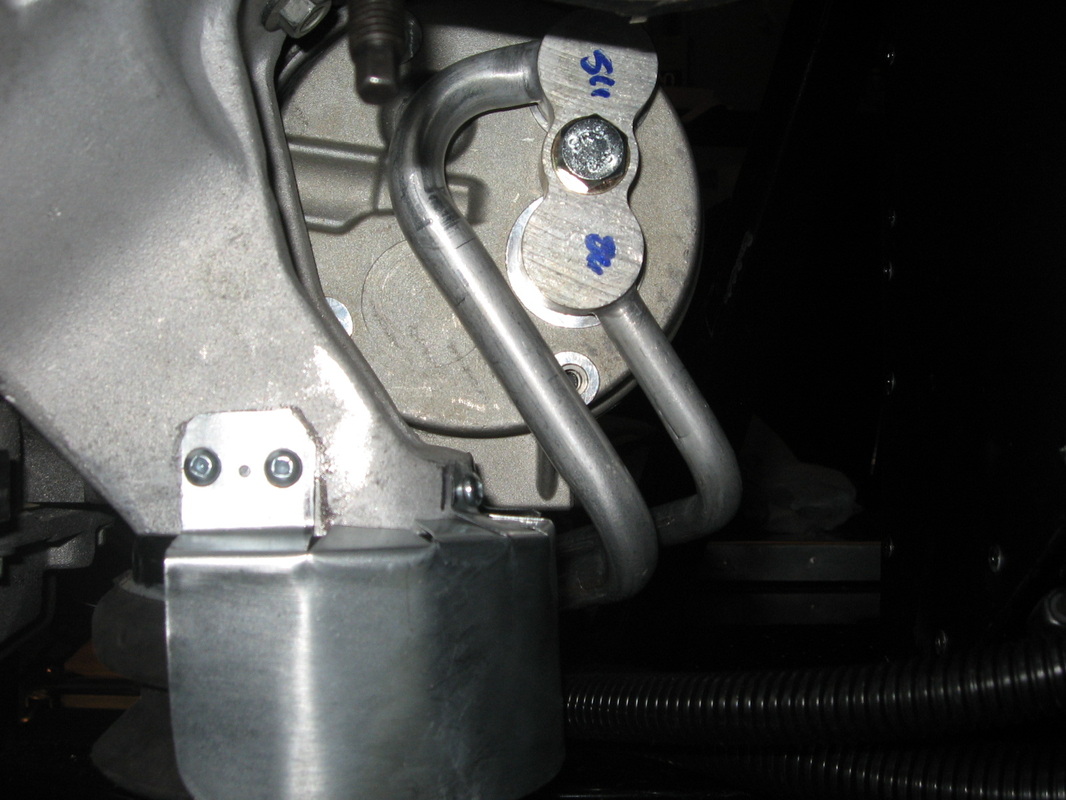
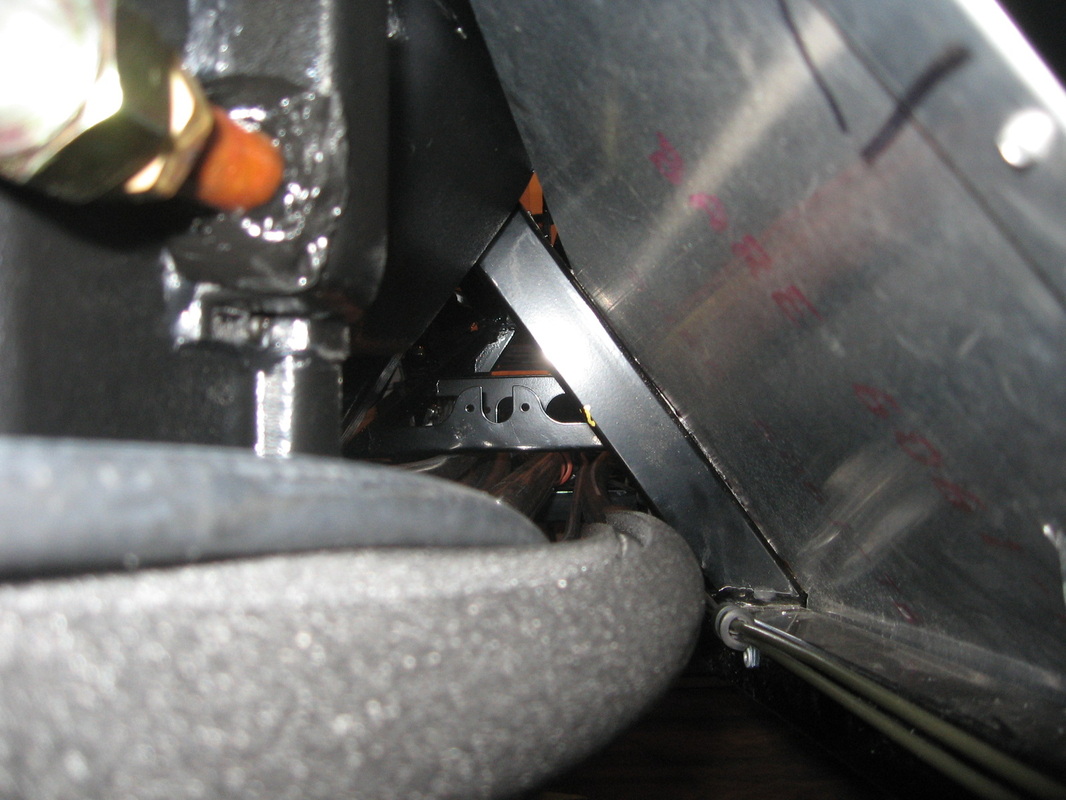
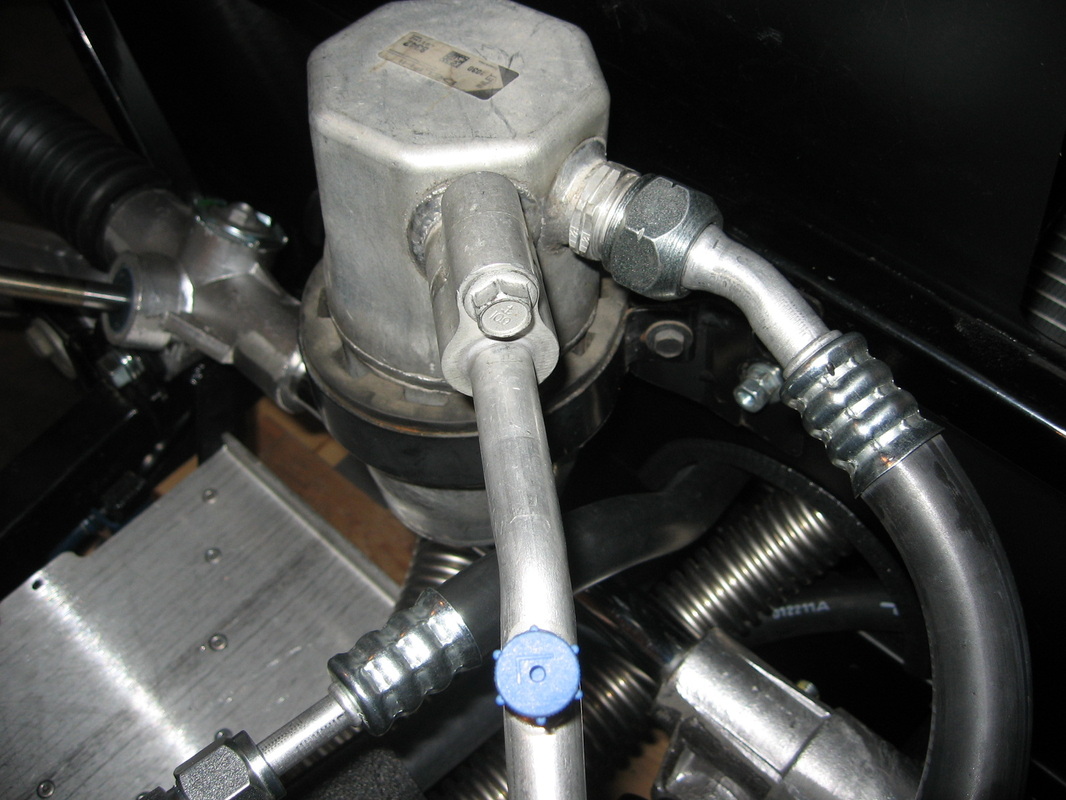
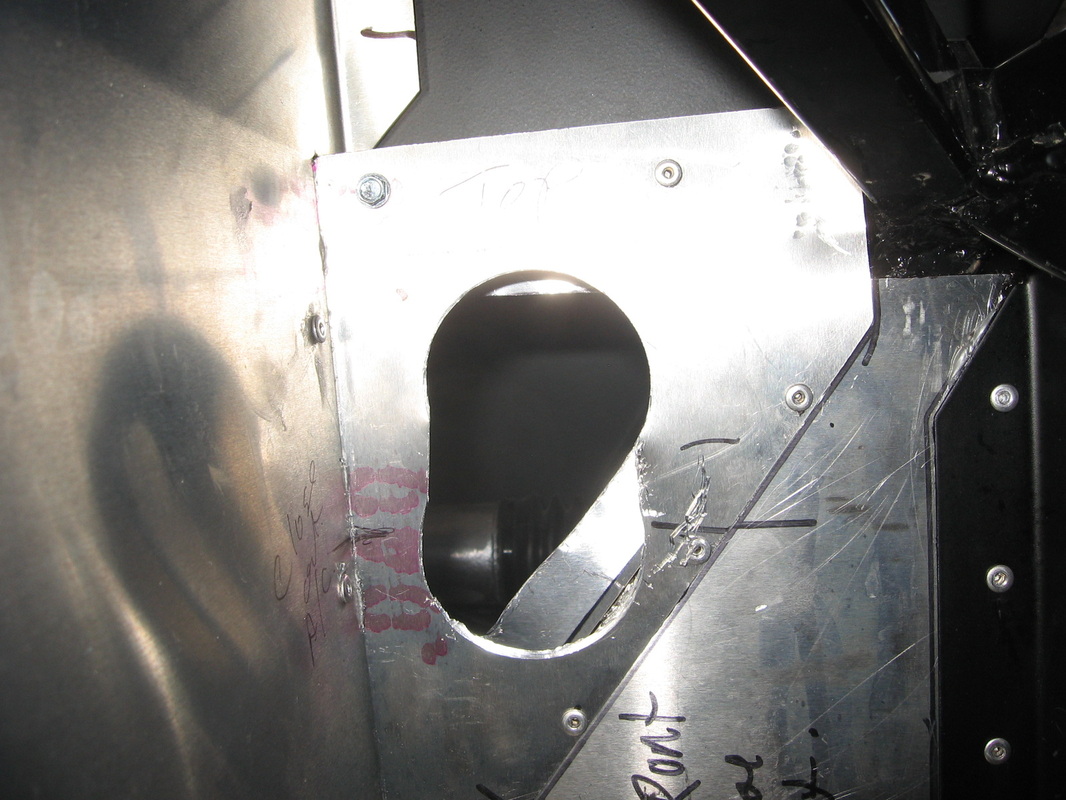
I installed the AC accummulator and hooked up the lines. I followed the instructions in the manual with now problems. At the bottom of the AC acummulator bracket I also installed a bolt with a spacer on it to the rad deflector. I had to do this because I felt the bracket was not secure enough. This part of the build has taken alot more time then I had anticipated. Evey time I would run a line then try to run the next on that one would be in the way. Just part of getting every thing to look like it was factory built ( yes I am a perfectionist if that makes sence). The lines from Vintage Air just didn't fit that good too. Had to do some field bending with channel locks and the wide mouth vise grips. It all work out in the end the lines are in. Time to do some more surfing and review some projects for Saturday.
Later,
Later,


Sept 02-15, 2011
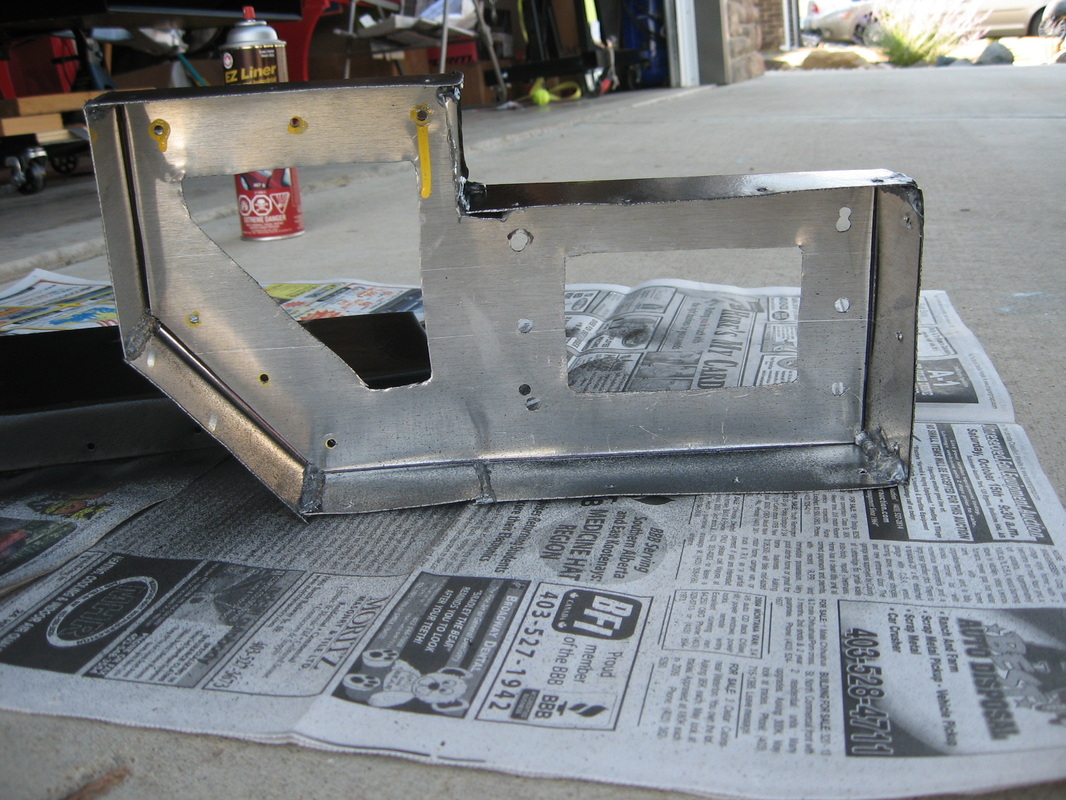
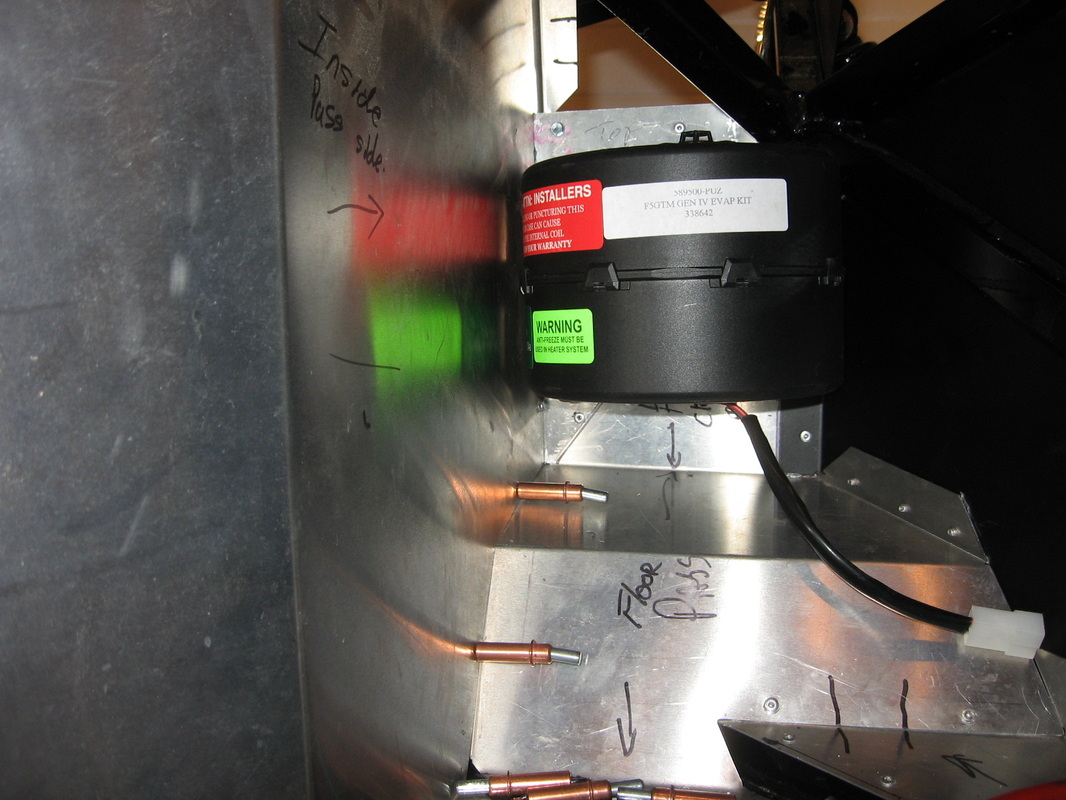
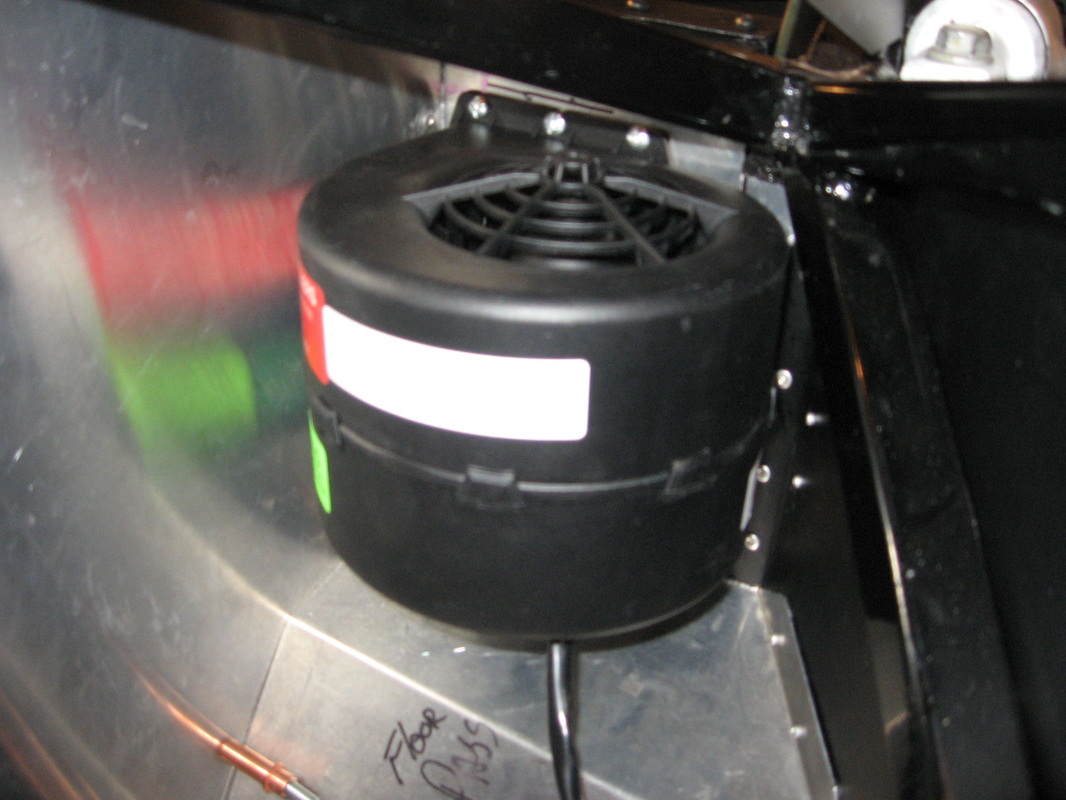
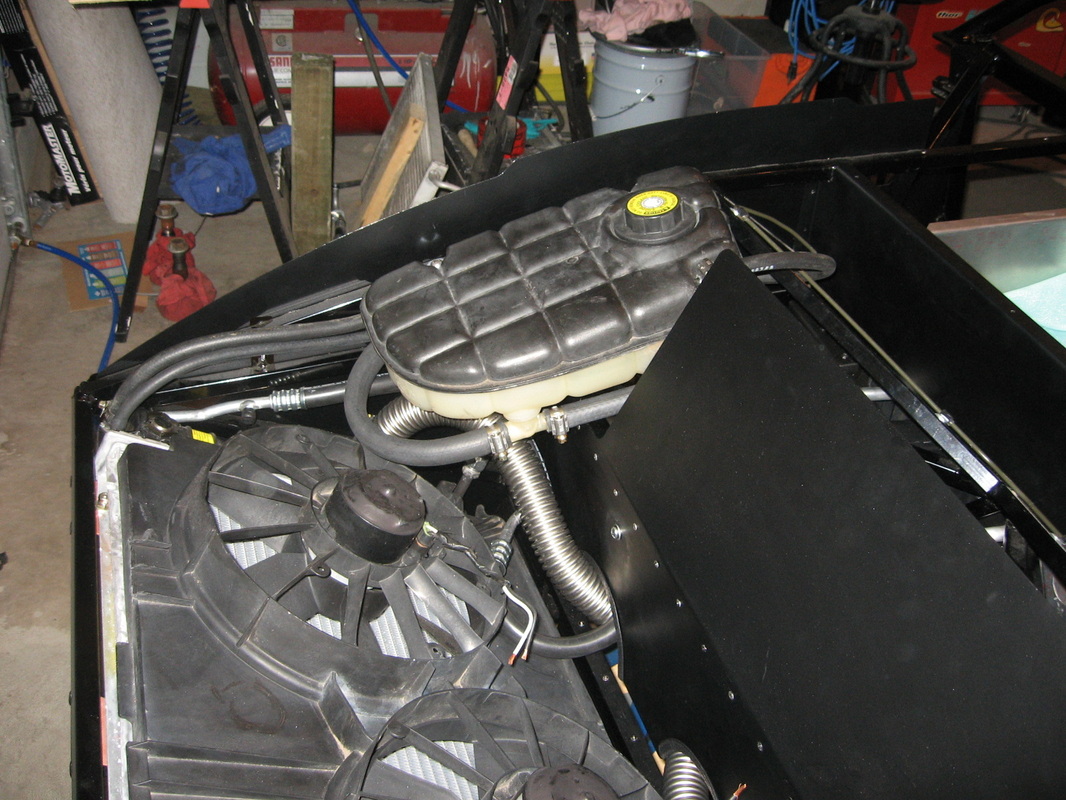
I was not going to relocate the heater motor because I really don't like having the air recirculated within the car. In the fall or spring you could get the windows fogging up by having the air recirculated within the car. When I went to put the cover on the blower motor it just would not fit and did not look that good. So I decided to build my own blower relocate plenum and relocate the motor inside the car. I did not have a sheet metal brake so I bought a set of wide mouth vise grips and proceeded to build my own.
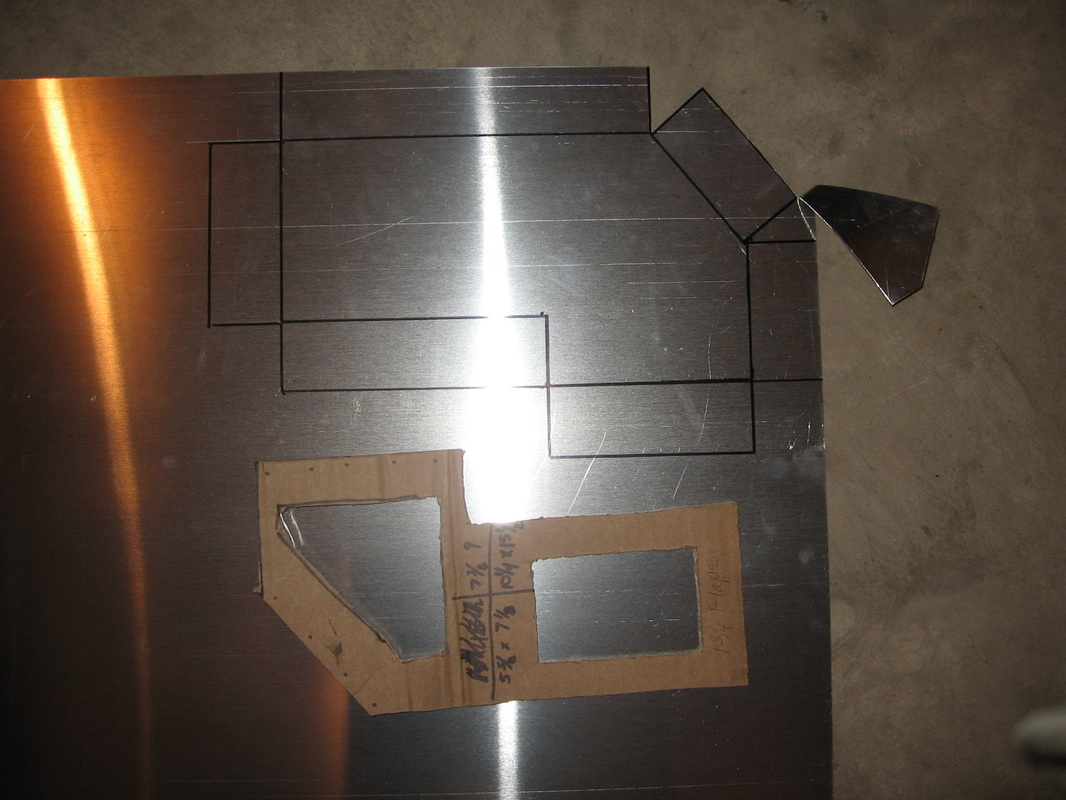
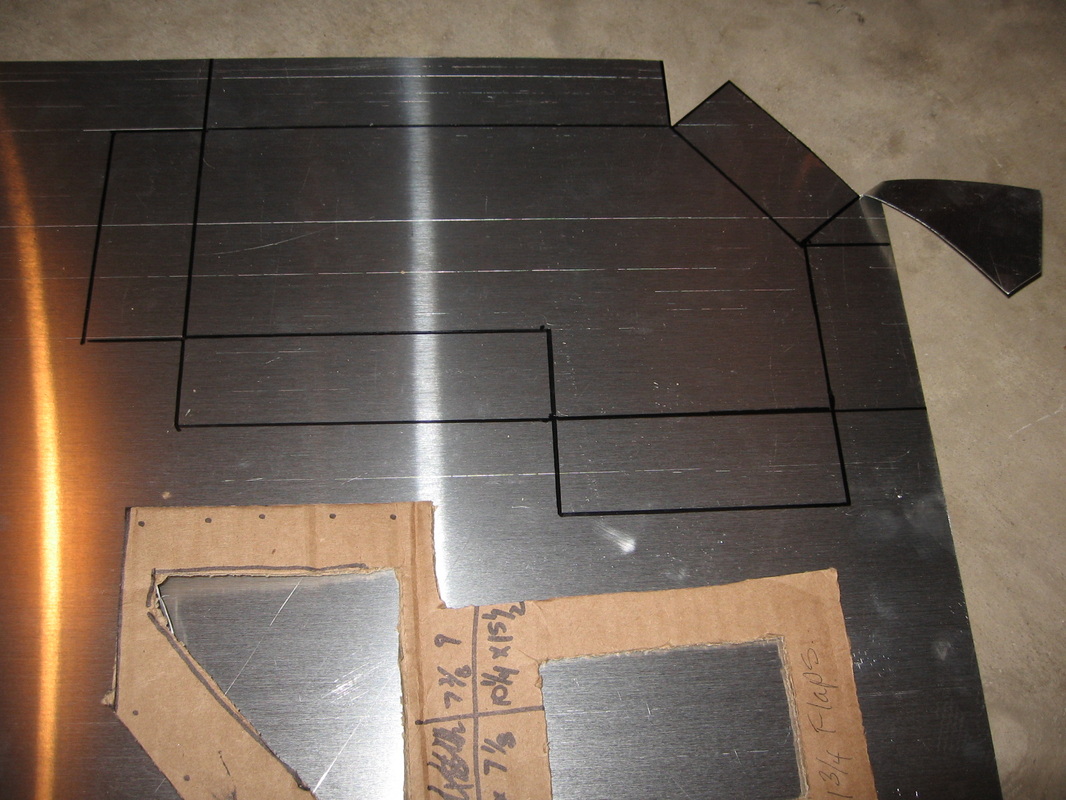
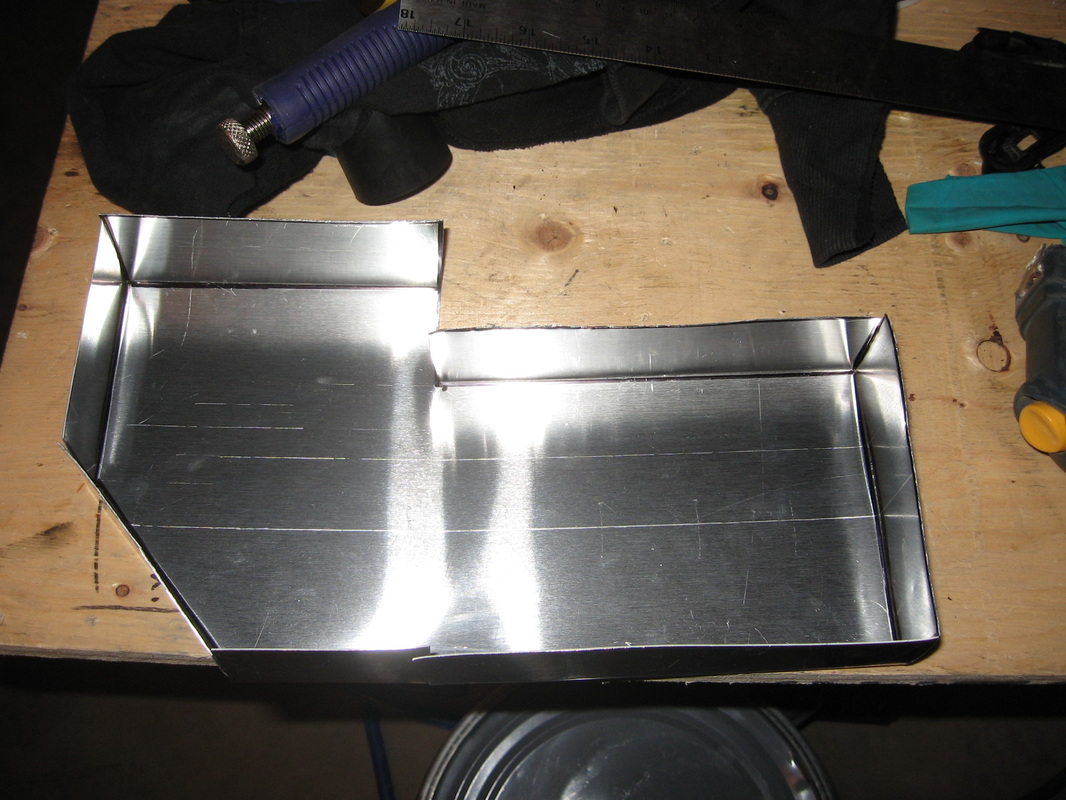
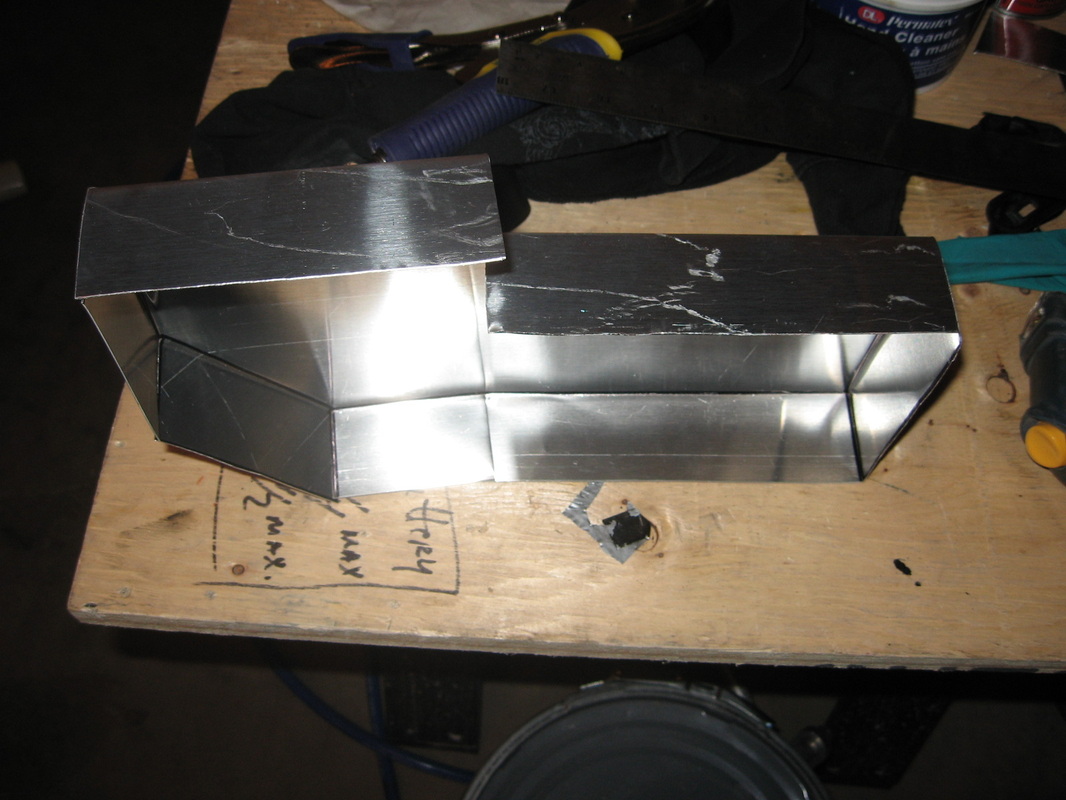
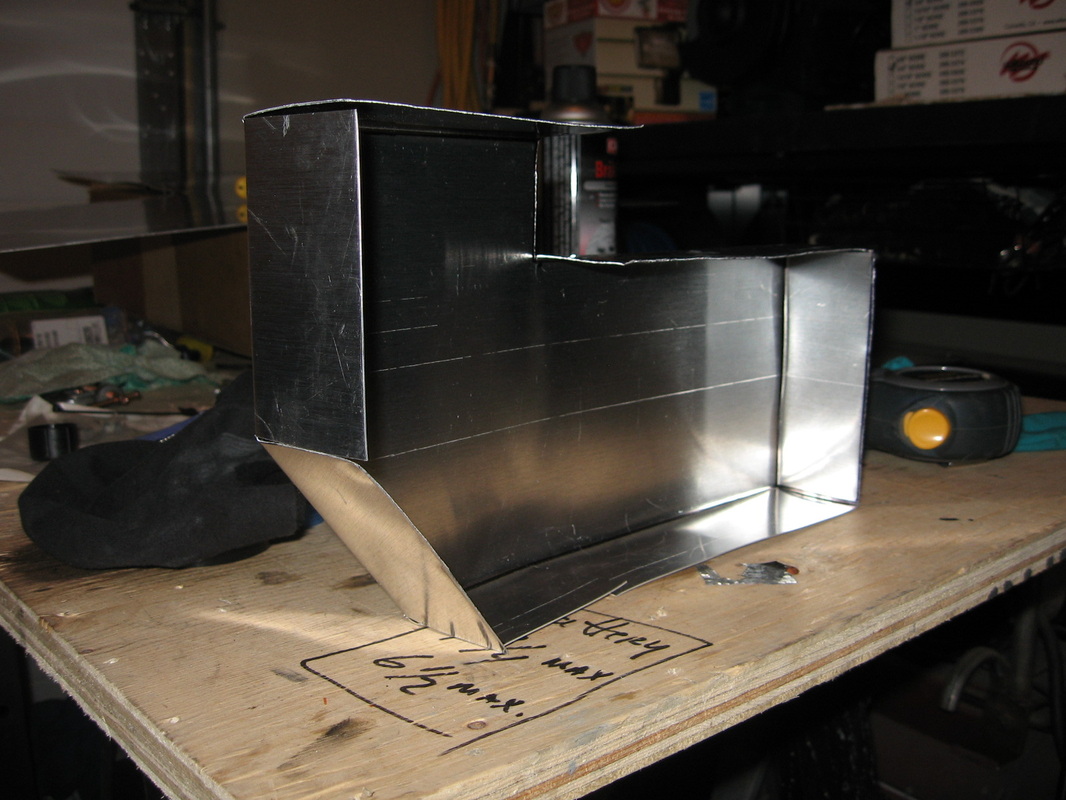
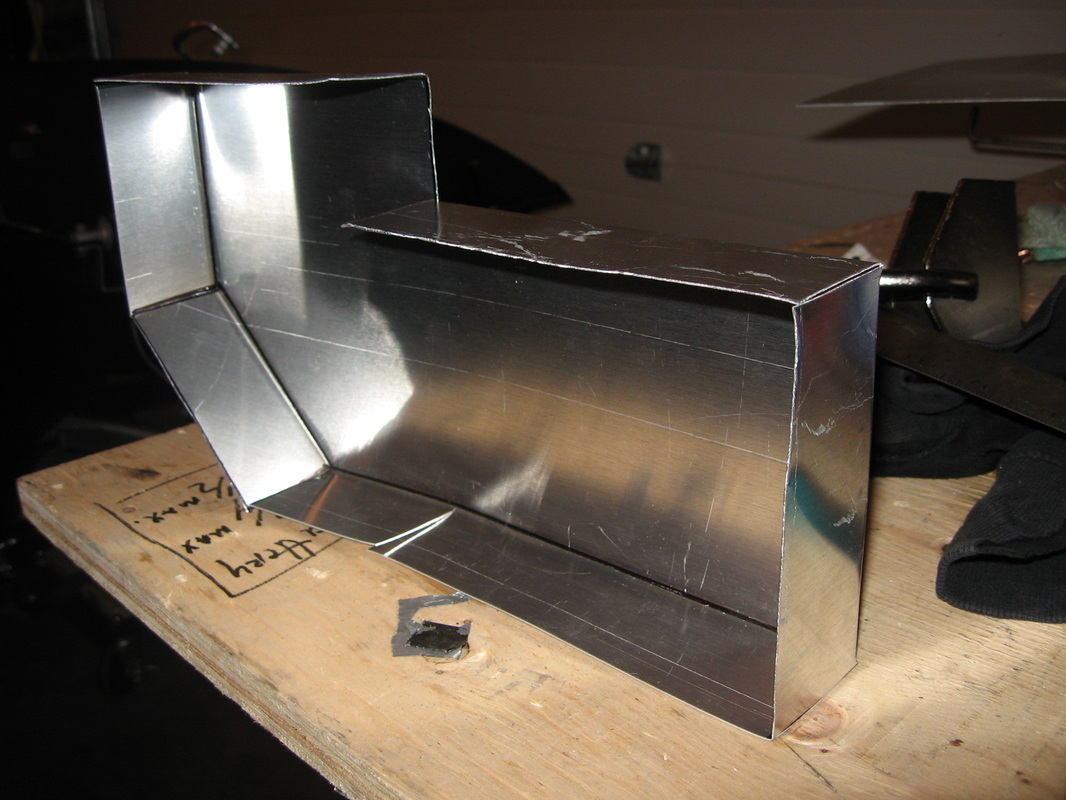
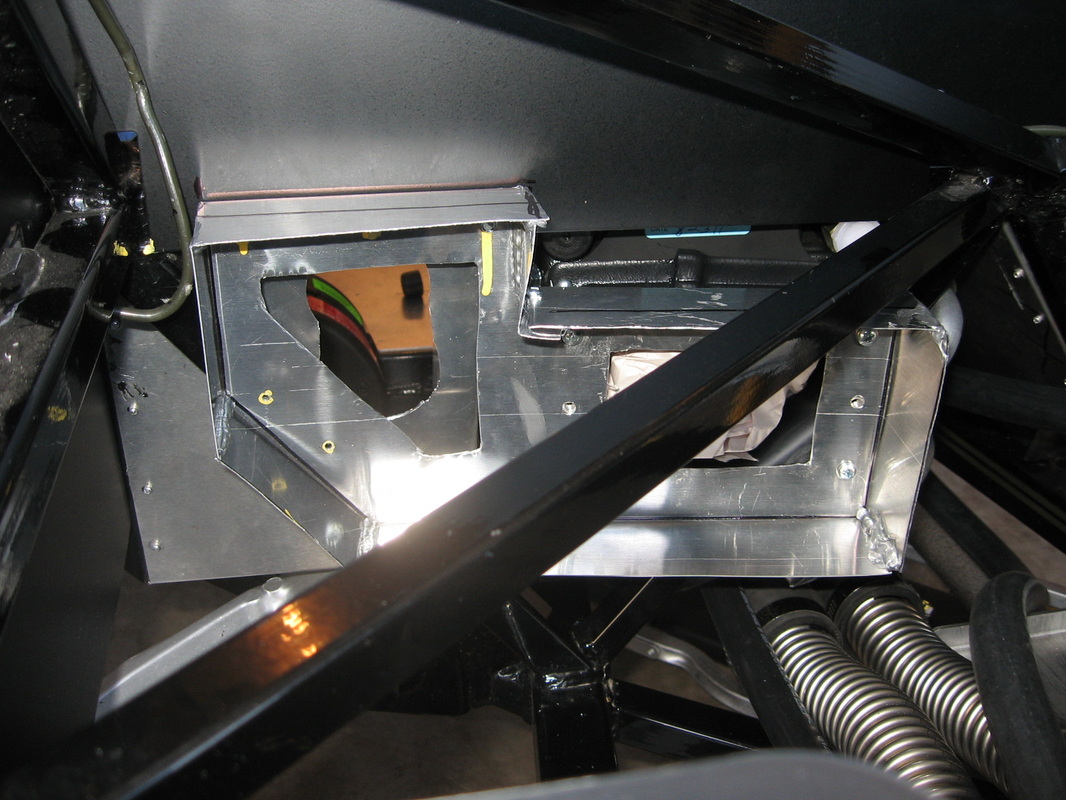
After building the plenum I decided to use EZ Liner (Bedliner and Industrial Strength Coating) Box Liner stuff to finish it off. It worked out better than I expected and only had to build one.
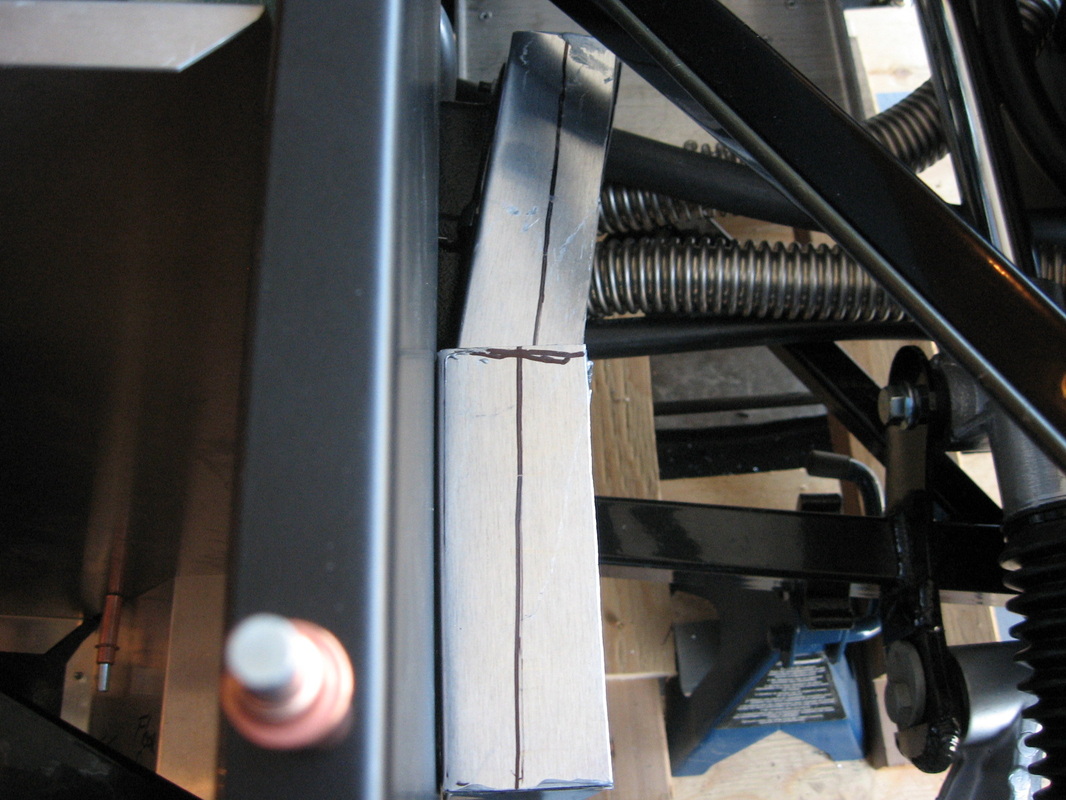
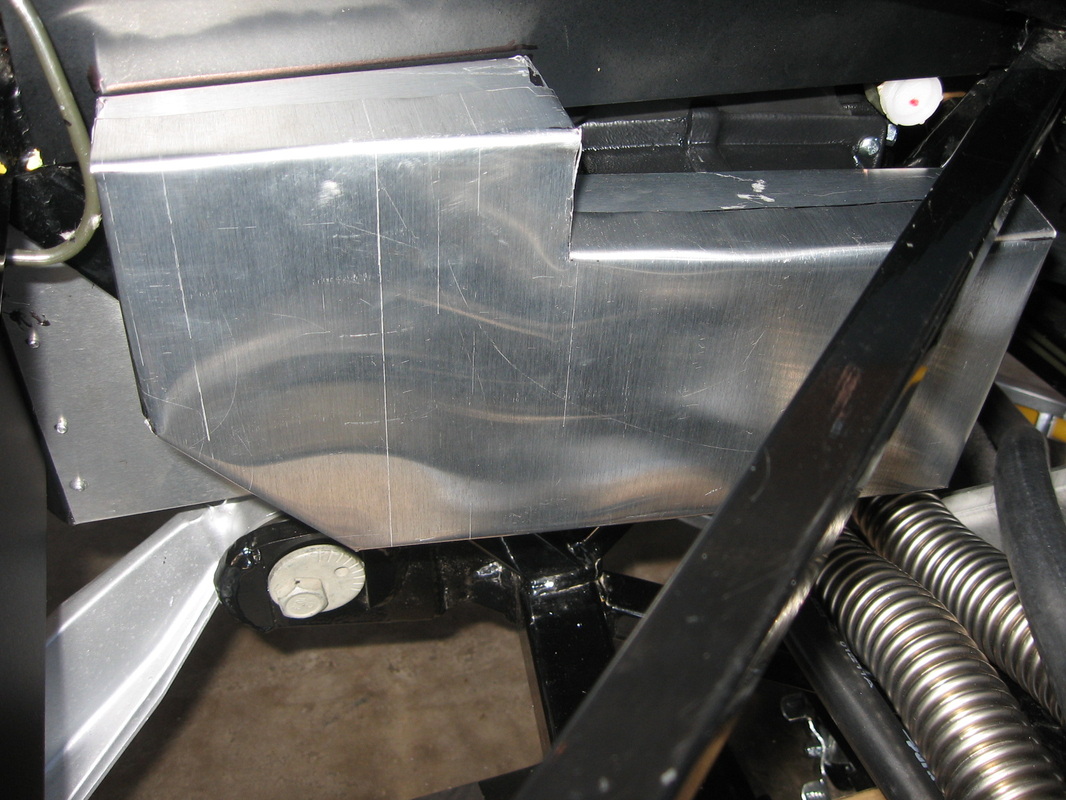
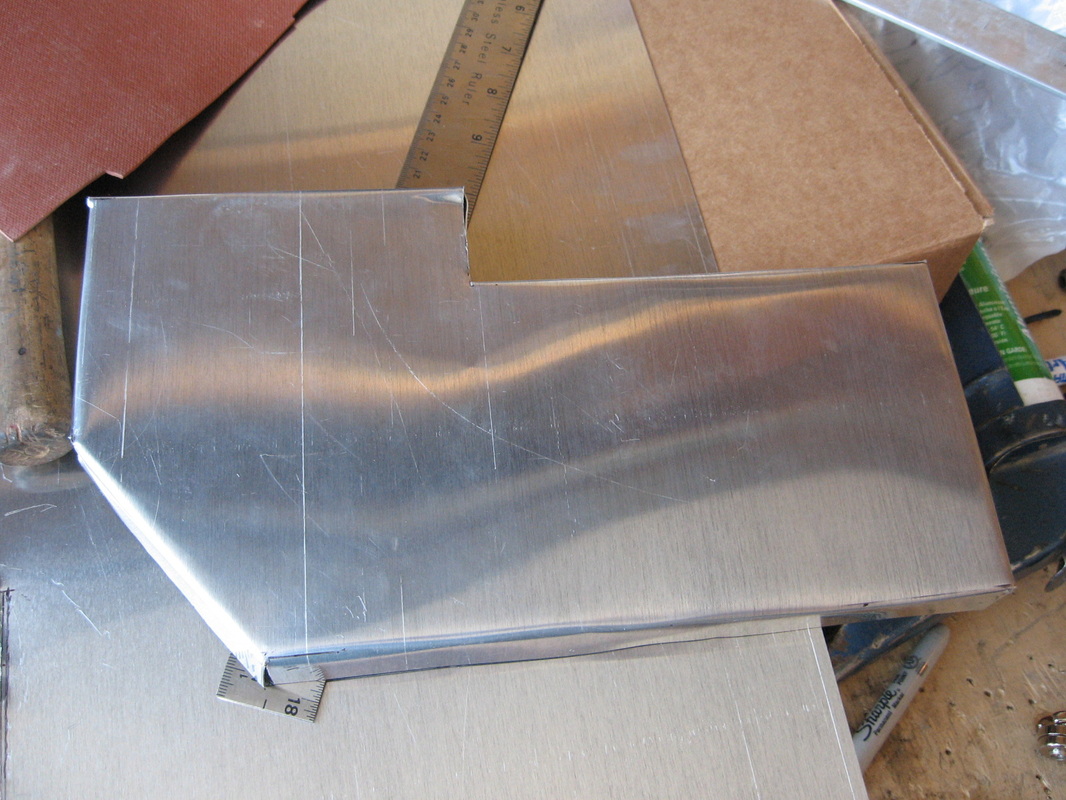
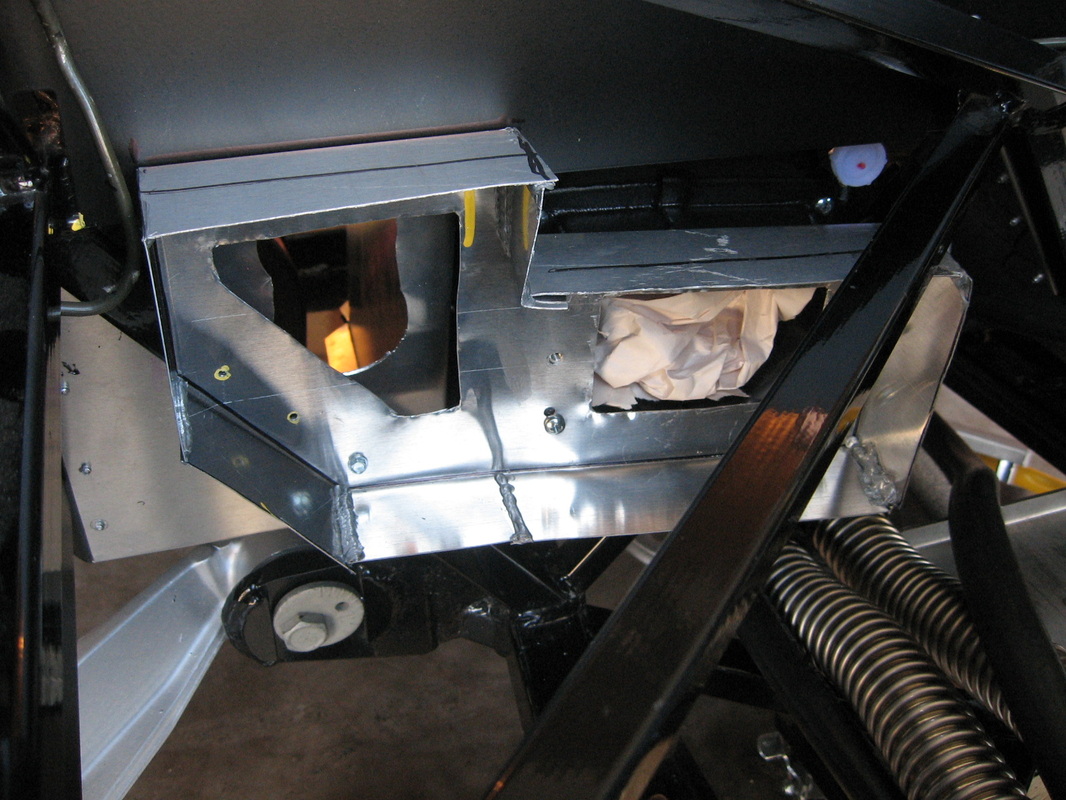
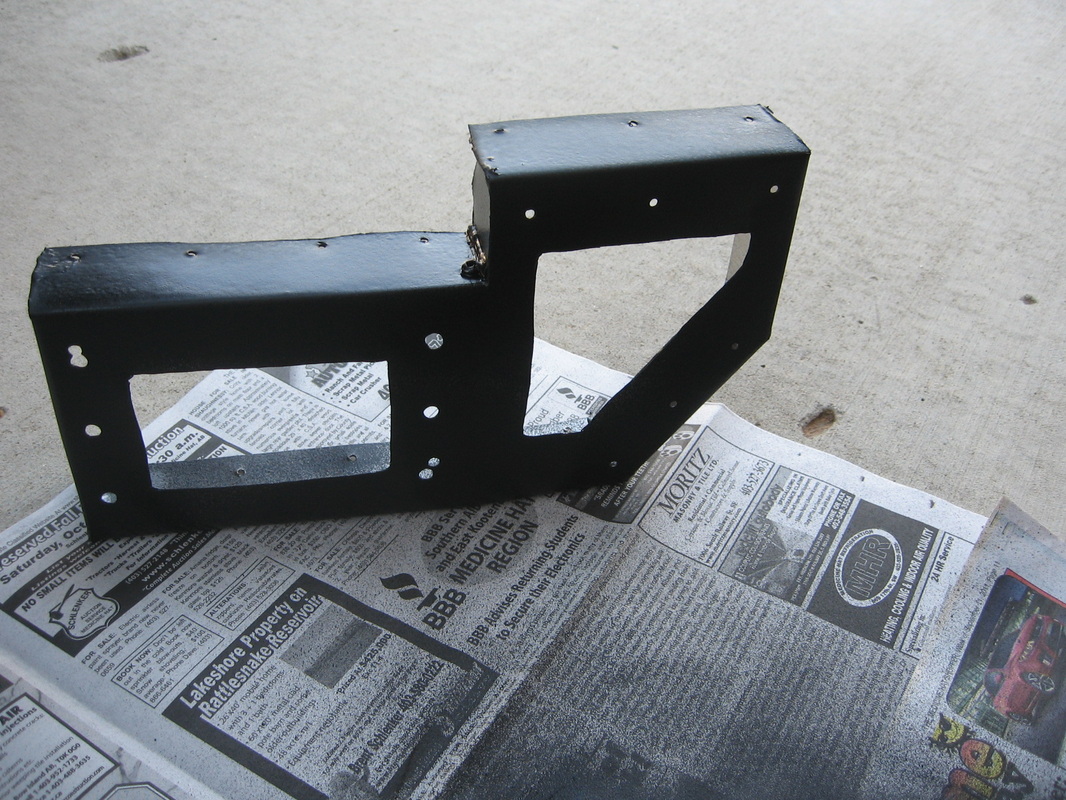
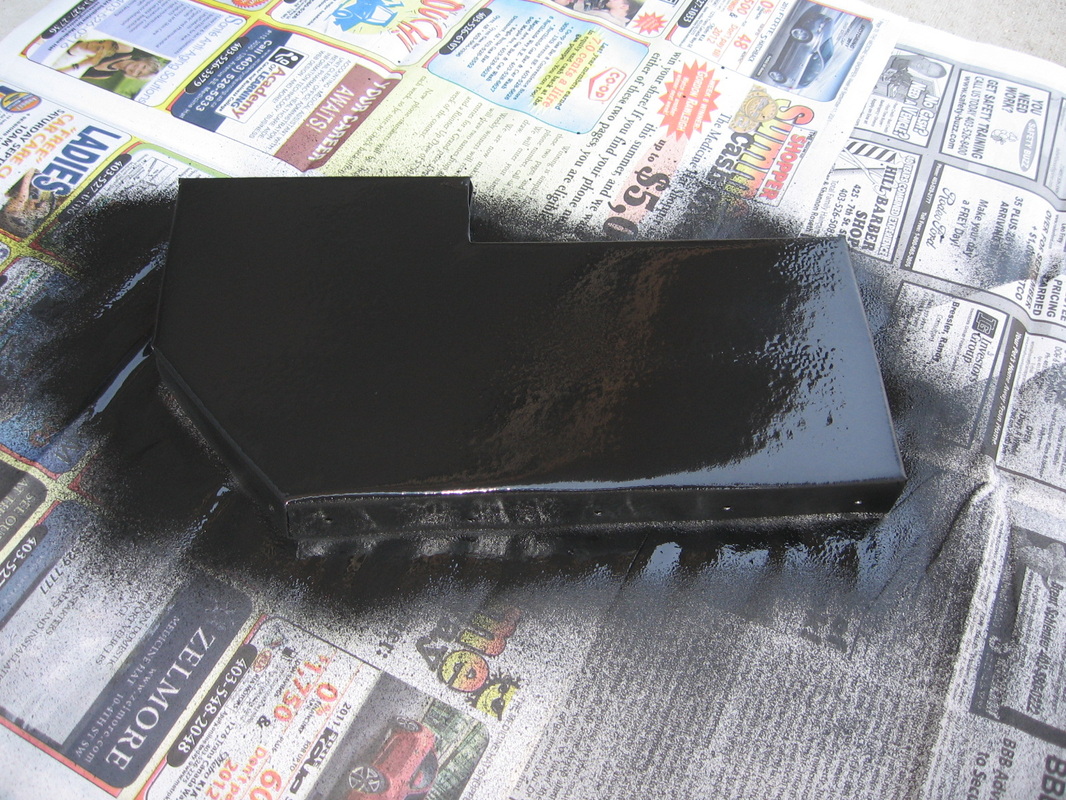
Was a pain to get it to come together so I could get it screwed as if was one piece. Had a good productive day wife was at work kids at school.